🔥 Ignite Your Creativity with Rutland Refractory Cement!
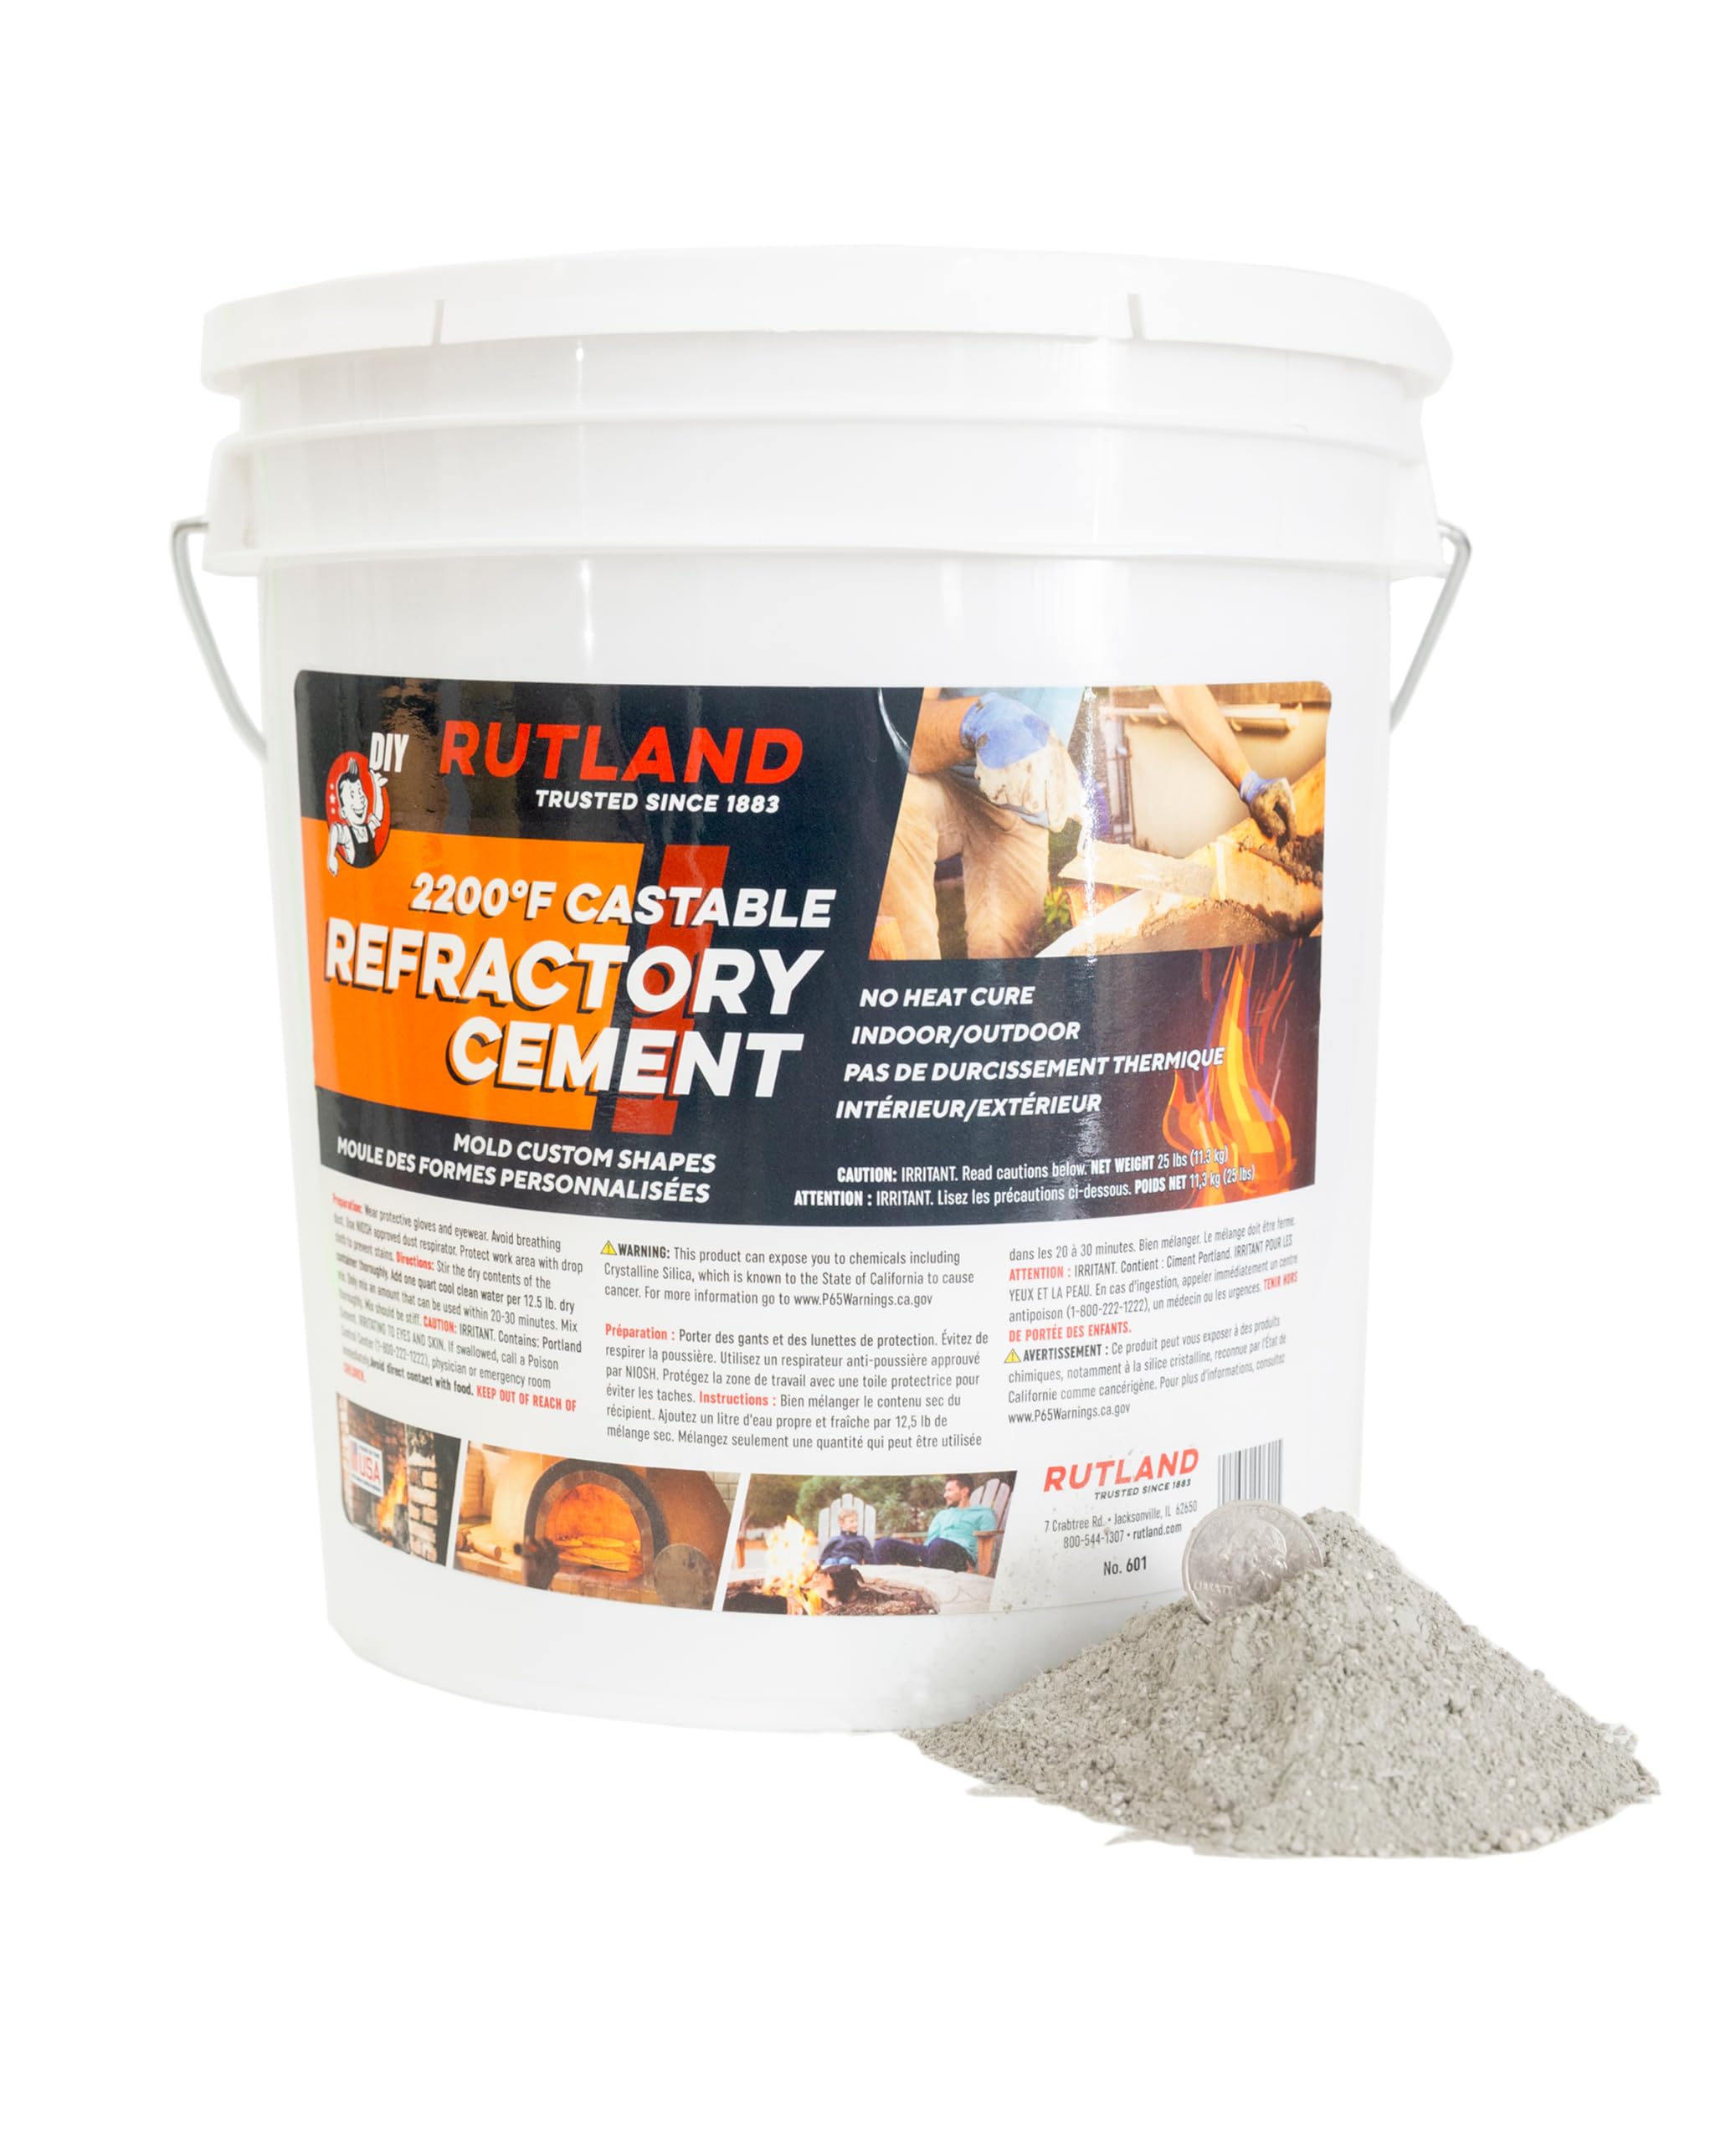
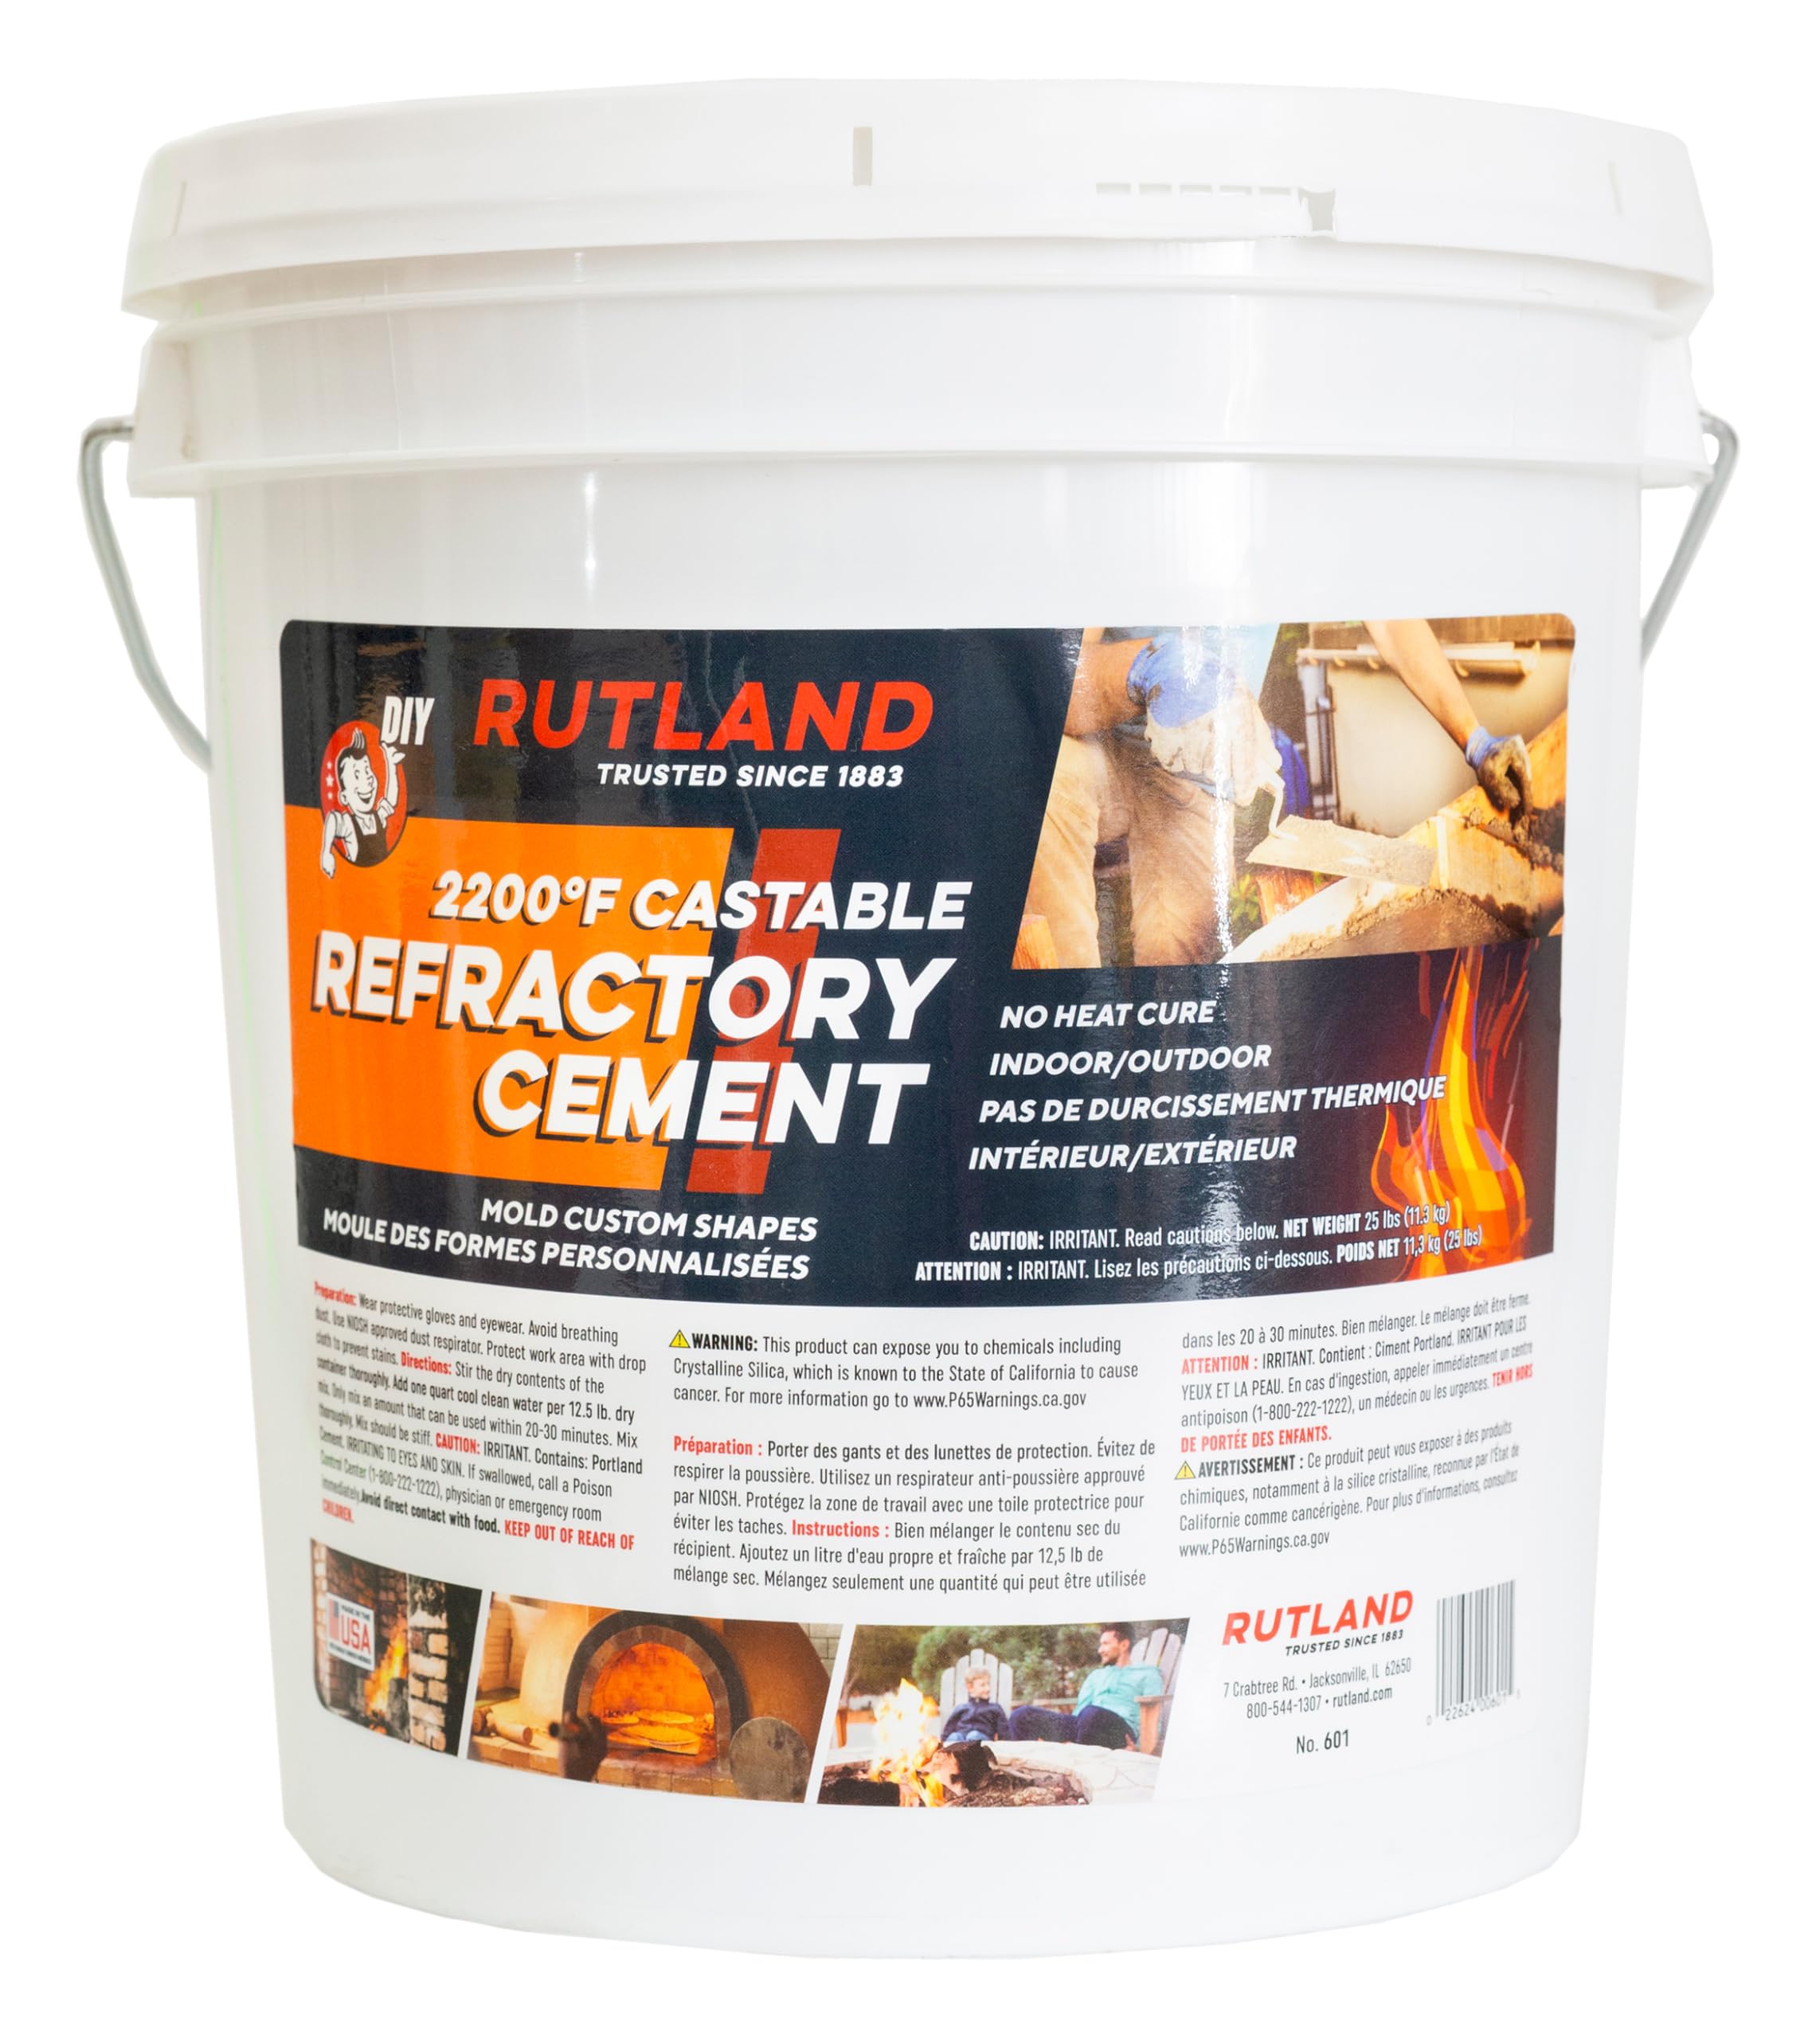
Rutland Castable Refractory Cement is a high-temperature solution designed for repairing and customizing fireplaces, stoves, and fire pits. With a heat resistance of up to 2,200°F, this 25-pound dry mix allows for easy casting of firebrick shapes without the need for heat curing, making it ideal for both indoor and outdoor applications.
Color | Taupe |
Material Type | Dry mix |
Volume | 25 Liters |
Item Package Quantity | 1 |
Container Type | Pail |
Full Cure Time | 24 Hours |
Item Form | Dry Mix |
Special Features | Strong |
Specific Uses For Product | Casting, Firepit, Stove, Oven, Masonry, Fireplace |
Compatible Material | Firebrick |
A**R
High quality stuff!
I cast a door for my brick oven with this stuff, mixing it with three parts perlite. I could not be more pleased with the result. Quality products are worth every penny!
J**R
Rescued my Refractory Slab
I had the back slab develop a 4" hole. Shut down the FP and scurried to find out how I could access it and find a replacement. Found both, placed an order and then worked on disassembling to get the slab out. A week or so later, I hadn't received shipping information so I contacted the vendor and found the slab was back ordered and would be shipped on Feb 5th.Not trusting the actual date supplied, I started searching for possible repair solutions and found the Castable Rutland product. I'd used other Rutland products but was a bit concerned due to my lack of cement knowledge and some of the reviews I read. I decided to take a chance as the coldest part of the winter was upon us and I burn 24 x 7.I planned my approach and in a couple days I had the cement (left input in questions about getting the top off), had a board to sit it on and some wax paper that I planned to put between the 4 " hole in the slab and the board I was putting it on. I used another stick to define the edge of the hole to be filled and a couple of bar clamps to hold everything in place. Now I was ready to go.I brought the slab to the cellar and realized that this might just not work. The slab not only had the hole but fractures that were threatening to break the entire slab in half. I started doubting my entire approach. I gingerly set it onto my board and got it stabilized with the bar clamps. Mixing the cement was easy as long as you didn't add too much water. I just mixed it comparing the final product to a too thick pancake batter. With a trowel, I started picking up gobs and let them run into the holes until it was filled but left it about a quarter inch lower than needed.There was another two to three inches below the hole that was crumbling and I hoped filling that area in as well as a second coating over the hole might stabilize the slab. I waited 24 hours but the patch was still wet, probably due to the 55 degrees in the cellar. I took the bar clamps off and carried the slab upstairs on the board and let it dry another 24 hours.Totally dry, down stairs I went again. Mixed up a second batch and put that second layer over the hole and the crumbling area and immediately took it back into the warmer house to let dry. 24 hours later it was all but completely dry. It was dry enough to check the backside that I was concerned about due to the cracks. It still looked fragile but didn't feel at all "loose". I made a third batch, this time more syrupy. Caution, it quickly goes from syrup to watery. I had to add cement to get it right. I filled small holes on the back and a very thin layer over the bad area and let it sit for another day and a half when I finally had time to reinstall.All of the looseness of the slab was firmed up and it felt solid. My hope initially was that I could get it to hold up until the new one came in. After seeing how well it felt, I thought maybe I could get to the end of the burning system and after a few fires, I'm thinking that if it holds up thru the rest of the winter I'll just leave it alone. If it starts crumbling, I'll have the replacement here and it will be an hour or so project to put the new one in.I loved this stuff!
B**V
Worked perfectly
I used it to make a Indian oven and it worked perfectly. Super happy with product.
P**Y
Mostly good
So I like the performance and I like the container if comes in which can be used for various other things afterwards like cleaning my tools and doing the sponging of the brick. I’m not a professional mason but the consistency seems on par with what I’ve worked with before. It’s like a very fine fluffy concrete powder. It does dry rather quickly and it is super easy to over water which can also loosen it up. It sponges off great. It dries incredibly hard. The only fault I have with it is it took a while to arrive. I didn’t realize I needed as much as I did so I had to place multiple orders and ended up taking three weeks from start to finish to complete my pizza oven because I had to keep waiting for more to arrive. I was hoping it would be done in a day or two but ended up taking three weeks overall but six days to build and six orders. Unfortunately this product isn’t stocked anywhere else either so I was stuck with this process. And because of the weight of the product, over ordering and then returning it wasn’t a practical option.
A**O
Renewed my fireplace
Used this to repair And Fill in a hole in prefab fireplace Brick floor that burned through. Haven't tried it out With a fire in the fireplace yet but manufacturer Tech Support said it should work fine For that use and so far it has. It trowels easy and self levels just fine and even works pretty well on the vertical wall of the firebox.
A**R
Great for making permanent kiln glass slumping forms and press molds.
I'm very happy with this product, sorry some folks have a hard time with it. This is an actual dry concrete pre-mix so you *must* follow concrete rules. Follow those rules without fail (Google if you're unfamiliar) and you should have great results. Comments and opinions to follow are my own, so do your own due diligence.The 6:1 water ratio in their instructions really is a maximum water ratio for casting into a mold where you need to fill out small or thin details at high density. I like less water even for pouring a mold, and much less for open face or trowled work. Least water for the consistency you need is good. If trowling against a dry surface, dampen the surface first and maintain dampness by quenching (wet the surface first and wait, repeat until it doesn't dry up so fast) unglazed ceramic, brick, etc. Use the peanut butter consistency or ball toss test as needed. But in any case once it stiffens, keep it damp! I add water and seal a trash bag over my freshly de-molded "green" castings and leave them in the sun if possible for at least a couple of days. My results have been very hard and strong castings with great surface density, detail, and smoothness. In the electric kiln I get durable dimensionally stable, accurate shapes for glass forming and in-kiln press molding at my working temp of 1475 F.I have a slumped float glass art project that required matching parts from separately cast molds, and this is the only thing that I've tried so far that worked. Photo shows a curved Rutland slump mold and some float glass parts from it. 16" wide.Final fired dimensions are hard to estimate when using ceramic clay forms due to the normal shrinkage of ceramics from raw clay to finished fired piece, so I really appreciate the minimal dimensional change from initial casting to heat-seasoned working piece. I've even successfully embedded pre-fired ceramic tile pieces where half the tile protruded up out of a Rutland base for a glass forming texture. I expected that one would probably crack when firing, but it didn't and the tile pieces are still tight. They put some kind of refractory fibers in this stuff to inhibit crack formation, and it works.Oh, and a tip for lid removal: use a spring clamp on the lever tab (see photo), sideways counterclockwise glancing taps against the texture on the side of the lid with a rubber mallet. Might want a little wood shim against the bottom edge of the lever so the clamp can squeeze it real good and the catch lifts completely clear of those teeth inside. One man job. :)
Trustpilot
1 month ago
2 weeks ago