
🪑 Craft your comfort, your way—bench goals unlocked!
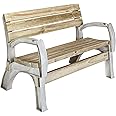
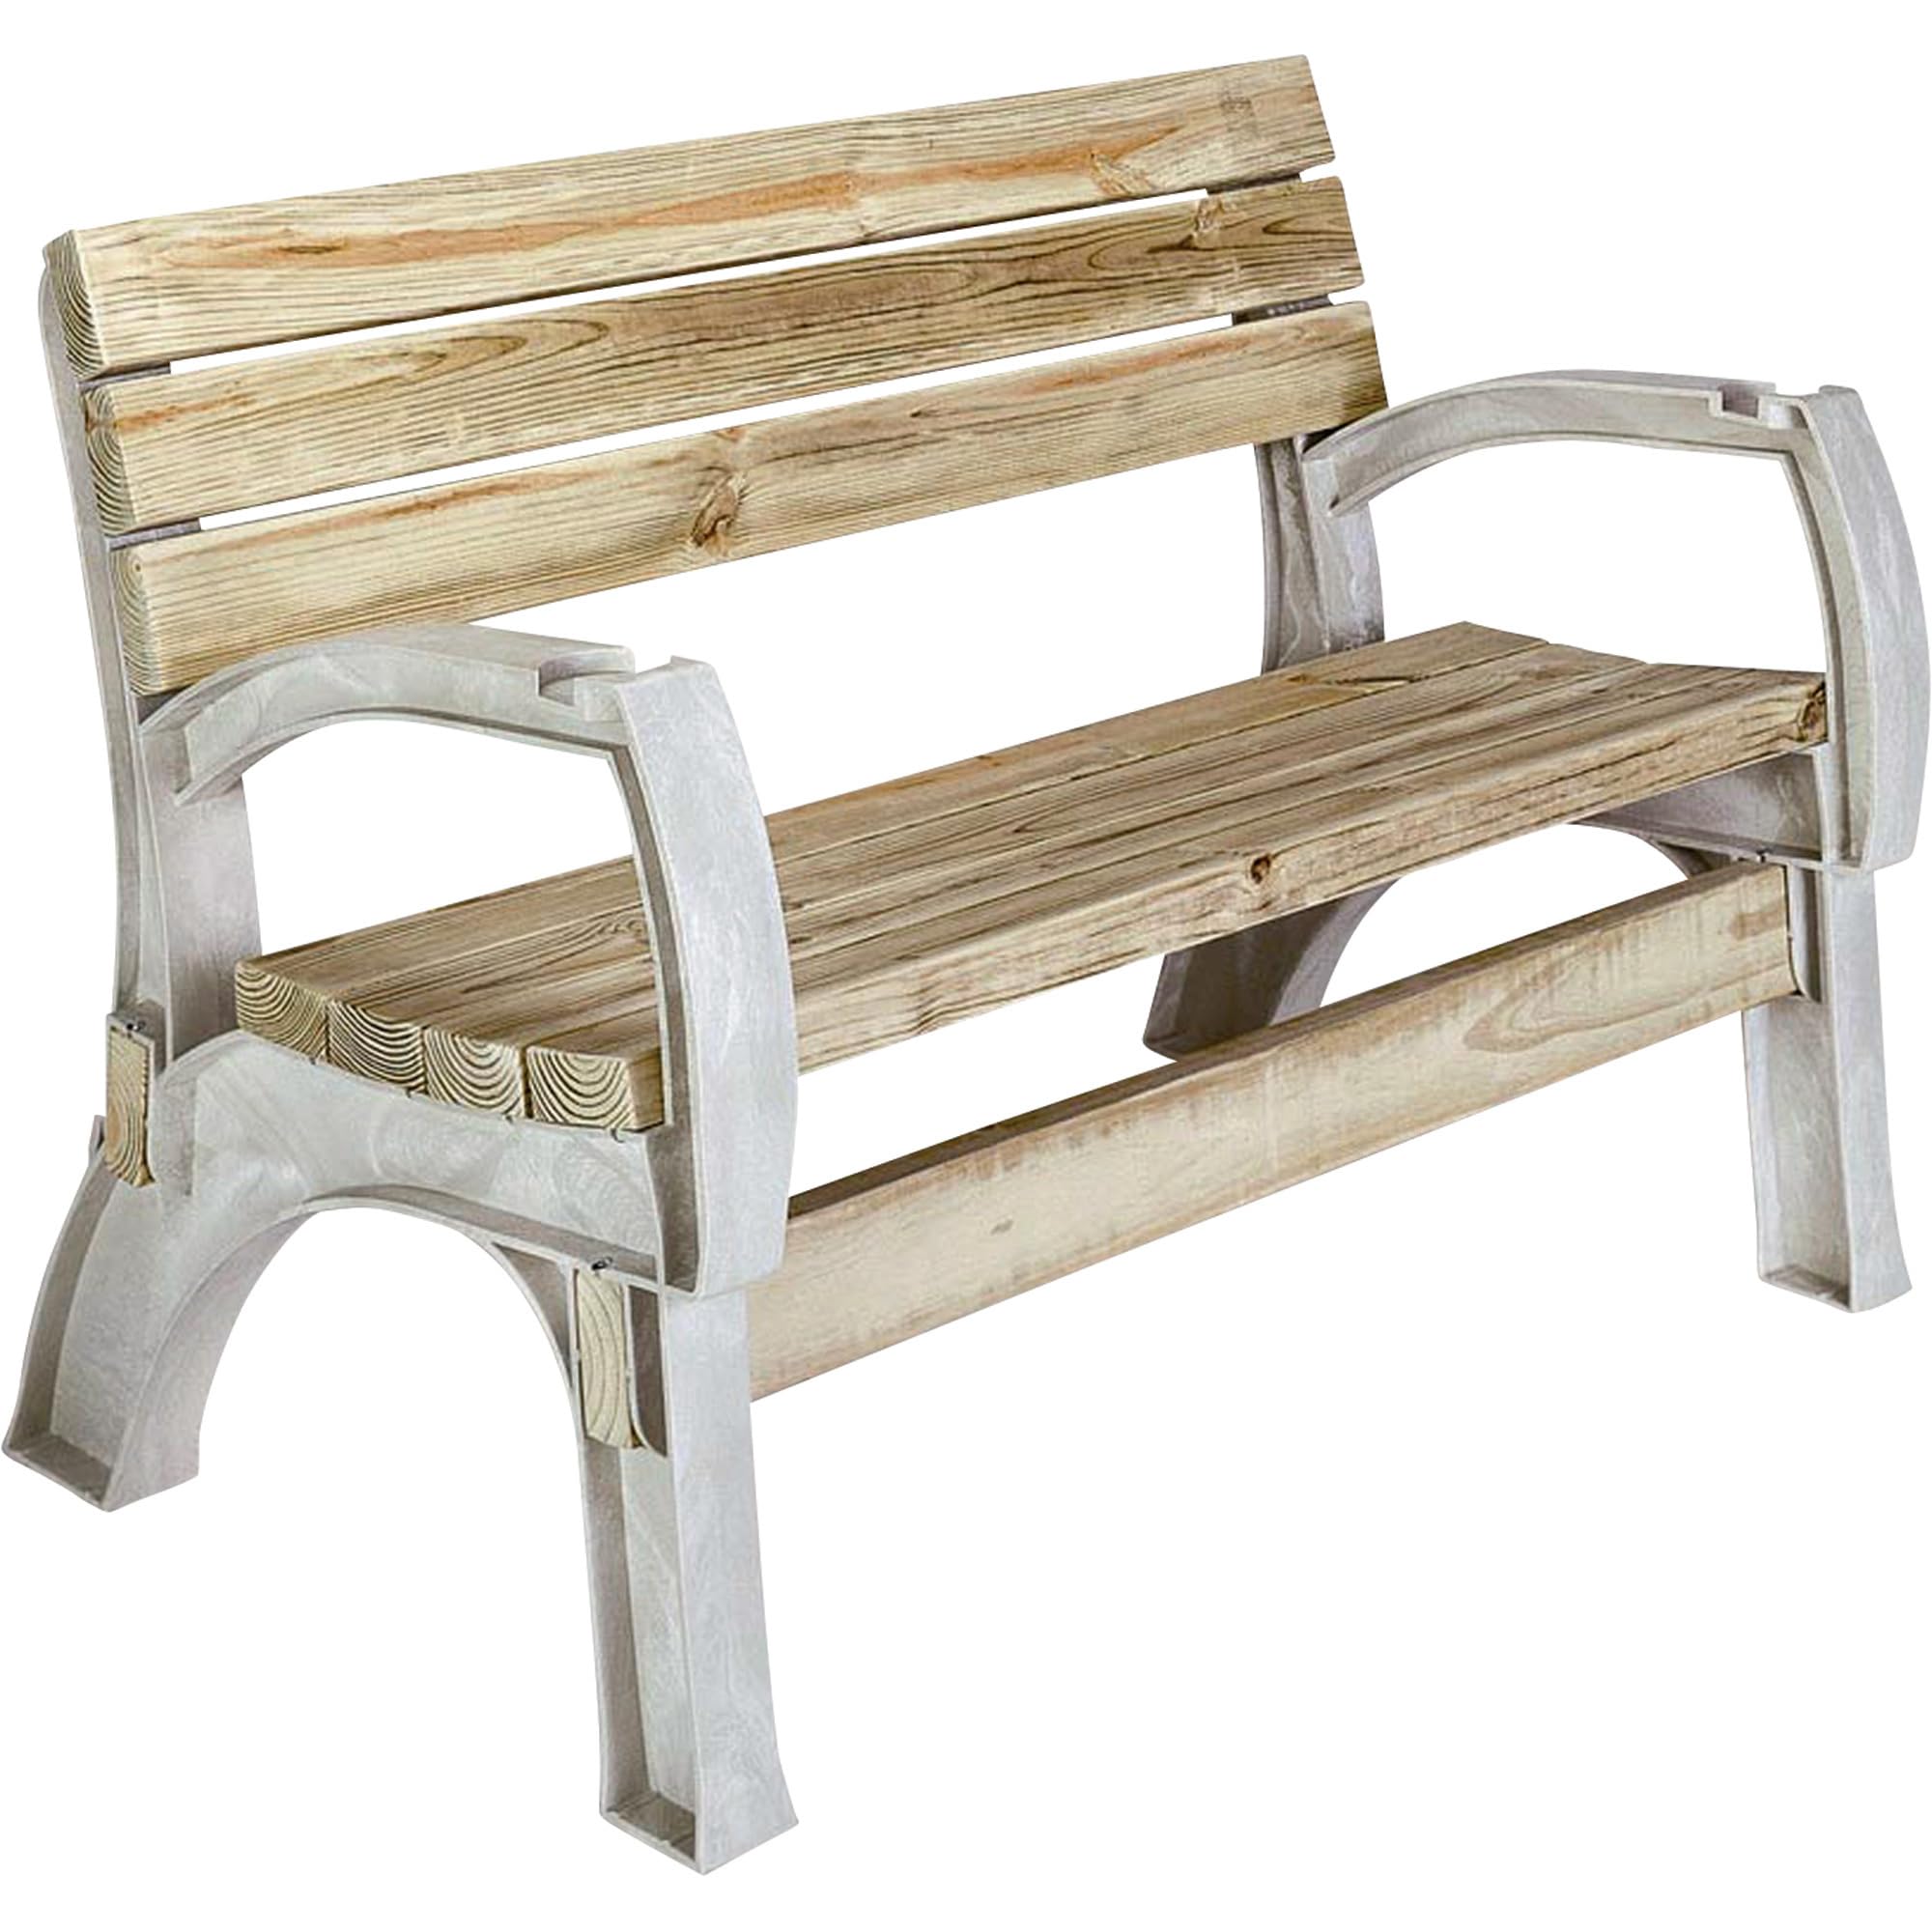
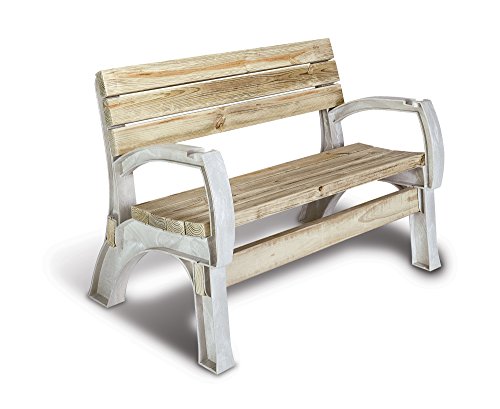
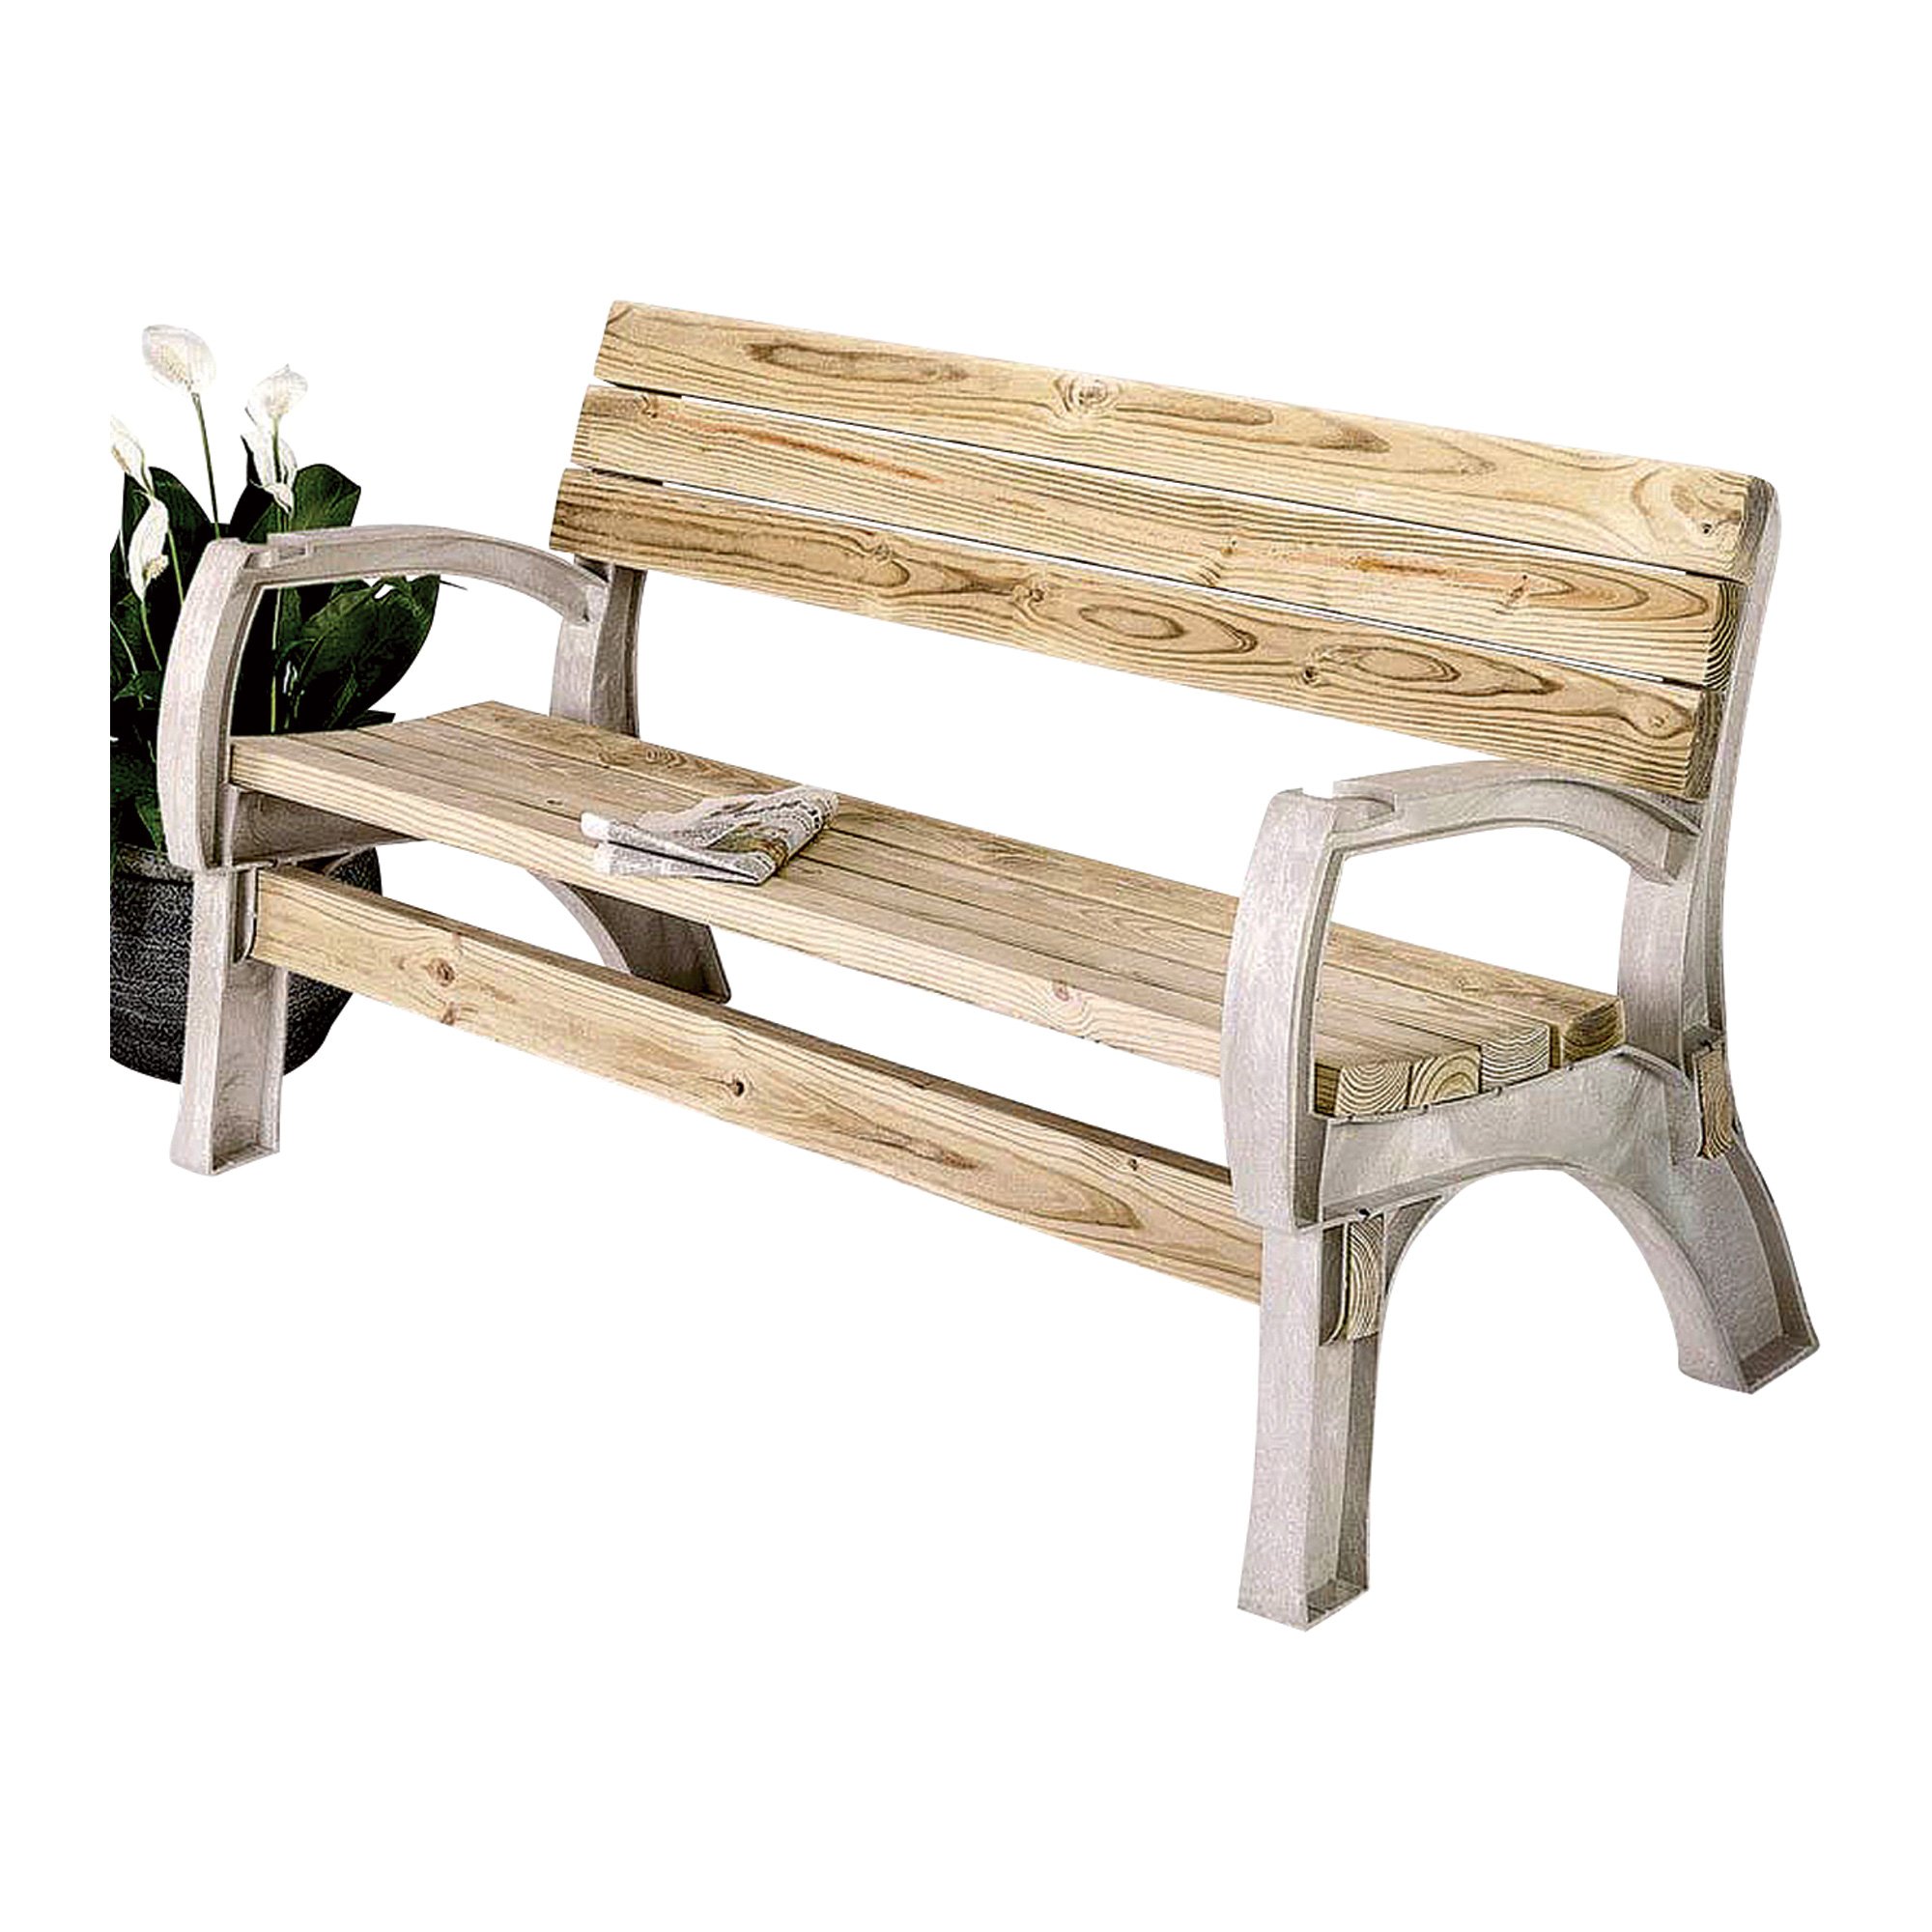
The 2x4basics 90134ONLMI Hopkins chair or bench ends allow you to build a sturdy, customizable seating solution from 2 to 6 feet in length. Featuring heavy gauge structural resin brackets and integrated beverage holders, this USA-made product simplifies DIY assembly with only straight 90-degree cuts required.


O**A
Sturdy, weatherproof, heavy, durable fairly easy to assemble
My first reason for choosing this product was because I wanted an inexpensive yet durable bench for an undeveloped wooded property on Lake Michigan where there is no structure of any kind for shelter. That means this will be outdoors ALL the time. I thought this plastic/composite material along with treated lumber would be just the right thing for longevity in the woods.Well, upon completion I'd say it seems this was the right choice. It seems very sturdy but it was not as inexpensive or as easy as I thought. I'm not a builder so I don't know any of the tricks of the trade, therefore, my projects often come out as something less than professional looking. However, I think this project came out just fine.As for expense...have you seen the price of lumber these days!!!??? (ref. May 5, 2021) Holy Toledo! I paid $48 for the bench brackets and $91 for wood. Plus about $14 for better screws. So, not as cheap as I'd hoped but still not bad for the what I ended up with. It's a nice, sturdy, comfortable, heavy, weatherproof bench and that's exactly what I wanted. But let me share a couple of points that might be helpful to others.As other reviewers have said, it isn't super easy to build all by yourself. Especially the "seat boards" for which you need to turn the bench over to access the screw slots. Soooo, since I was working alone, I heeded the advice to have a couple of large clamps at the ready and they were a life saver! I clamped the boards to the frame, measured, made adjustments as necessary, drilled pilot holes and screwed them on. Without clamps or a helper, I don't think I could have done it...at least not without it looking like a Jr, High shop project.Another thing that I think helps is to cut your boards an inch too long (or, if you bought 6' 2X4s, bring the brackets inward a total of one inch). That gives you a half an inch of overhang on each end. The reason for this is that many of the screw slots are on the outermost edges of the brackets which means that the screws go in very close to the ends of the lumber if you don't give it the extra space. The problem with that is splitting. Might even be an issue with longevity if too much movement on the bench causes stresses on the screws, thereby splitting the wood that way too. So leave a little extra room and DO drill pilot holes.Some genius builder also suggested using 8ft 2X4s in the bottom slots of the brackets, thereby leaving an extension sticking out on each side upon which to place boards, creating "end tables". I did this but made one modification: The slots for the front of the braces are about 3/4" lower than the ones for the rear of the braces. If you put boards across for a table, it will end up being slanted forward and anything that CAN roll WILL. Since I used 1X4s for my "table tops" (2X4s seemed too heavy and chunky to me) I simply "ripped" a short piece down the middle to and cut it to the length of the extensions to make a nice shim. That made the table level. (I used exterior deck screws for the table tops and the shim pieces.)As another reviewer offered, I DID pay for screws that were heavier (#12s instead of #10s) and half an inch longer for a better grip (1-1/2" instead of 1"). I used square drive because I dislike phillips or slotted screws. And I bought stainless steel because this bench will always be out in the elements. (I'll probably use something like "Thompson's" sealer on it too.)One other thing that was a "life saver" (credit going to another reviewer) was to have a rubber mallet on hand. I actually picked one up at Dollar Tree for a buck and it worked like a charm. The two bottom brace 2X4s went in hard. I could not force them in by hand and I am not weak. So, I pounded on the brackets to force them onto the 2X4s and I'm happy to report that the brackets showed no sign of abusewhatsoever.I'm quite pleased with the end result (see photo). This bench is heavy (probably around 100 lbs.) It seems very sturdy, steady and durable so I hope it lasts a long time. And it seems pretty comfortable to sit on, considering it's wood.
T**R
Great Ideas From Many Reviewers
Reviewing of the reviews had some really great ideas. I did use the #12 1 1/2" long screws (stainless). I added #12 washers (stainless). I used the 2 x 6 for the top of the back. I used extreme weather treated lumber, sanded, edges rounded with a router, minwax golden pecan stain and minwax spar urethane. Treated lumber is infamous for warping so, I used 4 stringers on the 2 lower 2x4s cut to match angles and attached with 3" deck screws. I also made 2 strings for the seat bottom and seat back (photo). I traced the wood to the curvature of the end plate for the seat bottom and back stringers, and cut with my bandsaw (photo). On the back seat stringers I used 12 2 1/2" deck screws on each the of the stringers. The 2 seat stingers were tapered front and rear I use 2 1/2" (2) deck screws for the front and back of those and 3" (6) for the others, their height is also slightly shortened to fit between the seat and the 2 bottom 2 x 4s. (Note: If the seat bottom stringer touches the bottom 2x4 stringers the slight flexing will give you a squeak. I would space them about a 1/4" away). Hopefully, this will hold down on any warpage that may occur. The 3/4" spacer for the front 2x4 was exact for leveling the table ends. I used extreme weather treated 1 x 4 for the table end and routered the periphery ends top and bottom. I extended the end of the tables out 3/4" at the right and left ends and made the slats 22" long and aligned them with the edges of the composite end pieces. I started with the outer most board of the table tops hanging over 3/4" and used 1/4" spacers between the slats, working my way toward the seat. I used 2 1/2" deck screws on the front of the slates due to the 3/4" spacer and 2" deck screws on the rear of the slats. I made the bench 60", so the 2 x 4 lumber was cut to 67", using approximately 3/4" overhang to ensure wood would not split even using pilot holes for all screws. I cut 3/8" 2 x4 spacers for the seat bottom as indicated in the directions, this caused the last seat board installed to have no wood at the manufactured slots (3/8" off). I had to drill a 1/4" hole on each of the bench ends to give me enough wood to screw in to (photo). I would highly using only 1/4" 2 x4 spacers vice the 3/8" for the seat that should keep the tolerance buildup down and get the last board slots closer to where they should be. All in all I want to thank all of the reviewers for their ideas and hopefully some will use mine. Great project but in the Florida heat it was a killer should have been a winter project, lol.
L**N
Best ever bench !
oh this bench! cup holderscomfy!perfect for outdoor sitting spaceIt was best Father's Day gift EVER!
Trustpilot
5 days ago
2 months ago