

Full description not available
T**.
Good film
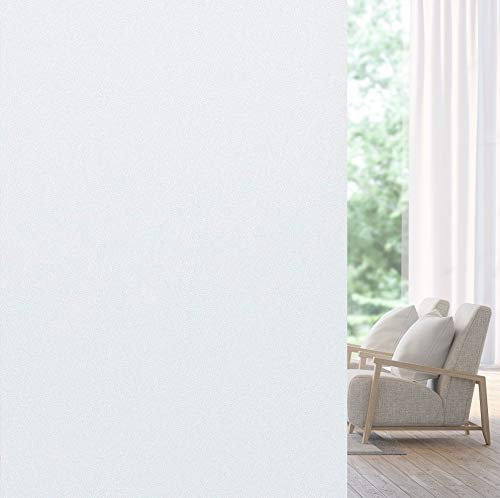
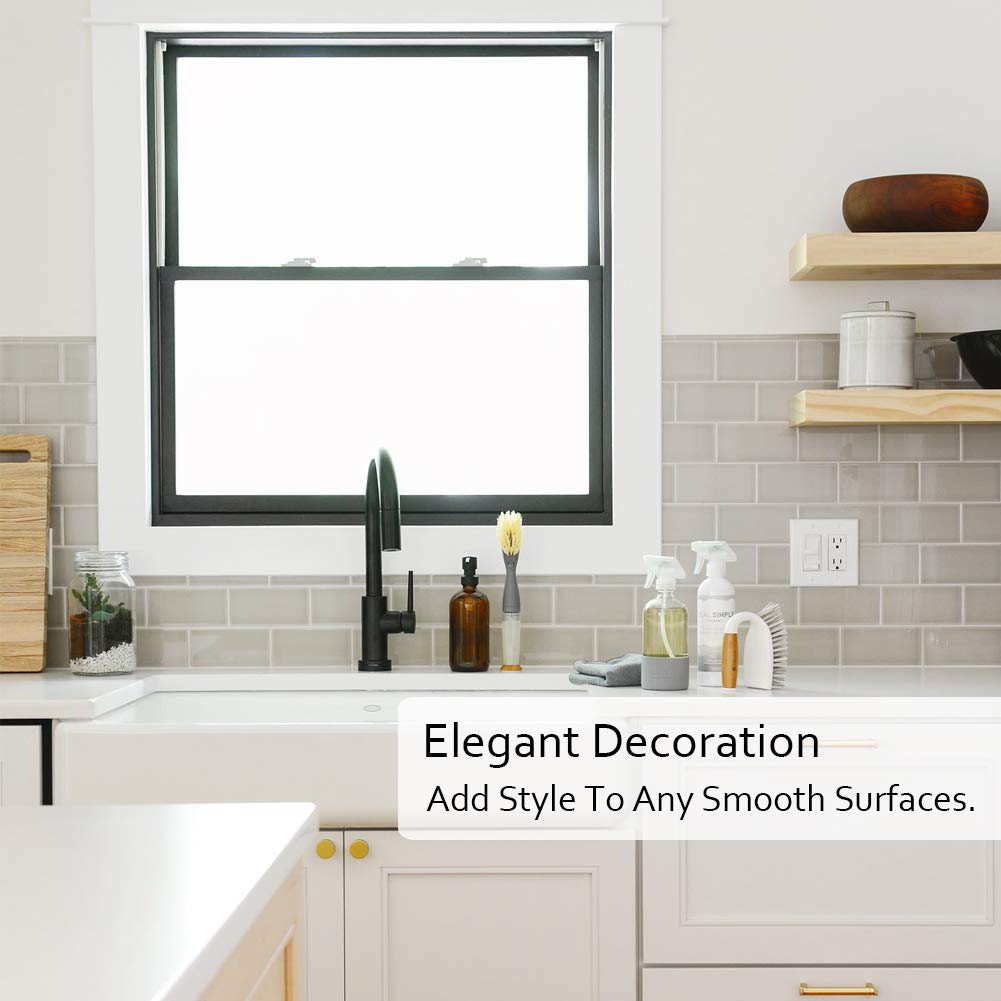
Purchased this in response to experience with other films. Followed the directions exactly.As long as the surface is clean, and you wet the surface and material, you will get good adhesion and a clear background.Definitely worth the money.However when I purchased this, it was listed as "frosted white" and the product is more if a matte white, with almost zero transparency like a "frosted" film would have.It's not an issue, but if you are looking for a semi-transparent background, stick with the standard frosted.
S**L
Easy and works for privacy
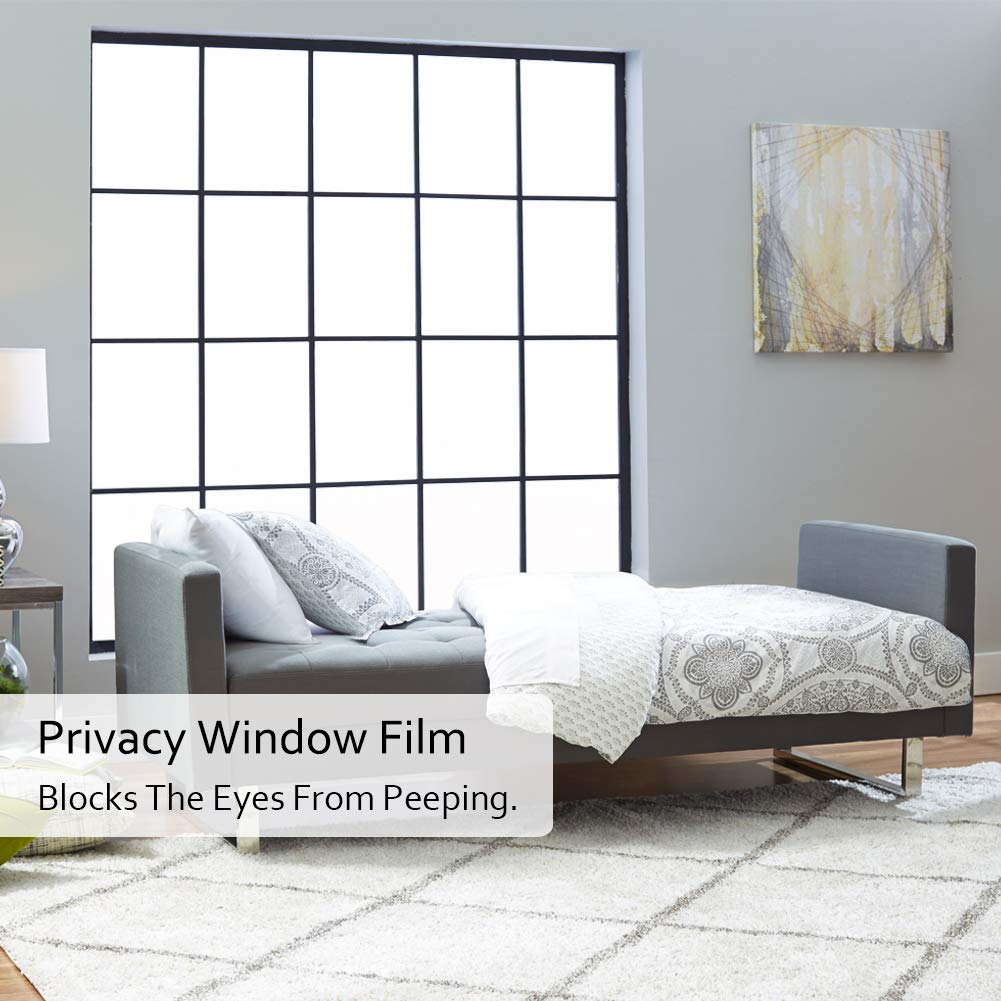
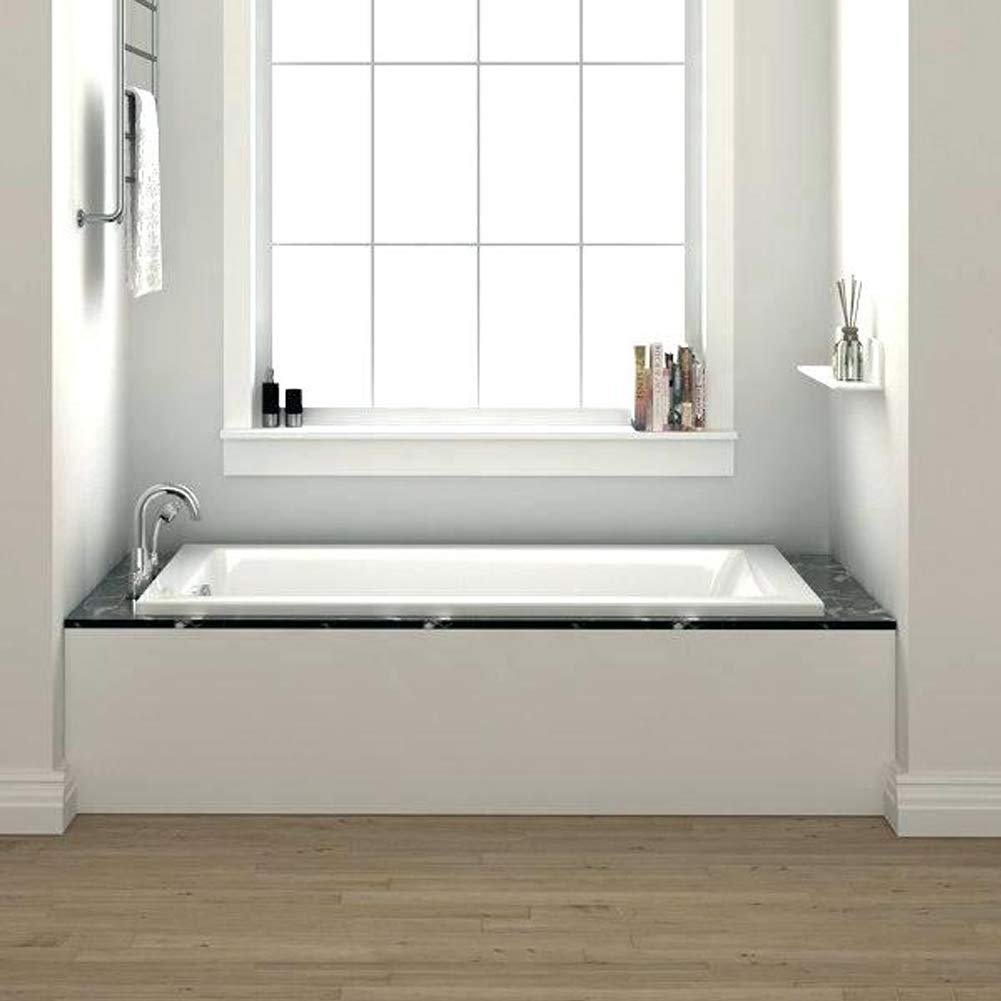
After a learning curve :-) I zoomed through putting up twelve of these (this film and twelve with the prism version). Two windows each with 12 panes. I put this film on the bottom six and the other prism stuff on the top to make the room pretty when the sun shines in. My only need for real privacy is the bottom six. After installing it in one afternoon, that night after dark with the lights on in the bedroom, I went out and tried to be a peeping Thomasina with no luck. I'm very happy with this film. Up to now I've never looked out these windows much which look onto my neighbor's yard and my garage wall/driveway due to having blackout curtains up. Now I can leave the curtains open and have natural light in my bedroom and privacy. The picture is in the early morning with no lights on.
V**R
Don't install alone, and have a squeegee
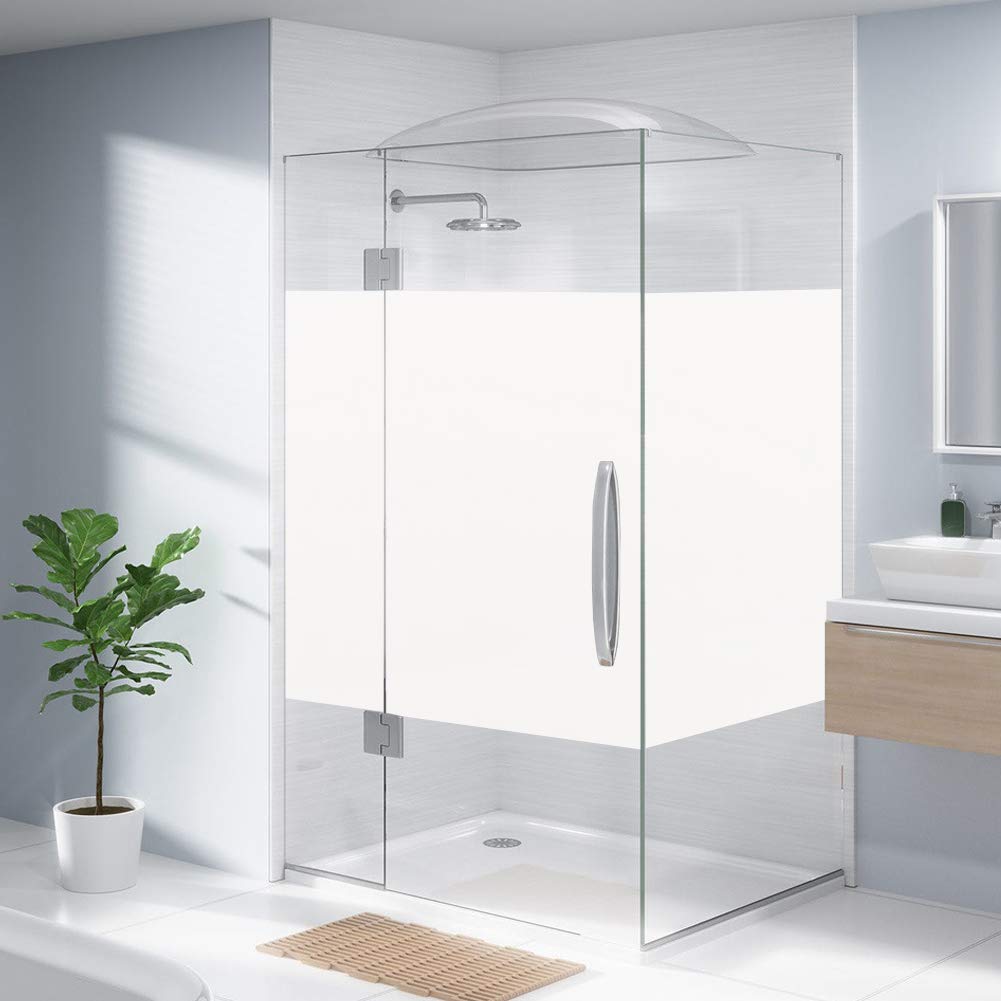
The film sticks very well to my windows, and makes it impossible for people to see into my 1st floor apartment. They let in a decent amount of light (fairly comparable to blinds that are down but rotated open), but I wouldn't cover all my windows in it as it will darken up a room and make it impossible to see outside. I installed it on the bottom half of my windows only.My installation doesn't look very good. There are tons of air bubbles. Even with the bubbles, the stickiness isn't compromised, but I want too redo it to make it look better. I tried doing it alone and I just couldn't stop it from attaching to the window before I had the placement right. So if you really want it to look good, I would get a buddy to help. It actually worked better when I didn't spray it with water, too, but seems to be sticking just as well.
S**.
wow it is magic
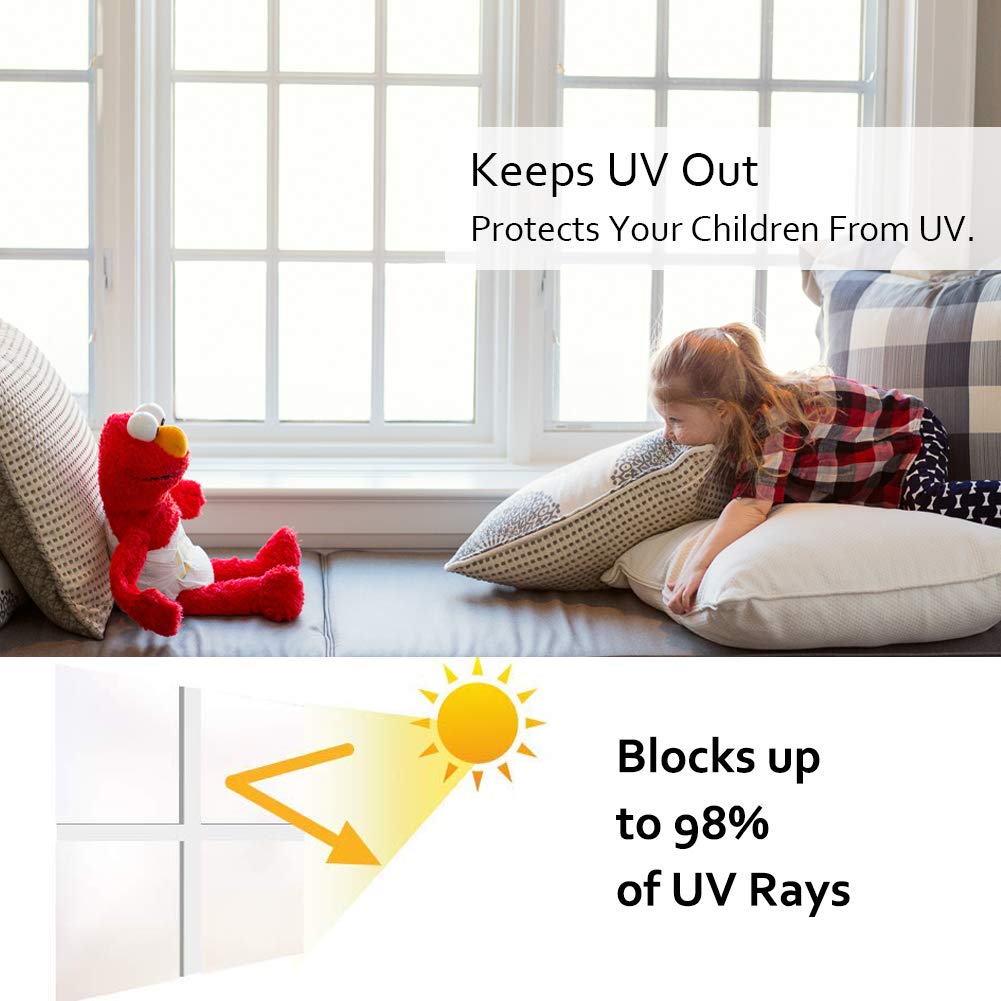
I just moved in a new house and I decide to keep my privacy in my garage, but there are some windows on the garage door, I bought this window film. It's amazing! First it allows the light come in, but still keep my privacy, which is exactly what I need. Second it's super easy to stick the window film to the window, there is no glue! Just use some water, and the film can stick to the window very tightly, it's magic! I don't need to deal with those sticky and annoying glue any more! I love this product a lot!
A**K
HARD AF!! to install nicely
Welp, all the reviews I read (about this and other brands) is correct... very, very, VERY hard to install. Assuming you want it to look nice, that is. It is very easy to lift and reapply the film. But when you do you have to douse with water again. Then the water droplets drip and pool down and cause streaks and water drops that show up through the other side. But they don't show up as bubbles that can be removed, it literally looks like I sprayed sticky goo instead of water and placed something over it. You can see all over where the water droplets spayed or dripped. And it does NOT remove with squeegeeing. It looks like little bright spots where you;d think perhaps the film may have been scraped off or little flecks of shimmery something stuck there.So, the squeegeeing...that's another story. If you don't press hard enough the bubbles don't move, but if you press too hard you get drag marks that seem to be slight layers of frosting/matting that have been worn down a smidge, so on the other side of course you see the lines of smudges from the squeegee track lines. And there are shadow marks where perhaps the squeegee wore down the film in spots? Or maybe it's from a spot that was damp instead of wet.The edges are hard to cut. The first film I put using the middle which meant I had excess hanging off the sides and bottom. Well, the edges can't adhere of course when there is pull from the film hanging off, but when you go to cut it because it isn't adhered you can't get an even cut because the film shifts as you move the blade down. The second film I put in I lined up with the top edge and a side edge to minimize the number of jaggedy edges I'd have.The film itself is very, very nice looking. A thick milky white, just as I wanted, not too sheer, but the edges look like crap ( I even used some of the excess film to cut tiny pieces to fill in the jaggedy horror all around the edges), and there are the shadow marks everywhere that I don't know what caused that so I wouldn't even know how to adjust for that next time, I have the shimmery droplet marks and streaks from the water sprayed onto the glass that I wouldn't know how to adjust for next time since I can't pour a bucket of water on it vs spraying the water, and I have squeegee track marks from where the squeegee seemed to very slightly rub off a tiny smidge of the the film texture/colorThese things should come with a small practice square so you can see for yourself the challenges and obstacles you will face so you can figure out how to adjust for that before you apply it for real. I suppose one day I'll reorder, take these off, and redo, but it's too much work to do right away. Took me more than an hour to do two 12.5''x37'' glass cabinet doors. Maybe next time I'll jsut take the doors off so i can pour water instead of spraying to avoid the shimmery droplets shining through
T**L
It Takes Patience For The Best Results
I had a little trouble applying this matte cling on window film. The small bathroom window in our bedroom, just by luck, is the exact direction as our neighbor’s backyard flood light (always on by the way). Obviously, due to the size, we had to cut out 4 appropriately sized pieces to match the 4 little glass panes (they say to add 22 mm to each then just razor any extra film after.For the installation, I used a putty type knife and attached it (like I a screen saver on my phone), just MUCH softer. At first, it seemed to work great. Easy to install, the air bubbles were insignificant, but any that I smoothed came back eventually (hours to a day), and the film looked pretty D.I.Y. a couple of hours later. I had to remove the film, clean the window, and reapply. I ended up doing that 3 times. Now it looks pretty decent. So don’t give up if it doesn’t look ideal the 1st time. For the price, I’d say it’s worth it. The light is still noticeable but reduced by about 80%.
M**6
Diffuses light
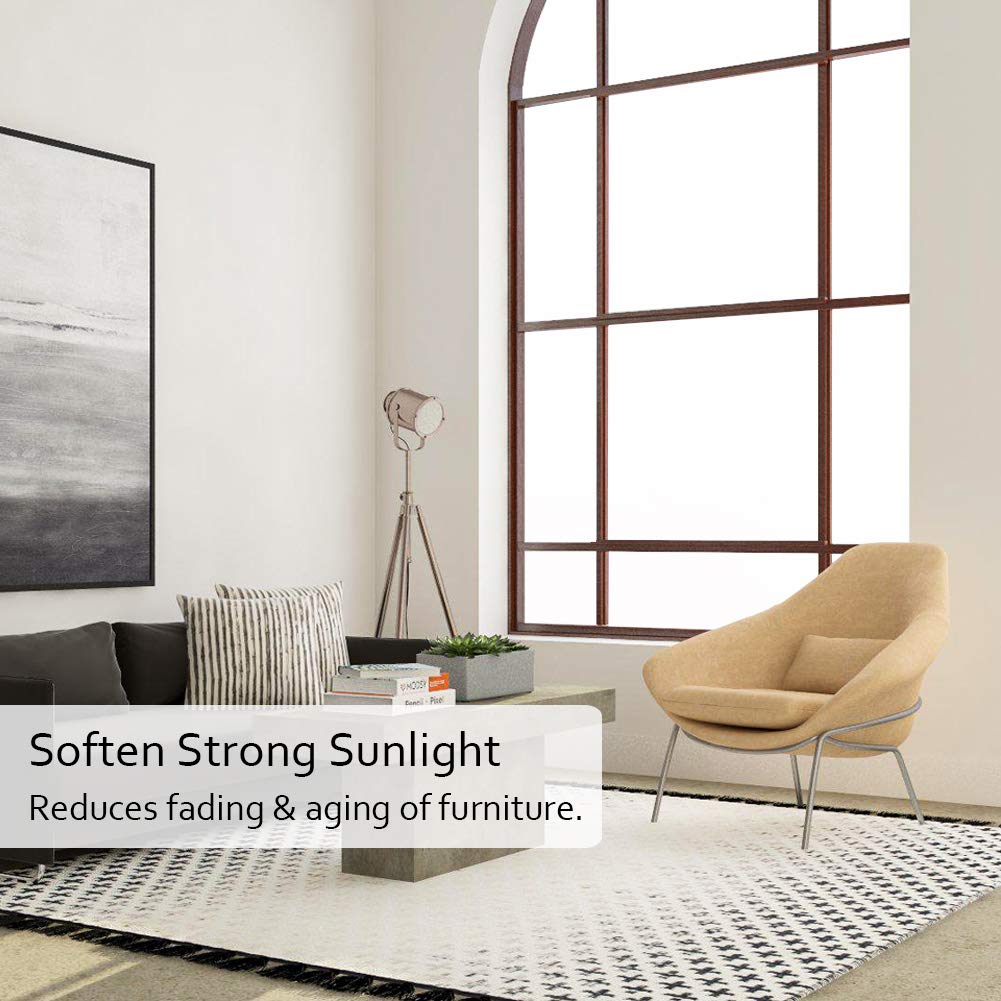
Instead of partially blocking the light this worked like a soft box and actually spread the light out further and made it brighter everywhere. So it diffused the light, but didn’t really provide any light blocking effect. We used this on our skylights in our master bedrm And it didn’t serve the purpose we wanted so we returned it.
Trustpilot
3 weeks ago
1 month ago
