Description
🎯 Nail every project with precision and power!
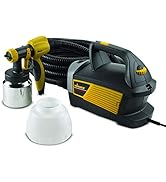
- EFFORTLESS REACH COMFORT - 20 ft hose reduces hand fatigue and lets you paint large areas with ease.
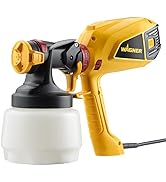
- PROFESSIONAL HVLP TECHNOLOGY - High volume, low pressure atomizes paint into fine particles for minimal overspray.
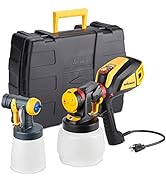
- COMPLETE KIT FOR IMMEDIATE USE - Includes metal & plastic cups, cleaning kit, and viscosity cup for pro-level prep.
- VERSATILE MATERIAL COMPATIBILITY - Sprays everything from thinned latex to stains and polyurethanes.
- PRECISION CONTROL AT YOUR FINGERTIPS - Adjust pressure and flow for flawless finishes every time.
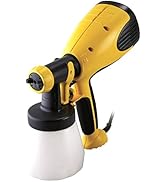
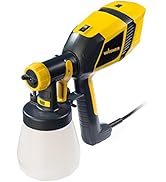
The Wagner Control Spray Max HVLP Paint Sprayer delivers professional-grade finishes with its 510W motor and 20 ft hose, offering adjustable pressure and spray patterns to handle a wide range of materials. Designed for efficiency and comfort, it minimizes overspray and hand fatigue, making it ideal for detailed trim work or large surfaces alike.