Description
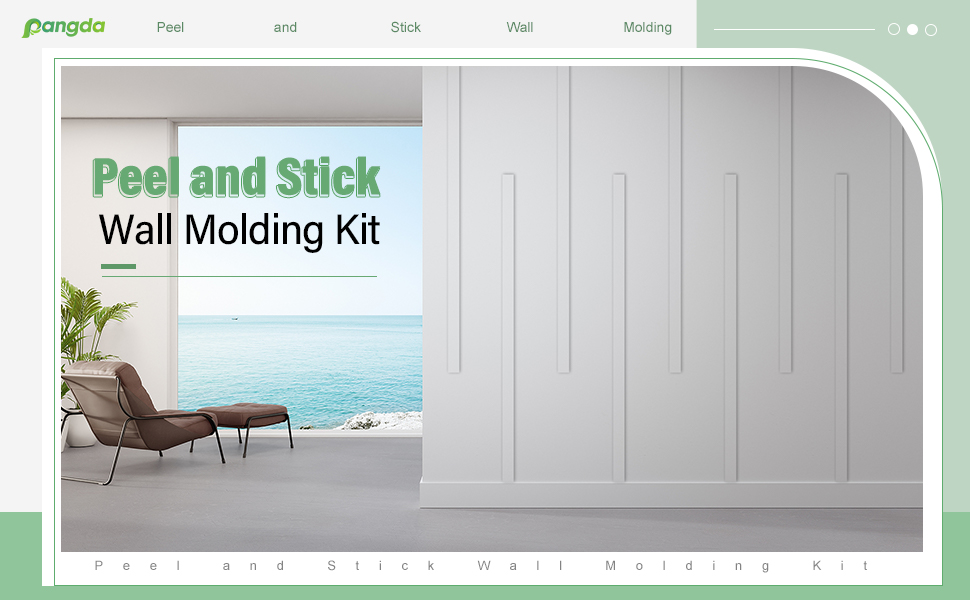
🏡 Peel, stick, and wow—wall decor made effortlessly chic!
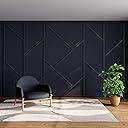
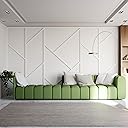
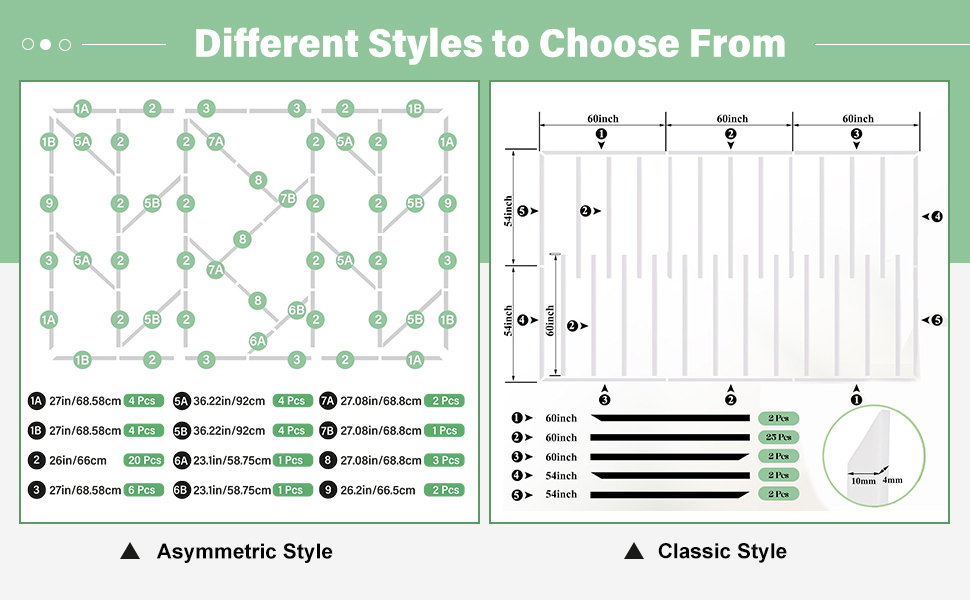
- CUSTOMIZABLE STYLE - DIY your dream accent wall with asymmetric panels that adapt to your unique aesthetic.
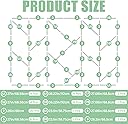
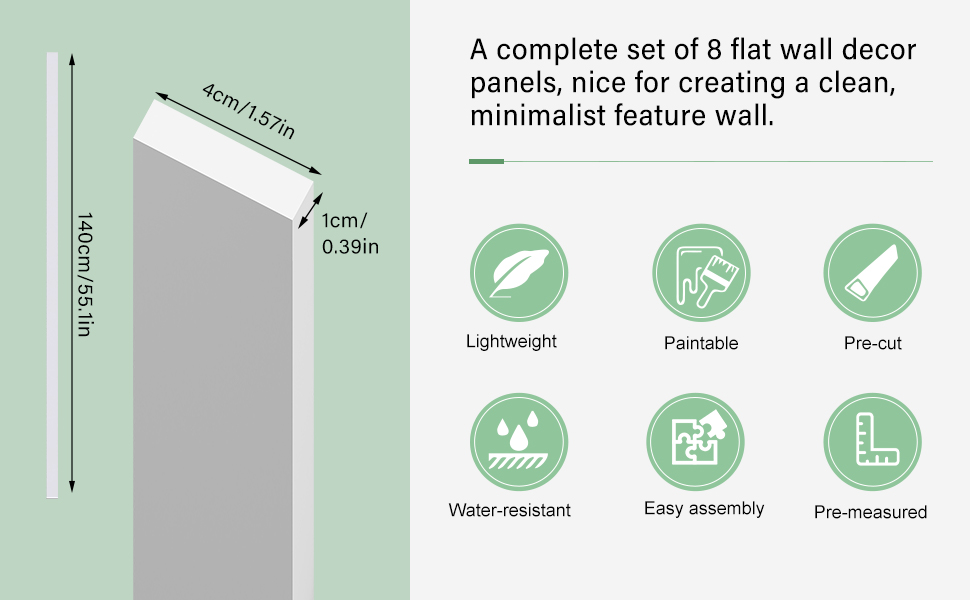
- EFFORTLESS ELEGANCE - Transform any room with 51 sleek, pre-cut panels designed for a flawless minimalist look.
- DURABLE LIGHTWEIGHT - Enjoy the perfect balance of wood-like texture and impact resistance without the bulk.
- NO HASSLE INSTALLATION - Peel, stick, and paint—no tools or extra adhesives needed for a quick, professional finish.
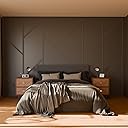
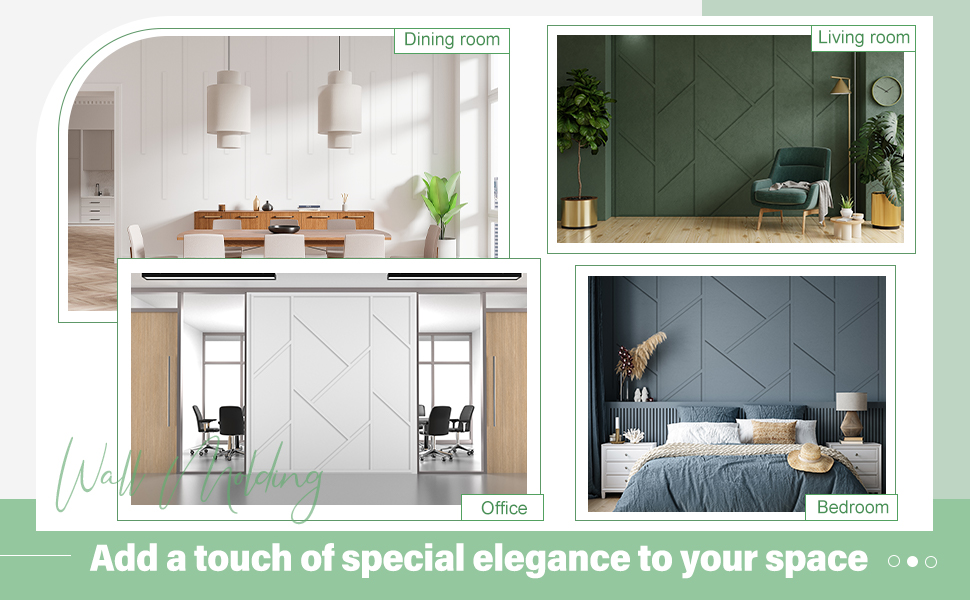
- VERSATILE SOPHISTICATION - Ideal for living rooms, offices, hallways, and dining areas—elevate every space with modern charm.
The Pangda Peel and Stick Wall Molding Kit includes 51 pre-cut, self-adhesive polystyrene panels designed for easy installation and customizable modern wall accents. Lightweight yet impact-resistant, these asymmetric style panels bring a sophisticated, minimalist touch to living rooms, offices, and hallways without the need for tools or extra adhesives.