Description
⚡ Sharpen Smarter, Work Faster – Drill Doctor DD500X Has Your Back!
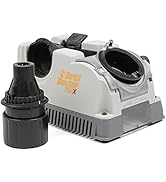
- PORTABLE POWERHOUSE - Compact, lightweight design lets you sharpen on-the-go—never lose momentum on your projects.
- DUAL ANGLE CUSTOMIZATION - Switch effortlessly between 118° and 135° angles to match any project’s demands.
- EXTEND BIT LIFE PERFORMANCE - Split cutting tips reduce wear, boosting cutting efficiency and saving you money.
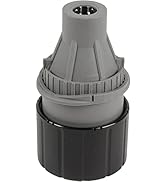
- PRECISION SHARPENING FOR EVERY JOB - Revive your drill bits from 3/32" to 1/2" with unmatched accuracy and speed.
- BUILT WITH AMERICAN ENGINEERING EXCELLENCE - Designed, engineered, and calibrated in Oregon with a 3-year warranty for peace of mind.
The Drill Doctor DD500X is a high-speed electric drill bit sharpener designed for twist bits ranging from 3/32" to 1/2". It offers adjustable sharpening angles of 118° or 135°, enhancing bit performance and longevity by splitting cutting tips. Engineered and calibrated in Oregon, this portable tool supports steel, masonry, carbide, and tin-coated bits, backed by a 3-year warranty for reliable, professional-grade sharpening.