
Desertcart purchases this item on your behalf and handles shipping, customs, and support to Japan.
๐ดโโ๏ธ Seal the deal, ride fearlessโflat tires are so last season!
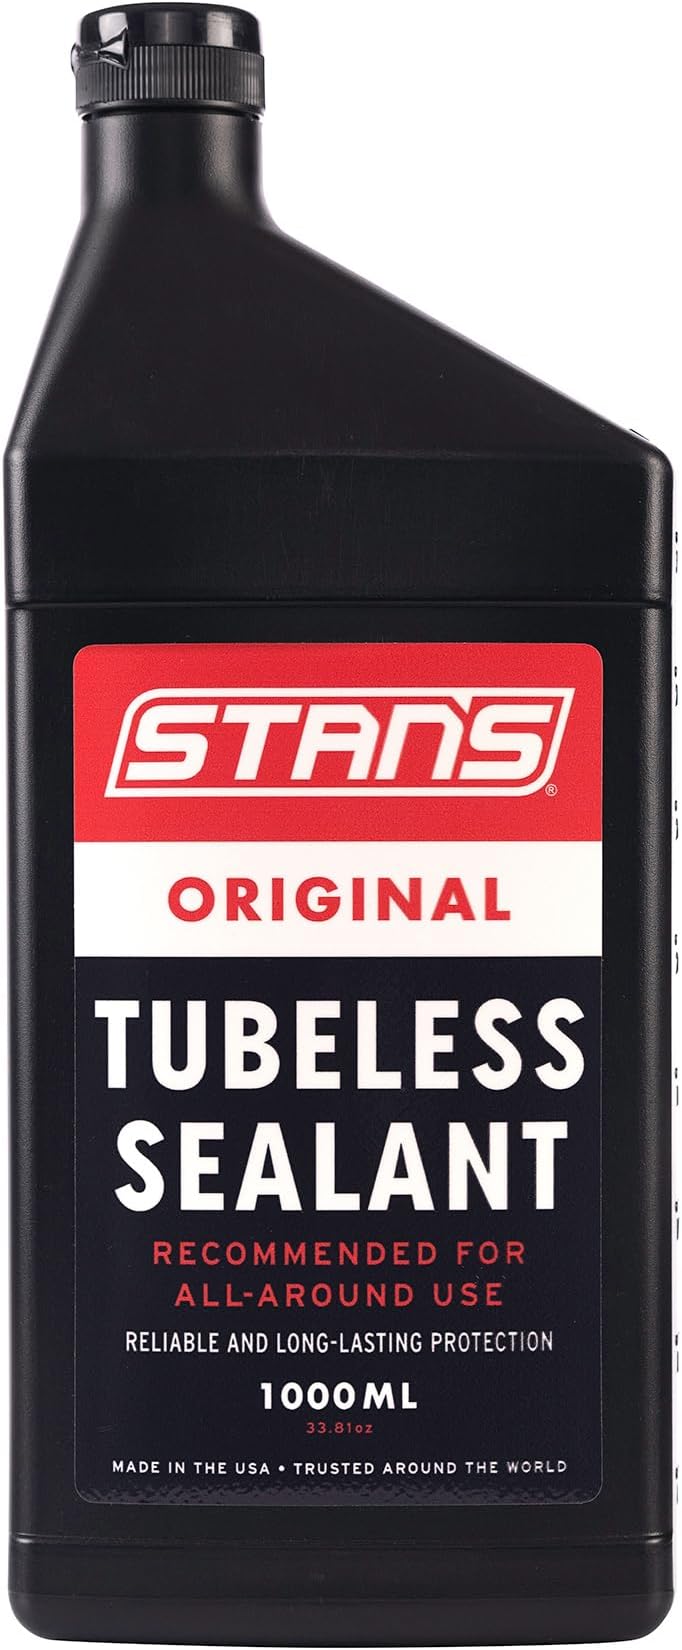
Stan's NoTubes Tire Sealant is the pioneering tubeless tire solution engineered for ultra-fast sealing of punctures up to 6.5mm. Designed for mountain, road, gravel, cyclocross, and commuter bikes, it offers long-lasting protection by remaining liquid inside tires for 2 to 7 months. Easy to install through the valve with Stanโs Sealant Injector, it proactively repairs flats, ensuring a smooth, uninterrupted ride trusted by cyclists globally.


| ASIN | B0D6C24L41 |
| Best Sellers Rank | #838 in Sports & Outdoors ( See Top 100 in Sports & Outdoors ) #13 in Bike Tools & Maintenance |
| Brand | Stan's NoTubes |
| Brand Name | Stan's NoTubes |
| Color | white |
| Compatible Material | Rubber |
| Customer Reviews | 4.7 out of 5 stars 9,198 Reviews |
| EU Spare Part Availability Duration | 2 months |
| Global Trade Identification Number | 00847746065609 |
| Included Components | measuring gauge |
| Item Dimensions | 4.13 x 1.97 x 10.04 inches |
| Item Form | Liquid |
| Item Type Name | Tire Sealant |
| Item Weight | 2.1 pounds |
| Item dimensions L x W x H | 4.13 x 1.97 x 10.04 inches |
| Manufacturer | Stan's NoTubes |
| Material | Latex |
| Material Type | Latex |
| Model | ST0157 |
| Number of Items | 1 |
| Number of Packs | 1 |
| Part Number | ST0157 |
| Style | Original |
| Style Name | Original |
| UPC | 847746065609 |
| Unit Count | 33.81 Fluid Ounces |
| Water Resistance Level | Water Resistant |
T**S
Great product, great results! Just follow the steps and you'll be all set.
I used this to seal the Mavic Yksion Elite All Road tires I purchased here on Amazon for my Diamondback Century 4 Carbon bike. I wanted to go with a tubless setup as I was tired of getting pinch flats from running over sticks and the like on rougher trails. Using it is easy enough. I used this sealant injector that I got here on Amazon: Tubeless Sealant Injector Syringe and Presta Valve Core Removal Tool by KOM Cycling - Designed for Stans No Tubes sealant and other sealants Steps to mount tubeless tires (for road bike/gravel/cross tires, mountain bike is similar but amount of sealant will be about double and pressure to inflate to is around half, just look at the sidewall for max PSI when seating the bead): 1. Make sure your rim is tubeless ready, and seal spokes with Rim Tape if needed. I used Stans No Tubes Rim Tape: Stans No Tubes 10yd x 21mm Rim Tape 2. Install Valve Stems. Get the ones with removable cores; it helps with injecting sealant. I used these 35mm stems from Stans No Tubes: Stans No Tubes 35mm Presta Universal Valve Stem (Carded Pair for Mountain) 3. Install Tire on the rim. Try your best to not use tire levers, as it can mess up the bead on the tire. Tubeless tires typically have a VERY tight bead, to keep the tire from "burping" off the rim. They sell lubrication to get them on, but I just used a bit of soapy water on the one tire...the other one I was able to get on no problem. Tip: Install the label on the tire above the valve stem. It looks clean and helps you easily find the valve to inflate tires. 4. Seat the bead. This is the trickiest part. If you have an air compressor, I'd recommend using it here. You want as much air through the valve stem as possible (remove the valve core at this point). I had to get a special inflator gun for me to get enough air through the valve for it to work. I used this one: TYH Supplies Tire Air Pressure Gun Inflator Gauge with Chuck, PSI / BAR Dual Measurement up to 174 PSI, 1/4-inch Flexible Hose, Accessory Kit, Schrader to Presta Valve Adapter, 20 Valve Caps . If you have problems getting the bead to seat, you can put a tube in, inflate the tube, which will seat both beads; then CAREFULLY remove the tire by popping ONE bead off. This will leave only one bead for the air compressor to seat, and works much easier if you're having difficulty seating both beads at once. 5. Once the bead is set, fill the injector with 2-3 oz. of tire sealant, and inject it through the valve stem. I recommend angling the valve stem so that it's not directly at the bottom of the tire, but rather off to the side, at about 4 oclock or so; this prevents the sealant from wanting to come back out of the valve. 6. Reinstall the valve core, and inflate the tire to close to it's max pressure, typically 70-90 PSI will do the trick. You may hear the tire pop a bit as the bead settles into it's final position. 7. (optional) take bike for a short ride just to make sure the tire is seated okay. I took my bike for maybe a 5 minute, 1 mile ride or so just to quickly ensure they were seated. 8. This is one of the most important steps in my opinion. Get a cardboard box and fold the flaps in so you have a nice, level method of lying the tires on their sides. Lay each tire on its side for 24 hours, to allow the sealant to get into the tiny crevices of the bead. After 24 hours, reinflate, and flip them over to the other side, and wait another 24 hours. Then you should be good to go. After following these steps, my tires have held air incredibly well. I read a lot about how you need to inflate your tires more using a tubeless setup, but my tires have not lost any appreciable amount of pressure in the 3 weeks it's been since I've completed the steps above. If you get a slow leak or it doesn't seem to be sealing well, add another ounce or so of sealant..sometimes it just wants a little more and that's enough to solve the problem. So far I've been super impressed by how well this has worked, and I love the tubeless setup. So much nicer to not have to worry about pinch flats, and I can run 30ish PSI less than I used to without sacrificing efficiency, and the ride quality has improved tremendously. I highly recommend going tubeless if you are on the fence!
L**E
5โญ๏ธ
Iโve been working with different bike parts lately and what really stands out is how much of a difference quality components make in the overall ride. Even small upgrades can completely change how smooth, responsive, and enjoyable a bike feels. The drivetrain parts shift cleanly and make pedaling feel more efficient, especially on hills or longer rides. Brakes are another big one, when theyโre solid and responsive, it instantly adds confidence and control in all kinds of conditions. Wheels and tires also play a huge role. A good setup feels faster and more stable, and it handles bumps and uneven surfaces way better than lower-quality parts. Even things like chains, cassettes, and cables all work together more than you realize until something feels off. What I like most is how everything connects. When the bike is dialed in with good parts, the ride just feels effortless, like everything is working in sync without you having to think about it. Overall, quality bike parts turn an average ride into something smooth, reliable, and way more enjoyable.
P**L
Goodbye Demo-Bat Bites, Hello Smooth Rides
Biking through the Upside Down again? Did Vecnaโs demo-bats just shred your back tire like itโs Hawkins High cafeteria pizza? Fear not. With Stanโs No Tubes Sealant, punctures from demo-bats, Mind Flayer minions, or even that one rusty nail hiding in your driveway are a thing of the past. This stuff doesnโt just seal โ it Hawkins-style seals the gate before anything nasty slips through. It slices, it dices, and if Eleven had it in her backpack, half the show wouldโve been over in season one. Now that we have that out of the way, I ran out of tire sealant this year and wondered how important this stuff really is! Turns out this isnโt just for punctures but itโs vital for tubeless tires. I used to think Stanโs was just for sealing punctures, but it turns out itโs basically required for running tubeless tires in the first place. Without it, the tires wonโt hold air for long because most casings and beads arenโt airtight on their own. The sealant not only handles punctures, it also seals the tiny leaks in the sidewalls and bead so your tires stay inflated ride after ride. Iโve ridden hundreds of miles on technical trails and never had a flat that stopped me, and Iโm sure thatโs because the sealant was working in the background without me even noticing. It doesnโt throw off balance unless you let it dry out and clump up (Stanโs buggers!) I found keeping it fresh solves that. Basically, if youโre running tubeless, this isnโt optional. Itโs what makes the whole system work.
C**I
It just works
Stans is the only sealant I use. There's many new ones that came out but Stans just works
D**1
Not a silver bullet, but sure saves a lot of flats....
Tubeless tire sealant that can also be used in tubes, as long as they have a removable valve core. A bit messy to install and very messy if still wet when you do get a flat. Still, this has saved so many stops because it successfully seals small punctures including from goatheads (puncture vines) which are ubiquitous on the trails around the CA central valley. It doesn't prevent large sidewall slices and cannot seal bigger pinch-flats. Still, it does a great job with sealing small punctures. We've replaced tires that looked like an inside-out porcupine: dozens and dozens of thorns that would have stopped a ride if not for Stan's sealant. Good stuff for a bit of extra security. Be sure to keep it topped up, particularly during the hot, dry summer months.
G**S
Great for tubes OR tubeless tires, incl. tubeless tire conversions on non-tubeless-compatible rims!
If you go to your local bike shop and ask if you can put sealant in your tubed tires (inner tubes in your tires) to stop all the flats you are getting, and they say "no, it's meant for tubeless only", you can tell them they are wrong, leave their shop because they are incompetent, and buy this stuff for your inner tubes and put it in yourself using a syringe kit on Amazon for this purpose. Stans No Tubes website FAQ has a question which says, "Can I add sealant to my tubes or tubular tires?" And they respond: "Yes, if the tube or tubular has a removable valve core. If there are two opposing flat surfaces just below the top of the valve, you can use our valve tool to unthread the core and sealant can be installed. We recommend injecting 1-2 ounces (30-60ml) of sealant into tubes or tubular tires. Sealant will not damage tubular tires." So, there you have it! Use it in your stinking tubes to stop thorn flats and make riding and commuting better! If you do decide to do a tubeless conversion with Gorilla tape or whatever around your rim, this stuff works too! I converted a non-tubeless-compatible rim to tubeless using Gorilla Tape and this stuff, by following a couple tutorials online, including one Instructable. This sealant is AWESOME! IT WORKED! I've had the sealant in my (now tubeless) tires for 98 miles now, and about 30 miles ago this happened: I was riding around with my kids. In order to stay next to them while we rode, they rode on the sidewalk while I rode on the grass/dirt between them and the road. As a result, it turns out, I ran over a *lot* of thorns unknowingly. When I got home, I saw little wet spots all over the tire--about **7** or **8** per tire. Each wet spot was a thorn sticking in the tire, and the wet stuff was the sealant that had leaked out and sealed the hole. But..the tire didn't leak. The sealant worked! I pulled out all 16 thorns, and each time I pulled one out the tire hissed loudly, as the air rushed out pretty fast. My tires would have emptied from 50 psi to 10 in probably 1 to 2 minutes. So, after I ripped out 8 of the thorns in the front tire, I lifted up the front of the bike and hand-spun my wheel for several spins. I could already tell the sealant was getting into the holes and slowing the leaks. I then did the back tire too, removing all thorns very quickly. Then, I jumped on the bike and rode quickly around the neighborhood for 10 minutes or so to ensure the sealant was well-distributed. Within only seconds of being on the bike I couldn't hear the leaking anymore. When I got home I refilled each tire back up to 50 psi. The front tire leaked a little over night that night but held enough air I could have rode it the next morning. The back tire leaked just a few psi. I filled up both tires again, and have been riding many times the past couple weeks with no further issues. The sealant works. Much better than the green Slime!
M**D
Good sealant; one fill has performed well for me for 1 1/2 years now
This is a repeat purchase. My 29" tubeless mountain bike tires require a lot: 3.5 oz = 103.5 ml for a full refill, so this only provides enough for 2 1/2 tires, but in SoCal heat, riding on very rough, rocky trails, I should be adding 60-90 ml every 6 months. I actually haven't added any in a year and a half, and have had no problems so the stuff is good. I want to try Orange Seal Regular sealant next, because I read that it seals rocky trail punctures better than Stan's and lasts a bit longer between topoffs. Apparently Orange Seal stains, so that's not great. Could just use it on the front...
F**2
Great way to fend off flat tires
Stuff is important to have in your off-road mountain bike tires because the trail is no place for a flat. You need to rotate your tires if you're not riding as this stuff will settle over time
C**E
ใใๅๅใงใใ
ไฝฟใใใใใใใใจใใๆใซๅฝน็ซใกใพใใ ใฌใผในใซใฏใใใงใใญใ ใงใใใใใชใซใฌใผในใซใงใชใใฎใงใใใผใใใจใๆ้ใ็ตใคใจๅบใพใฃใใใใชใ ใซใใณใใคใใฎใงใใใฅใผใใซๆปใใใจๆใฃใฆใใพใใ
R**N
Great product, super quick delivery, cheers
No tunes, no problems!
C**T
Always works well
I always have luck with Stanโs. I can get 1 season from an application.
T**K
Parfait
Toujours aussi efficace
M**G
great
very effective. topped up 60ml to my tubeless MTB tire since it's been loosing air and i cannot find any puncture, and have to pump it every 2 days. Since then, i have not pumped my tire and still have same pressure.
Trustpilot
1 month ago
1 month ago