Desertcart purchases this item on your behalf and handles shipping, customs, and support to Japan.
✨ Bring your headlights back to life — because your car deserves to shine bright!
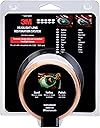
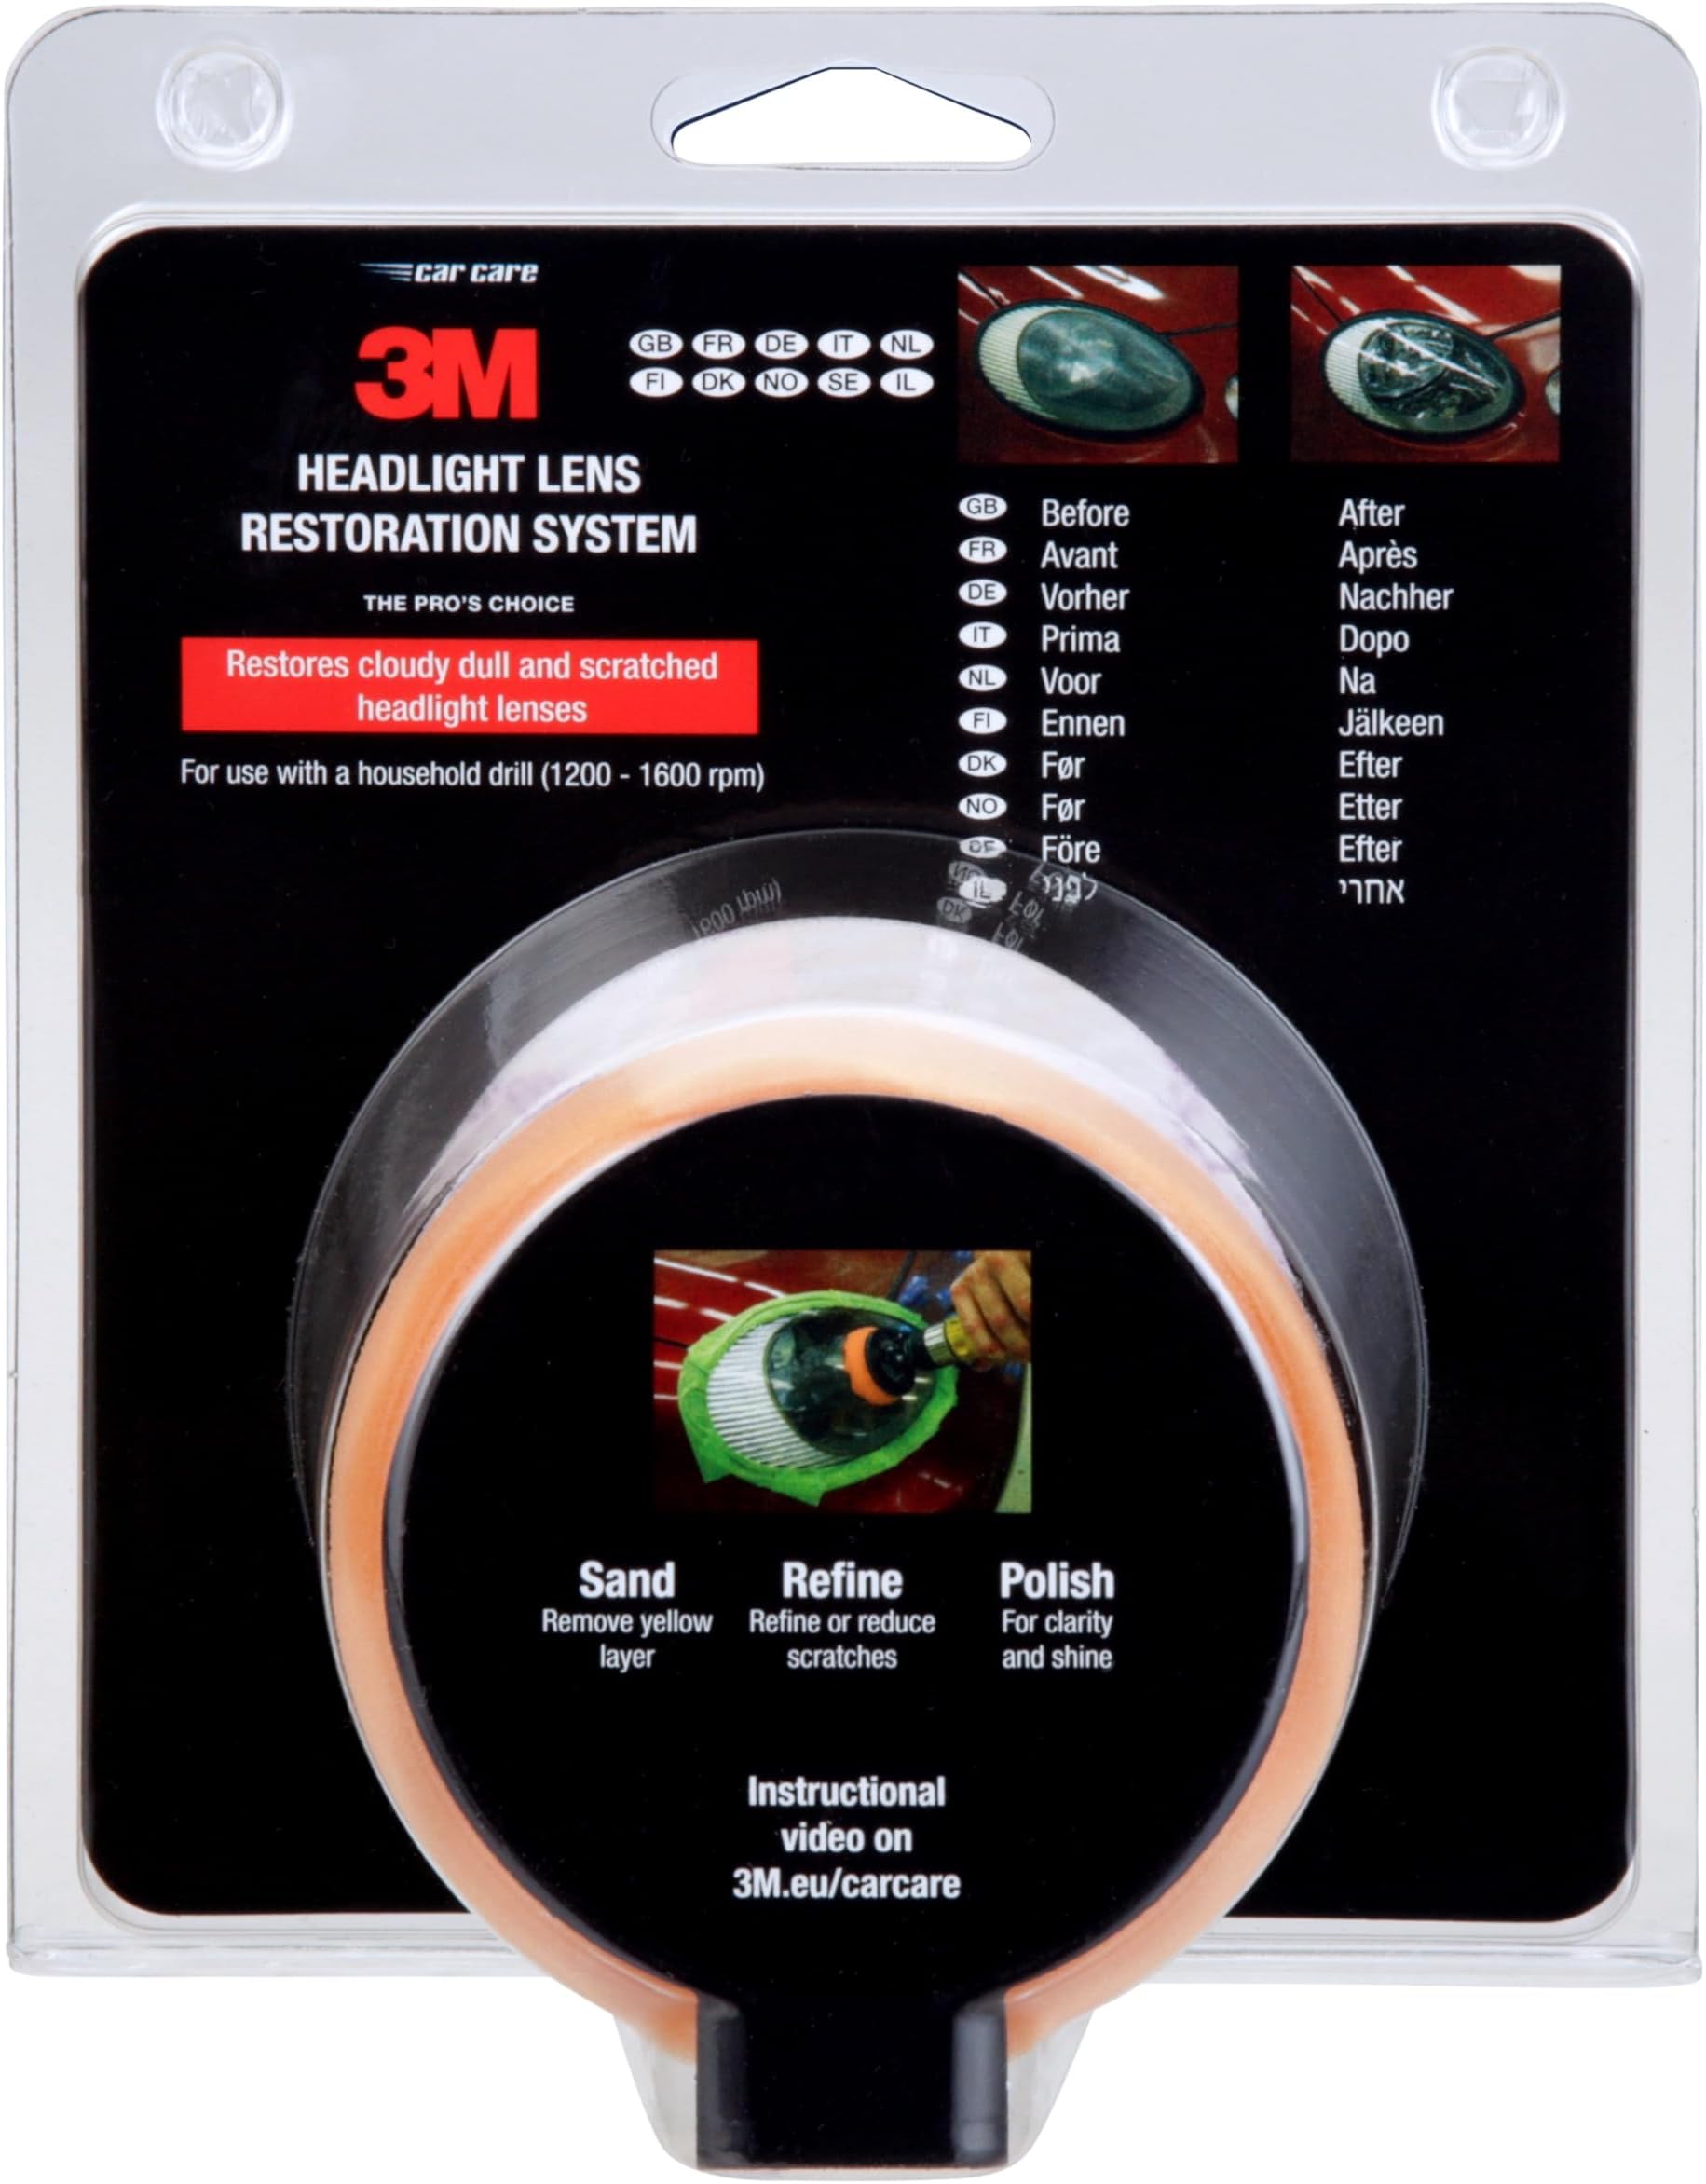
The 3M 39073 Headlight Lens Restoration Kit is a professional-grade, easy-to-use solution designed to remove yellowing, scratches, and cloudiness from plastic automotive lenses. Featuring a 3-step sanding process with multiple grit discs and a polishing compound, it restores clarity and improves nighttime visibility in about an hour per lens. Compatible with all plastic lenses, this kit includes everything needed for two headlights and uses drill-powered sanding for maximum efficiency. Ideal for millennial professionals who value vehicle aesthetics and safety without the expense of replacements.


| ASIN | B0078IHJ1K |
| Auto Part Position | Front |
| Automotive Fit Type | Universal Fit |
| Best Sellers Rank | 10,807 in Automotive ( See Top 100 in Automotive ) 1,657 in Car & Motorbike Care |
| Brand | 3M |
| Brand Name | 3M |
| Colour | Smoke |
| Compatible with Vehicle Type | Car |
| Customer Reviews | 4.5 out of 5 stars 5,381 Reviews |
| Global Trade Identification Number | 04046719316458 |
| Included Components | Care kit |
| Is Assembly Required | No |
| Item Dimensions | 15.7 x 13.4 x 15 centimetres |
| Item Type Name | Car care kit |
| Item Weight | 130 Grams |
| Lens Color | Smoke |
| Lens Material | Plastic |
| Light Source | Headlights |
| Light source type | Headlights |
| Manufacturer | 3M |
| Manufacturer Part Number | 39073 |
| Model Number | 39073 |
| Model Year | 2009 |
| Model year | 2009 |
| Number of Items | 1 |
| Number of Packs | 1 |
| Set Name | 3M Headlight Lens Restoration Kit |
| Special Features | Waterproof |
| Specific Uses For Product | Head Lights |
| Specific uses for product | Head Lights |
| Vehicle service type | Car |
| Voltage | 12 Volts |
| Wattage | 55 watts |
L**P
Brilliant piece of kit - 2 headlamps restored in 3 hours - easy peasey
I have an SLK Mercedes and I dread to think how much new headlamps are - they were becoming yellow and crazed as a result of sun damage - not so bad that it was going to fail an MOT - but I am trying to sell the car and so looks are important - the end result is so good I wish I'd done it earlier!. Apparently the UV from sunlight penetrates the outer layer of the plastic and dries it out causing the damage - this kit restores your headlights by physically removing the outer layer by abrasion and then restoring a polished finish - for me it was quite a leap of faith in the product - deliberately scratching up a perfectly serviceable headlamp seemed a bit risky - bit I needn't of worried - 3M do good kit. There a re a few videos on YouTube which were informative - albeit some were a bit slow - but it gave me the confidence that what was happening was quite normal - the headlamps will look worse before they look better - the instructions that came with the kit were more than adequate. The only stuff you need other than this kit is a cordless drill, a spray bottle of water, some cloths/kitchen roll and if you are working with the car bonnet up - I would recommend a dust sheet to protect the engine compartment from splatter - just saves a bit of cleaning afterwards - and wear old clothes - you will get splattered. The kit comprises of a Velcro drill attachment and 3 different grades of Velcro-backed abrasive paper, masking tape, Velcro-backed polishing pad and a sachet of polishing compound - I recon there's enough to do 2 sets of headlamps depending on how badly they are damaged. After cleaning both headlamps and masking all the bodywork around both headlamps I attached the coarse abrasive paper - took a deep breath, fired up the drill and set to work. On the first headlamp I made the mistake of only sanding the damaged area - by the time I got to the end - the undamaged area stood out because it wasn't as shiny! - so do the whole headlamp. Apply gentle to firm pressure and use cloth/kitchen roll to wipe away dust every few minutes, you can see the damage areas disappearing through haze of the plastic - by the time you've finished this stage the whole headlamp will be opaque - it should be a fairly even level of opaqueness throughout - have faith - it will get better. You then repeat this process using the next finest grade of paper - by this time the look of the headlamp is beginning to improve. Next you use the finest grade abrasive pad - this is where the water spray comes in - this grade is on a foam pad and you use the water spray to keep the area wet - this is where you begin to get splattered Finally you use the polishing pad and polishing compound - again - keep it wet. After a final wipe down the finished result was amazing - I went back over and touched up any bits that didn't look perfect - I can't fault this product. It took 1 fully charged battery per headlamp.
A**.
Really drastic but truly successful.
I had to do something about the plastic headlights on two cars - a W reg Clio (yellowed and hazed) and a 06 reg Golf (badly scratched) as they were appearing as an advisory issue at MOT time. Searching the internet, the 3M product was 1 of 2 that claimed to be the complete cure though by what, at face value, was a really drastic procedure - making it worse before seeing any improvement! That's what happened. After 500 and 800 grit dry sanding the headlamps were completely opaque but very smooth to the touch. As soon as they were sprayed with water the opaqueness largely cleared and then the 3000 grit wet sanding gave a further significant improvement. That was a great relief (particularly on the first one treated) as it meant the problem was sorted and I didn't have to look for replacements. After the final paste polish they sparkled in a way that should satisfy any MOT techie. I am happy to recommend this product - £20/car might seem expensive but it's much less than replacements would be. Each headlamp took at least an hour for the full treatment but was time well spent. The Clio's were in a worse state but easier to deal with than the Golf's possibly because the latter were seriously scratched (don't know how this happened). Problems: 1. Don't over use the 500 grit discs because when they clog with dust they left a brown deposit on the headlamp that had to be sanded off with a new disc. 2. The electric drill I used had a max speed higher than recommended for the kit so I set it at about half speed. Even so, the sponge between the Velcro hooked surface and the backing on the drill attachment started to break up and tear off during sanding with BOTH kits. 3. The dust from dry sanding and particularly the spatter from paste polishing gets everywhere so be sure to cover bodywork, engine and windscreen. 4. Unlike one of the products available in the USA (3M 39045), the UK kit from 3M doesn't include a final treatment to protect against UV light damage. Why not? I had to buy the recommended product - Surface sealant Easy Coating and Water Repellant - produced by glasspolishshop.com for an extra £8 for 50ml but this was more than enough for 2 cars. I've given the product 5 stars because of the dramatic improvement - not quite show room quality but almost. The true test is - will it last? Only time will tell. I shall certainly treat both sets of headlights with much more care in the future.
J**N
Good product, works as advertised, great job on 11 year old lenses
A good product that restored 11 year-old lights pretty much as described. The before and after pictures in the advert and in customer reviews closely match my own experience. Written instructions are clear and the video on the 3M site is helpful, but could have given a bit more detail in how to go about the job – felt more like a montage of before and after pictures. Job took me about 2.5 hours, including several readings of the instructions and views of the video. The drill bit and sanding/ polishing pads all worked well although as other reviewers have noted, you have to be careful removing the pads from the bit as the heat softens the Velcro layer on the bit and it would easy to take the Velcro off with the old pad. I only have a couple of issues. First, there wasn’t enough masking tape in the pack, I bought an extra role which was needed. 3M’s examples are for relatively small lights, with simple shapes. I was working with a single headlamp / side indicator unit that wrapped round the front corner and extended back into the wing some distance and needed more tape than supplied. Dropped a star in the review for this. Second issue - more to do with my lights than the product. The grinding/ polishing pads are very effective on simple profiles. My lights have a recess around the main projector lens on the front and the section in the wing where the indicator sits has five profiles, all of which are quite shallow. This meant that the pads could only contact across a small section of their area and quite often the edge of the pad was grinding on the neighbouring profile. All this made it hard to get into the edges of the profile for a consistent finish. It’s minor – there are some bits that I will get back to with wet n dry paper by hand – but something to bear in mind if your lights aren’t the relatively simple designs used in 3M’s examples. Overall, good product and happy to recommend.
M**K
Scary process, but it really does work. Great kit, great value, great results!
As with many other people I was a little sceptical about taking sanding discs to my headlights, but they were in such a state that it was either that, pay a professional £70-£100 to renovate them, or replace the units (£100's more!) to avoid an MOT failure. After checking reviews and narrowing down the choices to either this kit from 3M or the one from Autoglym (both names and brands I've used before and trust), I decided the edge was with this kit and went ahead with the order, adding the small bottle of UV sealant in order to ensure that whatever finish I ended up with would at least be protected from future sun damage etc. I then waited for a good, dry and fairly sunny day so I would be able to see what I was doing and get all my lights done in one hit, cracked open the kit and got stuck in. I got through three fully charged batteries on my Ryobi cordless drill (set to the lower speed setting 1) and my arms and hands still ached a day later, but the results were just as promised by the blurb on the kit, much to my own surprise and relief. Even my mother-in-law said they looked like new units when I was done about 3 1/2 hours later, so it really does pay to (a) read the instructions and follow them to the letter and (b) take the time to do the job right. My lights went from heavily yellowed and fogged to 'as new', so if the UV sealant I applied (two coats, apply, leave to dry, buff off & repeat) after washing everything down when I was done do their job then I'll be very happy, with clear, bright, safe lights again, a must now that the nights are drawing in for winter. Some observations: Don't apply too much pressure when sanding - a light drag feeling that doesn't make the drill's note drop seems best, and use a combination of strokes depending on which disc is on the pad. For the early stages with the coarser pad, shorter strokes that repeatedly go over a slowly widening area were best to show the layers of lacquer and fogged plastic coming off, moving onto longer, more even passes across the whole light unit when you switch to the finer sanding discs and the polishing pad. Be thorough and make sure you've really cleared off all the old lacquer so that the headlights really do go a uniform milkiness - that's the scariest part, and the one at which both myself and anyone watching sucked their teeth and shook their heads in doubt, but stick with it as it really does all come good in the end. I have a W211 model E Class and so had four lights to renovate, two 'side' lights and two main headlights - if you have the same model then open the bonnet before you mask up. It means less masking and much easier access to polish/sand the tops of the light units. I did one set with the bonnet closed as I was concerned about how much dust would be made, but it really wasn't anywhere near as bad as I'd feared with the majority falling down in the direction of the drill's rotation so when I moved onto the second pair I opened the bonnet and found the whole process much easier as a result - lesson learned if I ever need to do this again! Also there were enough sanding discs, polish etc. in the kit to do the whole job, so unless you have lights the size of windows you should be fine for pretty much any car I'd think. In short, if you're having doubts then don't - this kit really does work if you follow the instructions and take your time to be thorough and careful. My lights look amazing now and I keep going out to look at them as I still can't believe how much better they came up - thoroughly recommended kit! Just remember to get the UV sealant as well and apply two coats to make sure your hard work and effort are protected from the sun longer term. I'm going to give my lights another refresher treatment with the sealant every month or so when I clean and polish the car so that hopefully the renovated finish I currently have will last long enough that I won't need to do it again for a number of years.
O**3
Perfect
Very easy to use and very impressive results would definitely buy again.
P**L
Don't even think of wasting money on other kits, get this one!
This is the second headlight restoration kit I have purchased. The first, was the Maguiars kit, which was absolutely useless! By comparison this kit is brilliant and I'm really pleased with the results. I used the Maguiars kit on only one of the headlights on a 9 year old Jaguar XKR and was so disappointed with the result, that I decided to buy the 3M kit, which I used on the other headlight. The difference was so noticeable that I re-restored the headlight done with the Maguiars kit, with the 3M kit and it improved 100%. I also used the 3M kit on an 11 year old BMW X5. Only one headlamp done so far, but it is an excellent finish. I should have just enough 3M product left to do the other, remaining X5 headlamp, which means I will effectively have used it to refurbish 4 headlamps. This will be a stretch, and I may not be able to sand the remaining X5 headlamp as much as I would like. It's a real shame 3M don't sell the "sticky" backed sand paper separately to enable this kit to be used on multiple cars. This kit contains "everything" you need (unlike the Maguiars kit). It includes some good quality automotive, waterproof masking tape, a drill attachment and three types of sandpaper, which use "velcro" to fix to the drill attachment. There's also some compound, which I only used half of, on three headlights. The limiting factor to the number of headlights that can be refurbished is the quantity of sandpaper. The Maguiars kit uses only wet and dry paper and the grits are very high (starting at 1000 - from memory). By comparison, the 3M kit starting grit is 500 and it is sandpaper, NOT wet and dry paper, so this is MUCH more abrasive. This is one of the reasons this kit is so much better than others, plus the fact you use a drill to do the sanding, which makes the job much easier. The Maguiars kit comes with a couple of small "pads" and it is hard work to use, giving no where near the finish of the 3M kit. I admit, I was a little concerned when I started using the lowest grit of 500 in the 3M kit as this generates a lot of powder, which is essentially the protective layer being stripped from the headlight. There's no need to worry though, as by the time you have used the intermediate grits and used the finishing off polish, the result is superb. Really, pleased with the new look of my headlights now.
D**H
This kit is well thought out, delighted :) my headlights are now really good.
Amazing, delighted :) My headlights were really badly faded, I was looking to replace them which was getting complex. So I decided just to give this kit and try and if it didn't work then... £££ to buy new headlights. I read the instructions carefully, got my cordless drill charged and gave it a go. It took me 4 hours, I was in no rush. The kit is well thought out with the right grade and kind of abrasive pad, by the last grit (2000 I think) I could see the headlamps looked really clear! The final wet buffing compound made the finish really good. I gave the car/lights a good wash and the final result is amazing. Once fully dried I gave the lights a good waxing to reduce UV problems. My headlamps still have the deep small fractures, these cannot be got rid of, other than that this kit made such a huge improvement, deffo worth a try.
H**Y
MIssing 3m finishing disc.
Don't get me wrong this is a great set, and does the job.. HOWEVER. If the seller reads this could you please send me the 4th 3m finishing disc. I received all of the other discs, and daub, but with only 3 x 3m finishing discs. So I cant do the other 2 headlights on the second car. I will happily raise the review to 5 stars. and edit this one to reflect the quality f the product. But how can a set with 6 gold discs, and 4white finishing discs, not have 4. Please send me the 4th disc. I paid for it after all. Thank you. Best regards.
O**T
Works as indtended.
Product as described
G**S
Se agradece la calidad y los resultados increíbles!
Guau !! Seguir las instrucciones y el resultado es garantizado! qué maravilla, no me lo esperaba tanto pero sí ! Los míos llevaban años muy opacos , y el cambio ha sido increíble, ahora se ve mucho mejor el haz de luz de noche ! Se agradece la calidad de los productos que cumplen sus especificaciones.
L**Y
Un résultat impressionnant avec un peu de patience
Inquiet pour le passage au contrôle technique, j'ai utilisé ce kit durant deux heures. Le résultat est bluffant comme le montrent mes photos. Cependant, pour réussir, il est vital de bien distinguer les deux étapes du processus. Phase 1 : Le ponçage à sec (Disques 500 et 800) C’est l’étape la plus délicate. Ces disques s’utilisent à sec. Mon conseil le plus important : passez un chiffon microfibre après chaque passage, sans exception. Si vous ne retirez pas la poussière blanche entre chaque passage, elle s’agglomère sous la chaleur et forme des amas de plastique qui encrassent le disque et risquent d'abîmer l'optique. C'est ici que j'ai rencontré le plus de difficultés car je n'avais pas essuyé assez régulièrement au début. Un petit aspirateur à main est aussi idéal ici pour limiter la dispersion des micro-plastiques. Enfin, n'appuyez pas sur la perceuse : laissez la vitesse de rotation travailler. Phase 2 : Le ponçage à l'eau (Disque 3000) Ici, le fonctionnement change totalement. Il faut utiliser le vaporisateur d'eau (prévoyez 300 ml) pour garder la surface bien humide. Travaillez de préférence à l'ombre. Au soleil, l'eau s'évapore trop vite et le plastique risque de chauffer. C’est à ce moment précis que la magie opère : l'optique, qui était resté blanc et opaque lors de la phase 1, redevient soudainement transparent. C’est une véritable délivrance psychologique ! Conseils pratiques et ergonomie : J'ai utilisé une perceuse Ryobi R18dd3 sans vider la batterie. L'opération est accessible à tous, mais restez bien droit. Se pencher pendant deux heures peut être dur pour le dos et le poids de la machine finit par fatiguer le pouce. Concernant le masquage, le scotch adhère bien si la carrosserie est sèche, mais attention car il ne résiste pas à un coup de ponçage direct. Enfin, prévoyez de nettoyer votre capot après le polissage final à cause des projections. Points positifs : • Résultat final proche du neuf pour un prix modique. • Nombre de disques très généreux. • Grande satisfaction personnelle d'avoir sauvé ses phares soi-même. Points négatifs : • Le stress des étapes intermédiaires (le phare reste blanc très longtemps). • Manque de précision du manuel sur le nettoyage systématique à la microfibre entre les passages à sec et l’aspect des optique après chaque passage. • Production importante de poussière plastique volatile.
D**I
Ottimo
Tanta pazienza ma il risultato è soddisfacente!!
L**P
Olio di gomito ma buon risultato
Buon prodotto per rinnovare i fari,i miei erano opachi nella parte superiore ,con questo prodotto ho risolto i fari sono tornati trasparenti,non è una passeggiata ho dovuto dare molte passare e la polvere ne ho fatta un bel po' ,il polish finale tende a schizzare un po' ovunque ma alla fine il risultato per la spesa era più che soddisfacente ,la finitura forse con un lucidante finale diverso forse veniva un po' meglio rimane leggermente opacizzato ,ma forse dipende dal lavoro che ho fatto io comunque svolge il suo lavoro ottimamente
Trustpilot
3 weeks ago
2 months ago