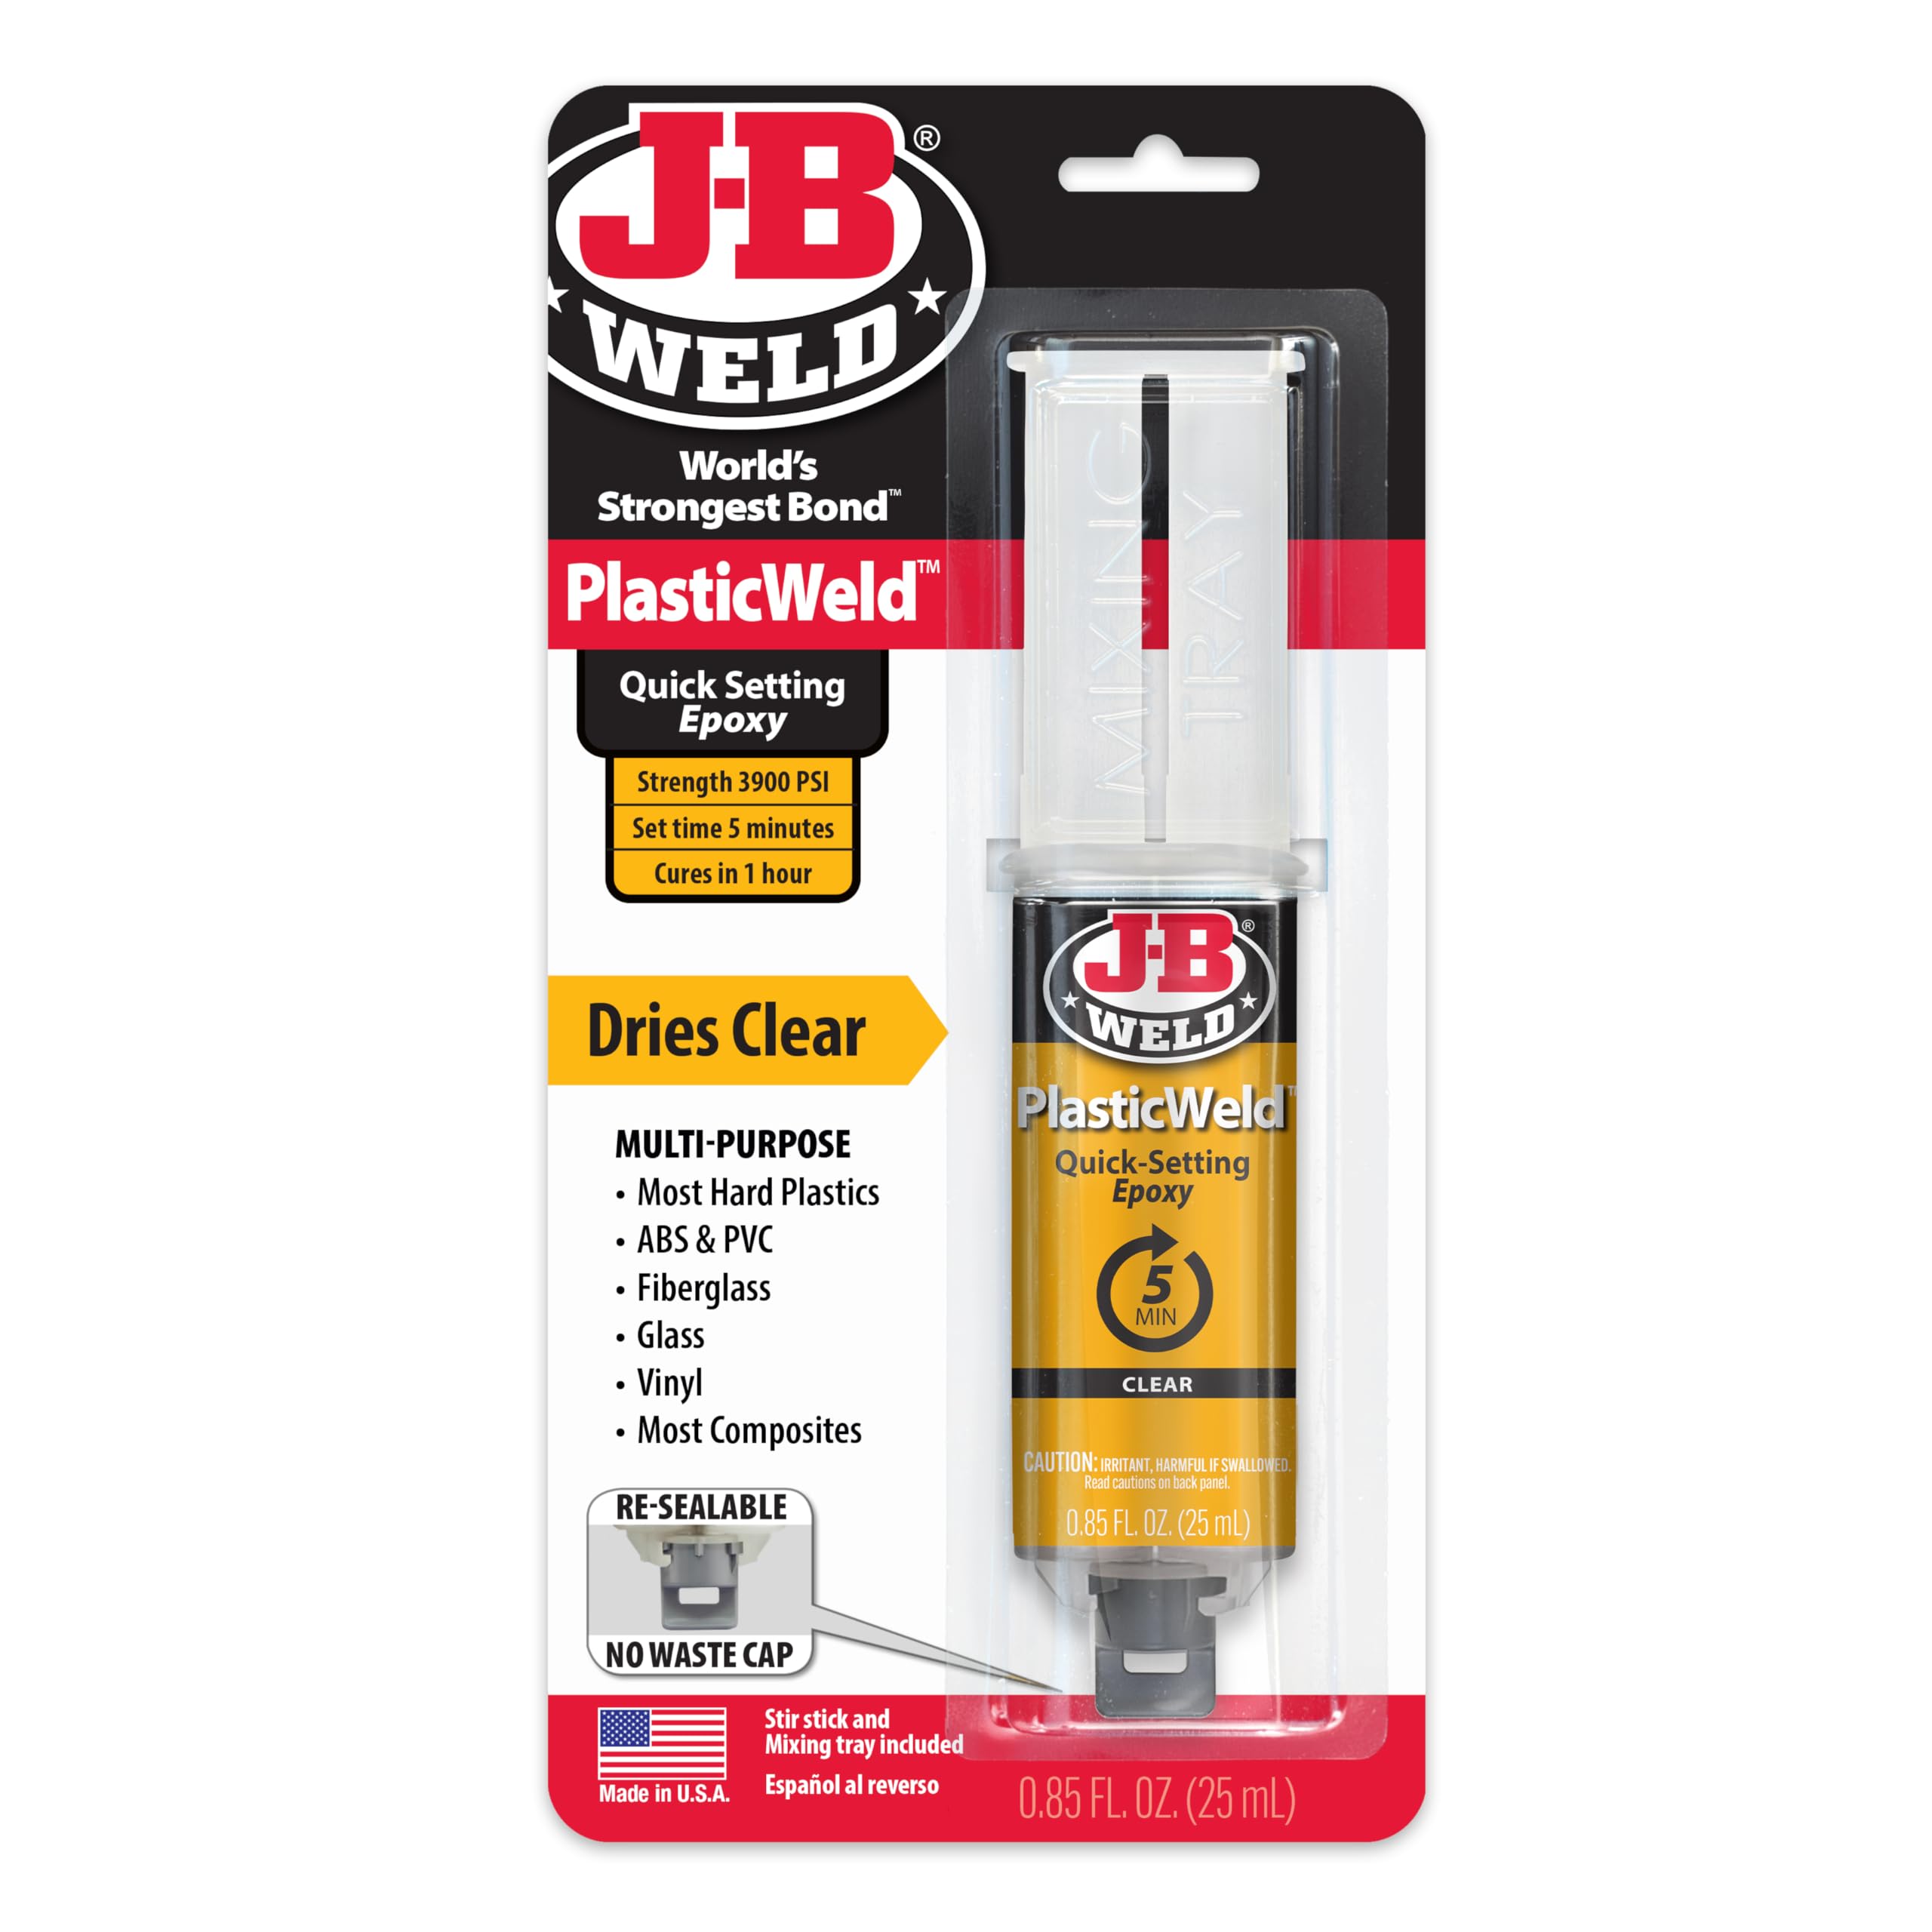
🔧 Fix it right the first time with J-B Weld!
The J-B Weld 50132 PlasticWeld Quick-Setting Epoxy Syringe is a powerful two-part epoxy designed for quick and reliable bonding on various plastic surfaces. With a tensile strength of 3900 PSI, it sets in just 5 minutes and fully cures in 1 hour, making it ideal for both DIY enthusiasts and professionals. The convenient syringe design allows for easy mixing and application, ensuring you can tackle any repair project with confidence.
Brand | J-B Weld |
Specific Uses For Product | Automotive Repair, Craft, DIY REPAIR |
Material | Plastic |
Compatible Material | Metal |
Item Form | Syringe |
Special Feature | Fast Drying, Strong |
Color | Clear |
Item Package Quantity | 1 |
Package Information | Syringe |
Item Volume | 25 Milliliters |
Full Cure Time | 1 Hours |
Tensile Strength | 3900 PSI |
UPC | 043425501325 043425700131 |
Number of Pieces | 1 |
Global Trade Identification Number | 00043425501325 |
Manufacturer | JBWeld |
Model | 50132 |
Item Weight | 1.6 ounces |
Product Dimensions | 1.57 x 1.18 x 7.09 inches |
Country of Origin | USA |
Item model number | 50132 |
Is Discontinued By Manufacturer | No |
Exterior | Painted |
Manufacturer Part Number | 50132 |
Special Features | Fast Drying, Strong |
Lift Type | .... |
S**H
Don’t be like me…follow the directions
I purchase this epoxy to fix a hole in my under the desk elliptical. I’m not particularly familiar with doing repairs but I have done some simple DIY projects and use kits to build stuff around my home. I purchased this after a friend suggested I patch the hole. I checked Amazon first and looked for some kind of patch that could fix a hole in plastic and got this because of the other reviews I read. Before starting, l took a trip to Lowes and grabbed a sanding sponge and some netting since I was sure the epoxy would just fall through the hole and land inside the elliptical. This turned out to be a great idea.I cleaned the elliptical and area near the hole per the instructions. I placed a small piece of netting and attempted to apply the epoxy. It fell through some of the holes so I added more netting that overlapped so the epoxy had something to cling to.Where I messed up:Although I skimmed the instructions, I somehow missed the part that said mix the 2 different epoxies well. I waited over 24 hours and it was still sticky-don’t be like me, mix the epoxy very well until it changes consistency and looks a bit bubbly. Another thing I messed up with is that I should have added multiple overlapping layers of netting/mesh because the epoxy fell through some of the holes in the initial one I placed.My mess up turned out ok since it created a platform for the well mixed epoxy to easily cling to (and some added flexibility which is probably unnecessary). After I reapplied the well mixed epoxy with the wooden popsicle stick…I managed to add waaay too much. But it did set mostly in 5 minutes and after an hour or so it was basically dry (cured) but I waited until the next day to use it. I was lazy so I wound up not sanding it down and my under the desk elliptical is back in business! I didn’t paint the epoxy or anything since the elliptical is under my desk and I don’t care about how the hole looks. I’ve uploaded pictures of my process (mistakes and all) to this review.If I had to do it again, I would:1. Read the instructions multiple times and keep checking them each step of the way2. Clean the hole-y area well3. Keep paper towels nearby because I definitely used the ones I grabbed last time and keep a small garbage bag for any debris and trash4. Add multiple layers of overlapping mesh or netting so that I couldn’t even see the hole underneath it5. Squeeze out a little epoxy6. Mix the epoxy very well with the popsicle stick7. Apply the epoxy a little at a time so I don’t use more than I need8. Block the area with the epoxy filled hole so my cat cannot touch or smell it (I did this and my cat is fine).9. Keep the epoxy covered hole in a well ventilated area or near an air purifier and probably wear a mask-this stuff stinks.10. Sand down the epoxy for a smoother finish-I was lazy so I didn’t do this.Good luck and learn from my mistakes.
P**L
Fixed my dishwasher soap dispenser door!
I used JB PlasticWeld to repair a broken dishwasher soap dispenser door. The tiny tab that latches to keep the dispenser door closed wore off. Sure I could have replaced the dispenser in 30 minutes for $60 but I like fixing things. On my first attempt I tried using only the Plasticweld to reform and build up the tab. The epoxy stuck well after I sanded the plastic to promote a good bond but the cured epoxy flexed too much which caused the door to spring open. So on the second attempt I used the Plasticweld only as a thin primer coat. After it dried I put a couple beads of regular JB QuickWeld to build up the tab and then filed it down to get back the shape and sharp edge of the original tab. I applied one more coat of JB Quickweld on either side of the filed tab for strength and Bingo it worked! The Quickweld was structurally firm enough not to flex and the JB PlasticWeld promoted a good bond. Time will tell how it holds up to hot water but so far so good. Thank you JB Weld!
J**E
Works on plastic tanks
Worked well on my pressure washer tank that cracked. Easily mixed and applied
J**K
Works well to bond plastic.
Pretty good glue for most plastics. The cure time is pretty god and seems to form a good bond. A little prices, but it works well with gluing stuff from 3d prints. The dispenser doesn't do a great job of evenly mixing the two gels, but overall it gets the job done.
J**O
RV shower savior!
Amazing! Repaired a plastic shower pan in my Airstream NLA shower. Supposedly nothing sticks to that type of plastic. This product bonded perfectly and saved me from having to get a custom pan made. I also tested a spot by gluing a wire nut to the underside of the pan. I had to grind that off. Great product.
R**P
DOES THE IMPOSSIBLE!
Needed to repair the dust cover on a VERY EXPENSIVE "garage find" Technics turntable. Replacements from the guy who molds new ones cost $300+. I need to repair/replace the "tabs" that go into the hinges, which are 14mm wide and 10mm deep strange (not Lexan or Plexi or polycarbonate) plastic with 3mm wide x 15mm length bonding area. Bought some near correct thickness Lexan at the big-box store, as no plastics supply could match it. Ground down the broken tabs, made new Lexan tabs and tried J-B Plastic Weld. IT WORKED!!! I have sense enough not to slam the dust cover around, but it opens and closes smoothly. Over the years, I've tried plastic specific solvents ($60 10-15cc) and they never worked. Two or three opening and closings and the bond failed. Thank You J-B products!!!
H**Y
Works good on some plastics with effort
First thing I'd like to say about this product is make sure you're not bond something close to something else you don't want the epoxy on, because this is definitely not a non-sagging formula it goes everywhere gravity takes it. It also starts setting up very fast so if you've got more than one thing to set you're going to be frantically trying to apply it and have epoxy everywhere. There is also quite a bit of prep needed unless you want it to just peel right off. You're going to need to roughen up the plastic with some 80 or 120 grit sandpaper to get a good bond. Definitely not something to use on small electronics or anything you can't hide or sand out/paint the rough areas after bonding.
N**R
Great
JB Weld works awesome. Its tried and true.
Trustpilot
3 weeks ago
2 weeks ago