
Desert Online General Trading LLC
Warehouse # 7, 4th Street, Umm Ramool, Dubai, 30183, Dubai
Desert Online General Trading LLC
Warehouse # 7, 4th Street, Umm Ramool, Dubai, 30183, Dubai

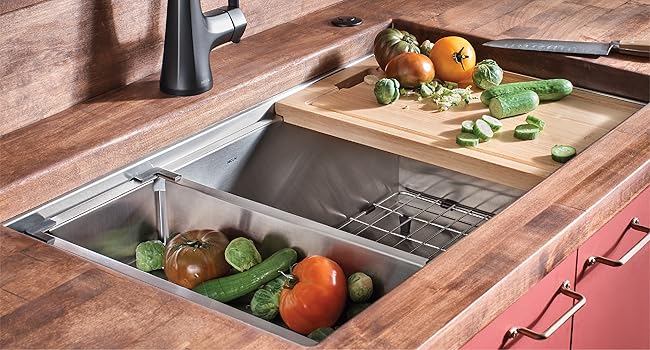
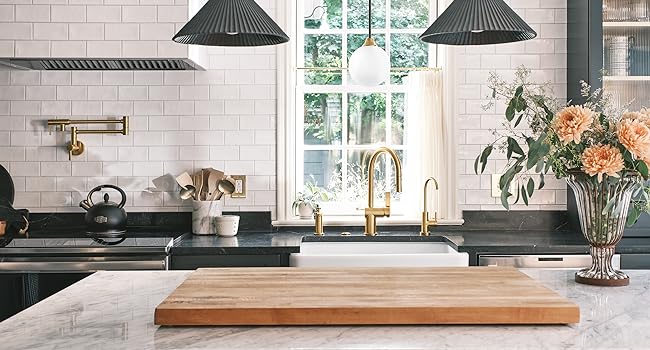
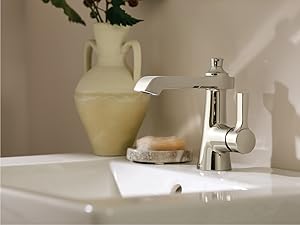
🔧 Upgrade your faucet game—repair smarter, not harder!
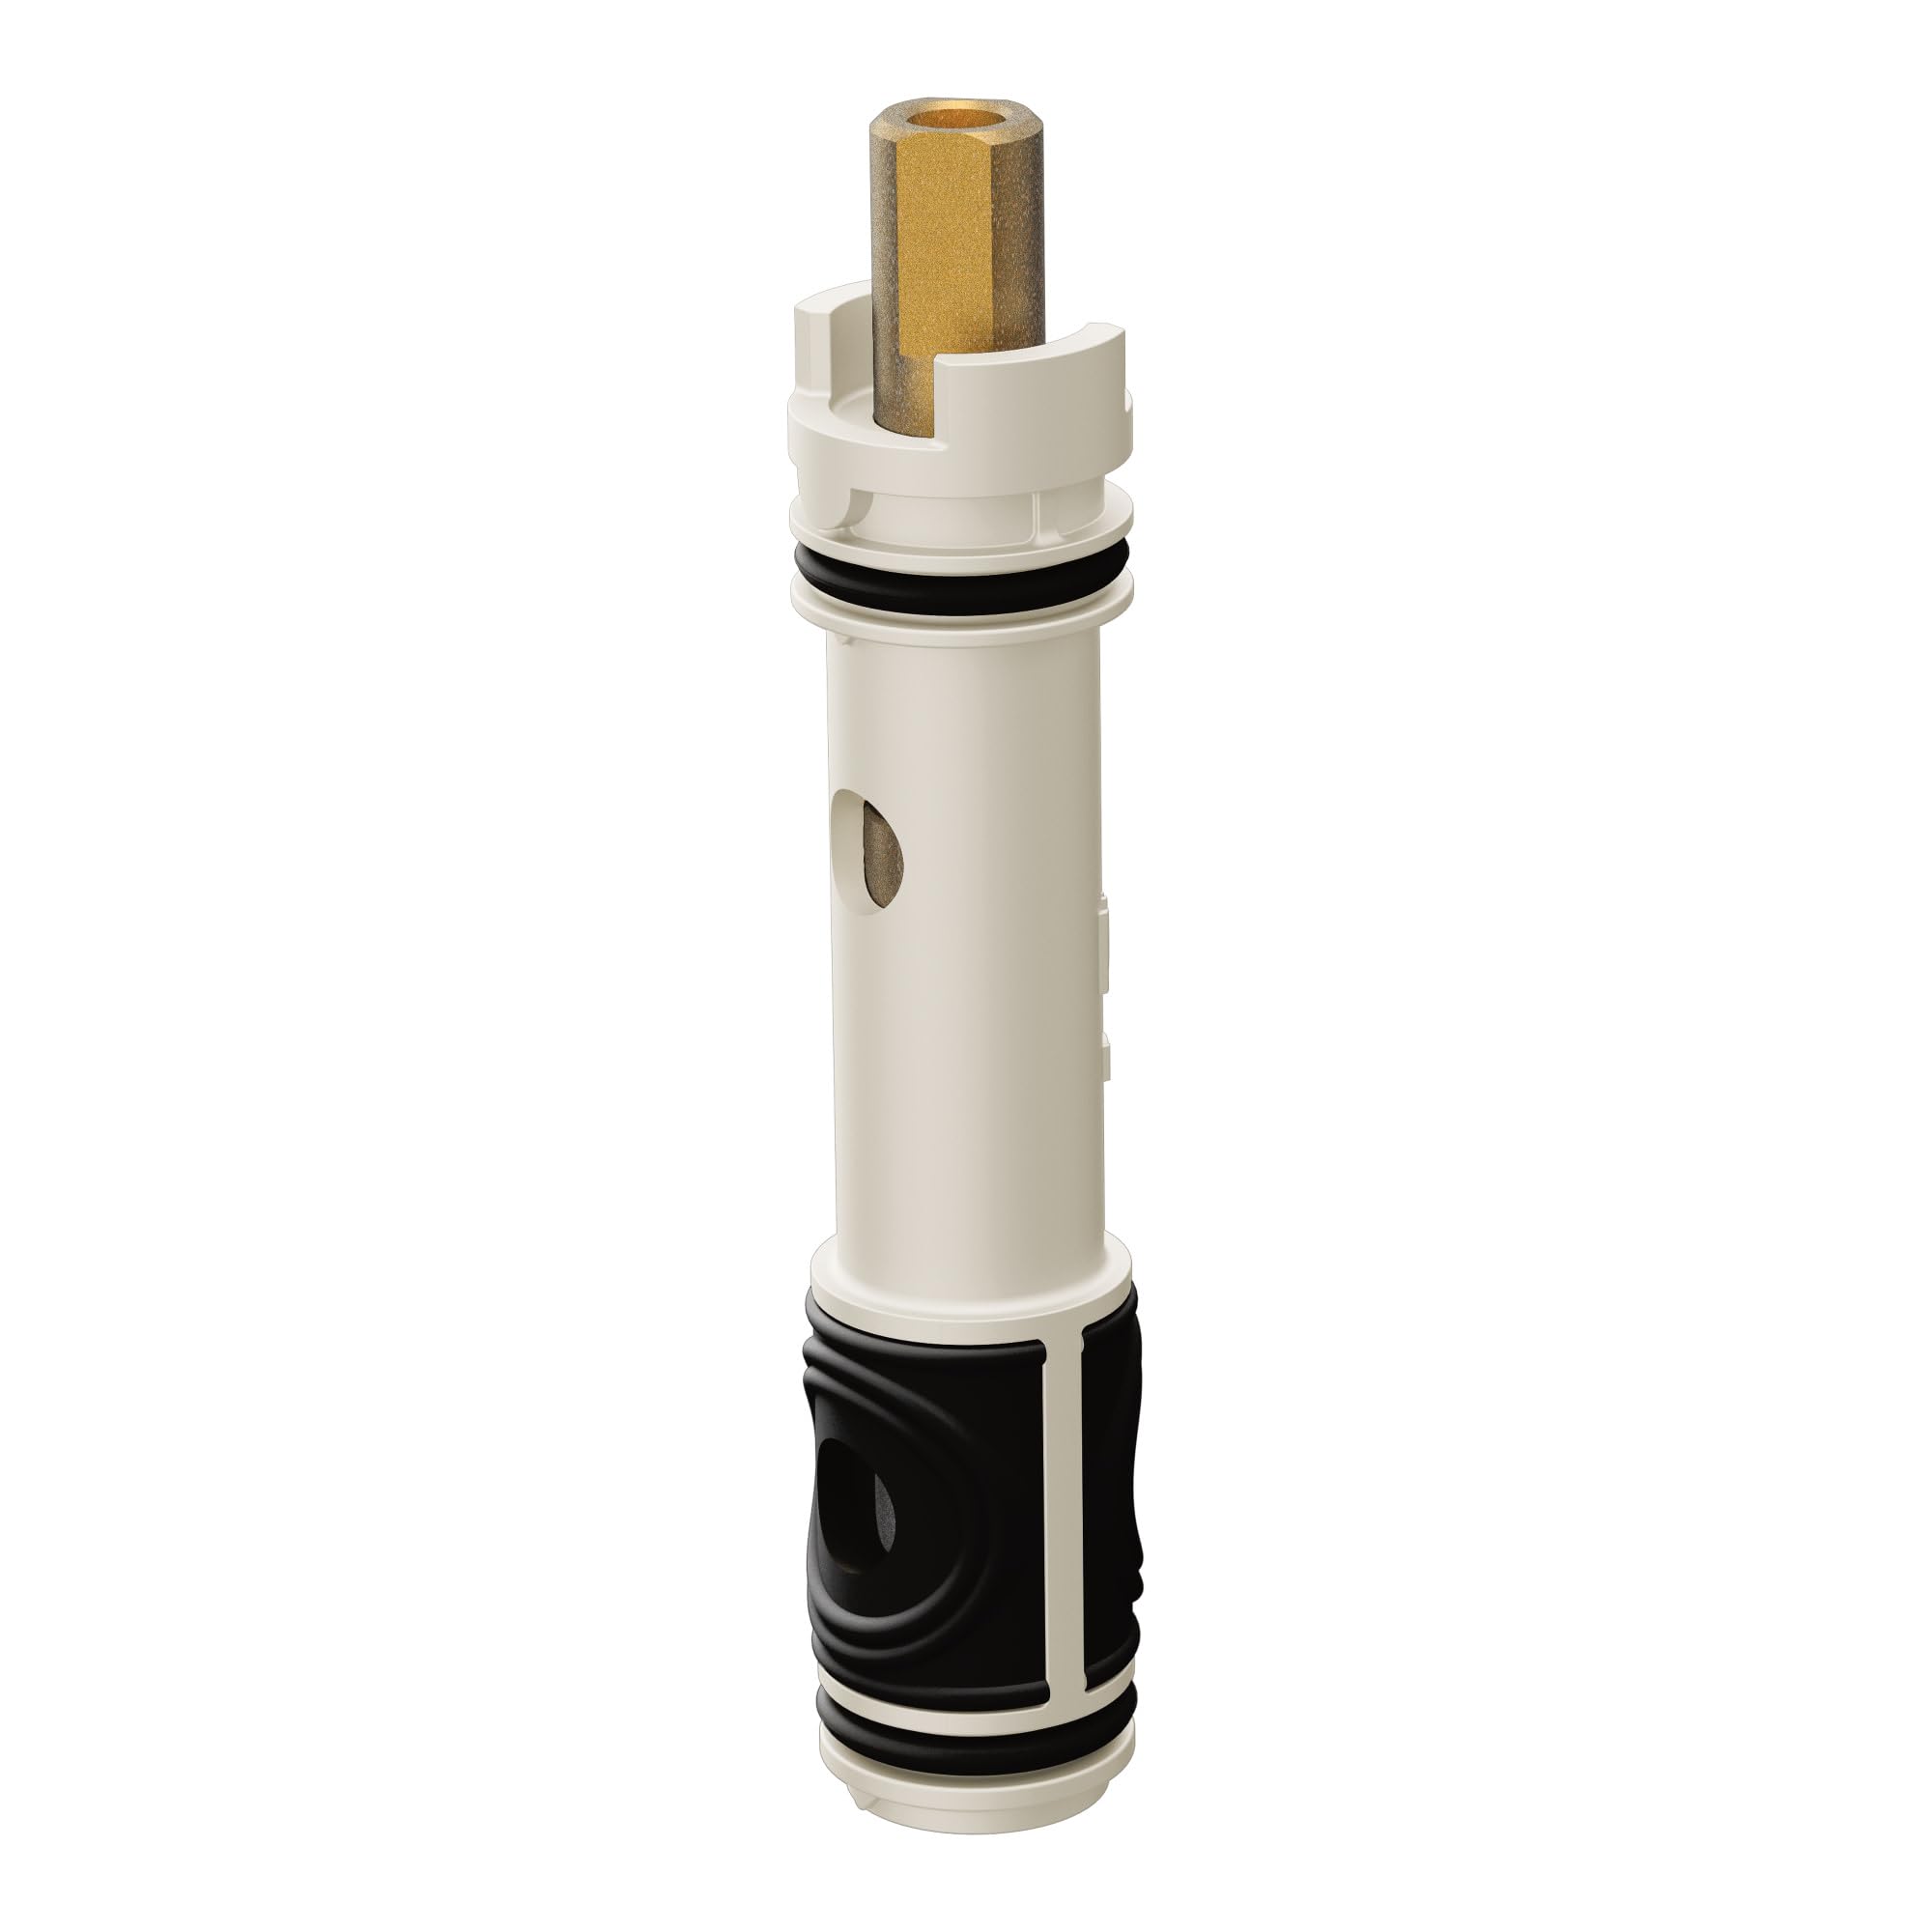
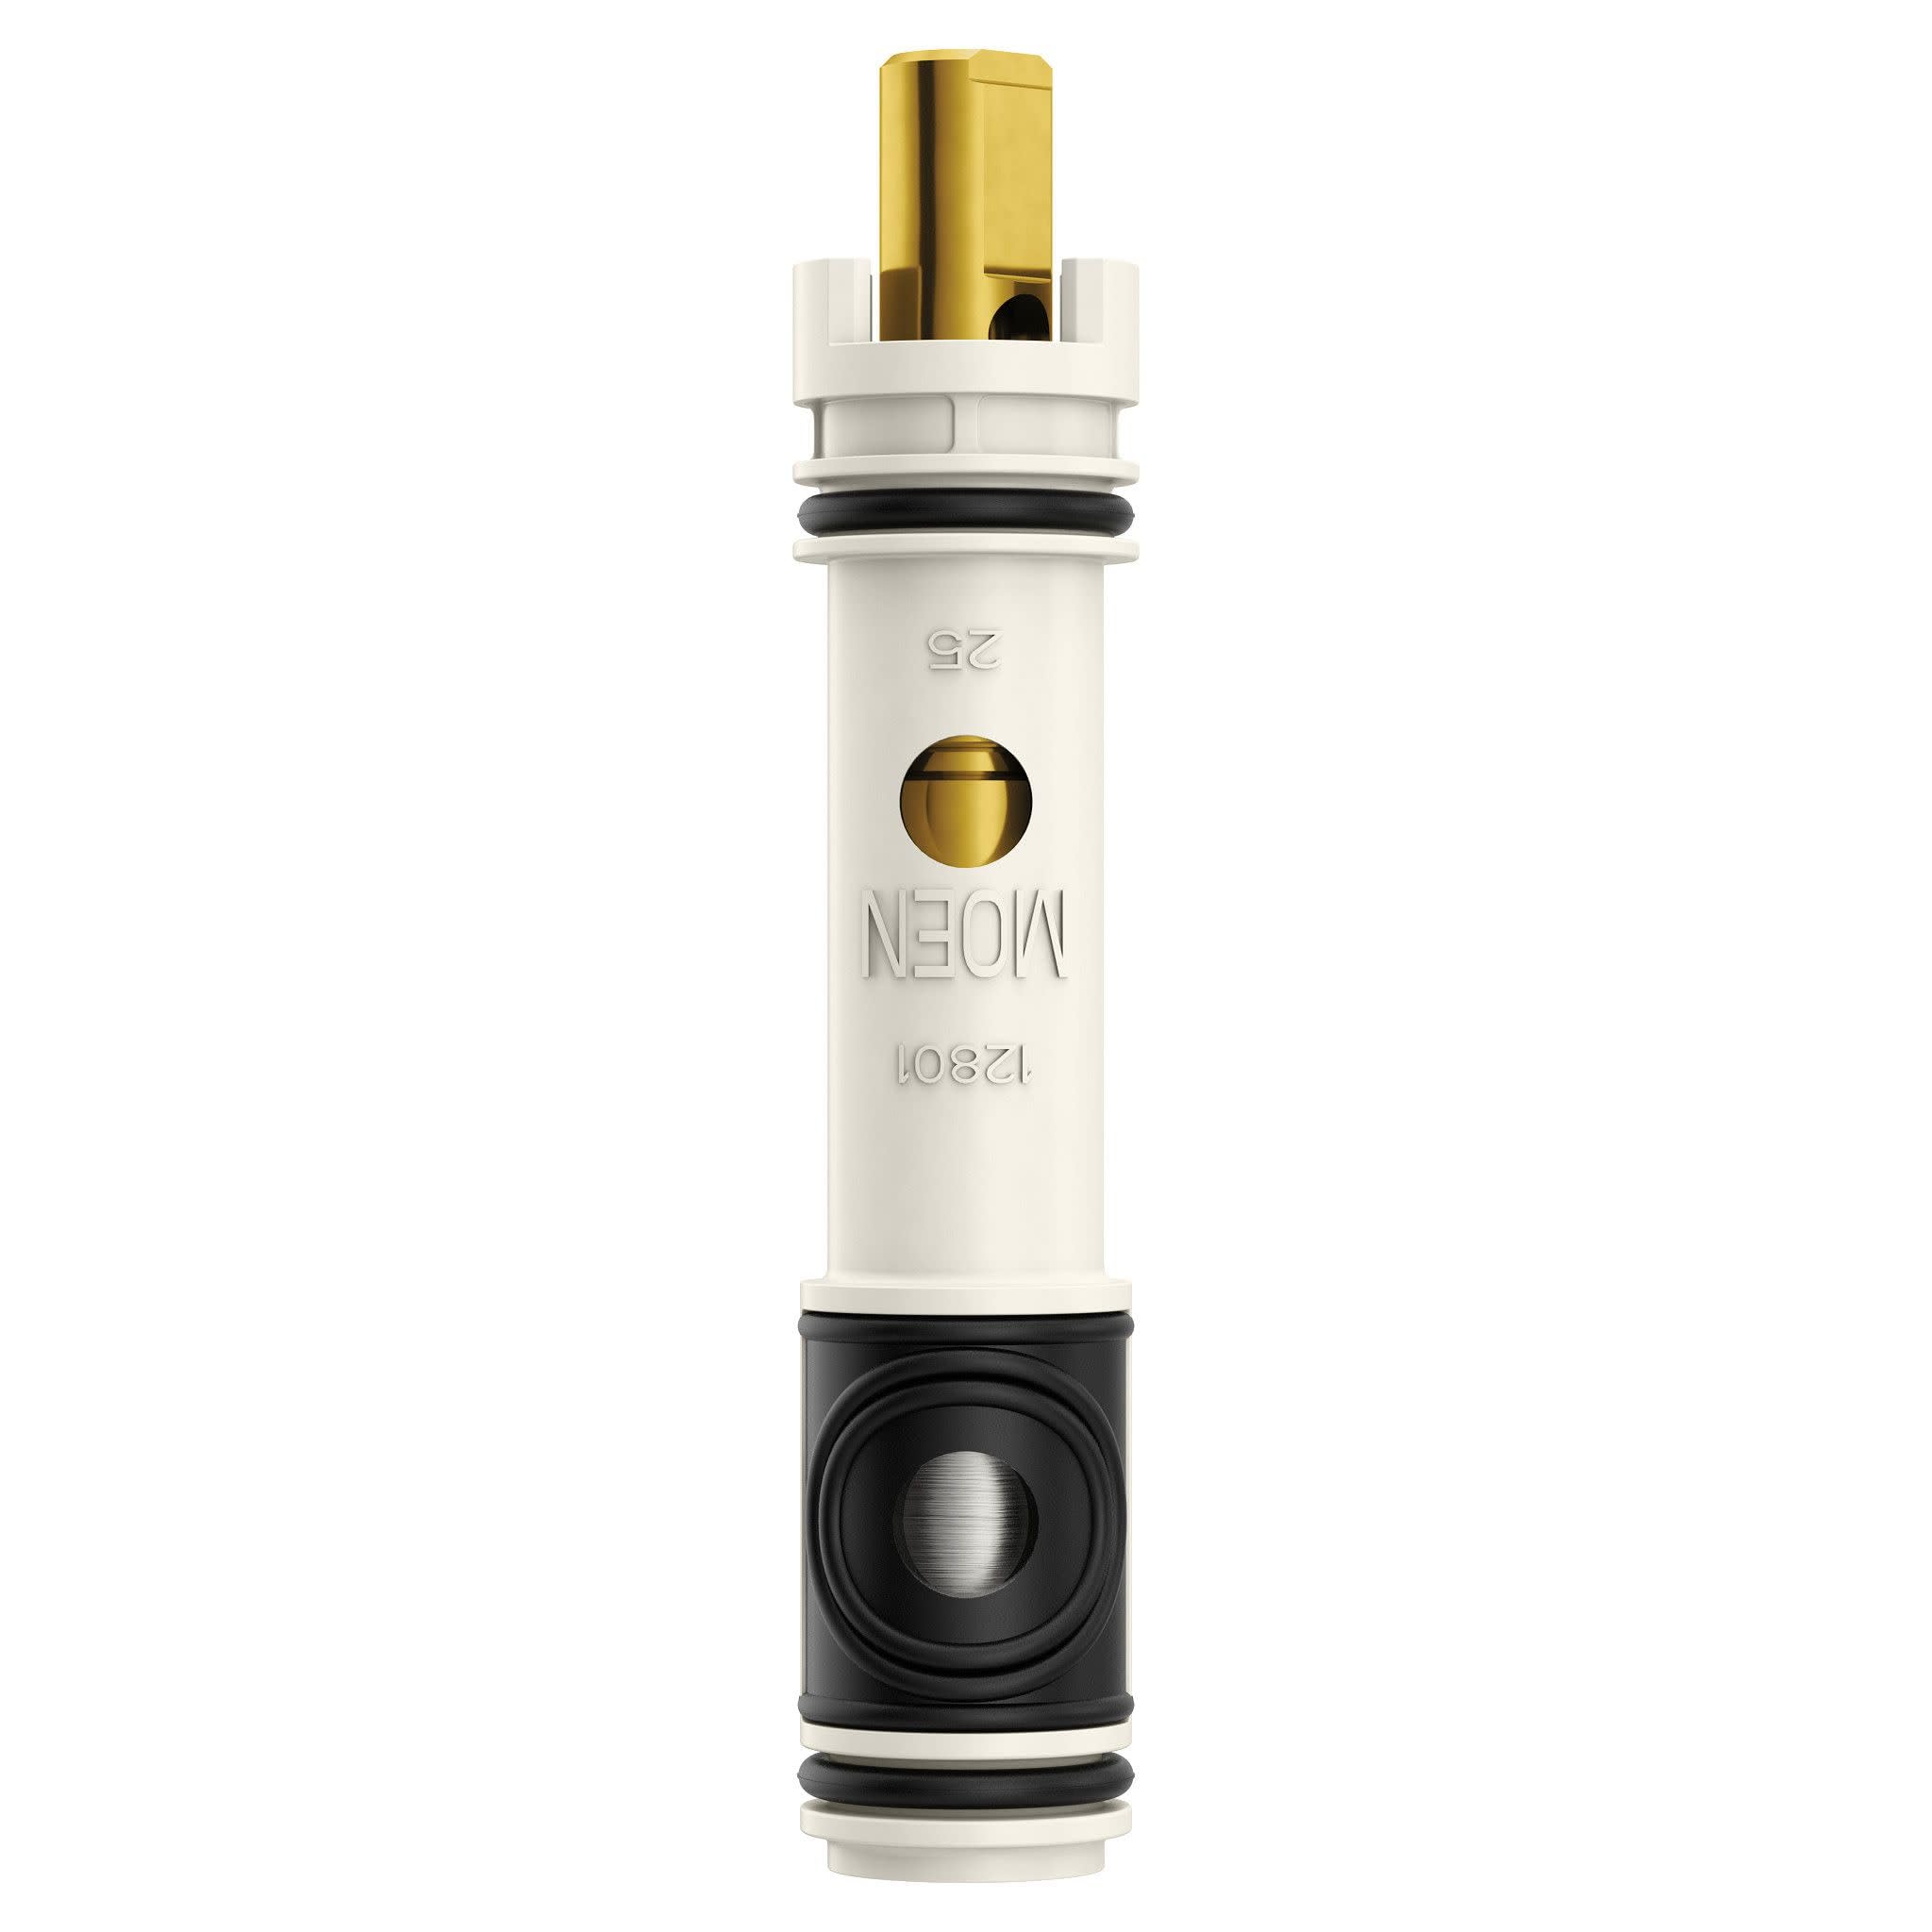
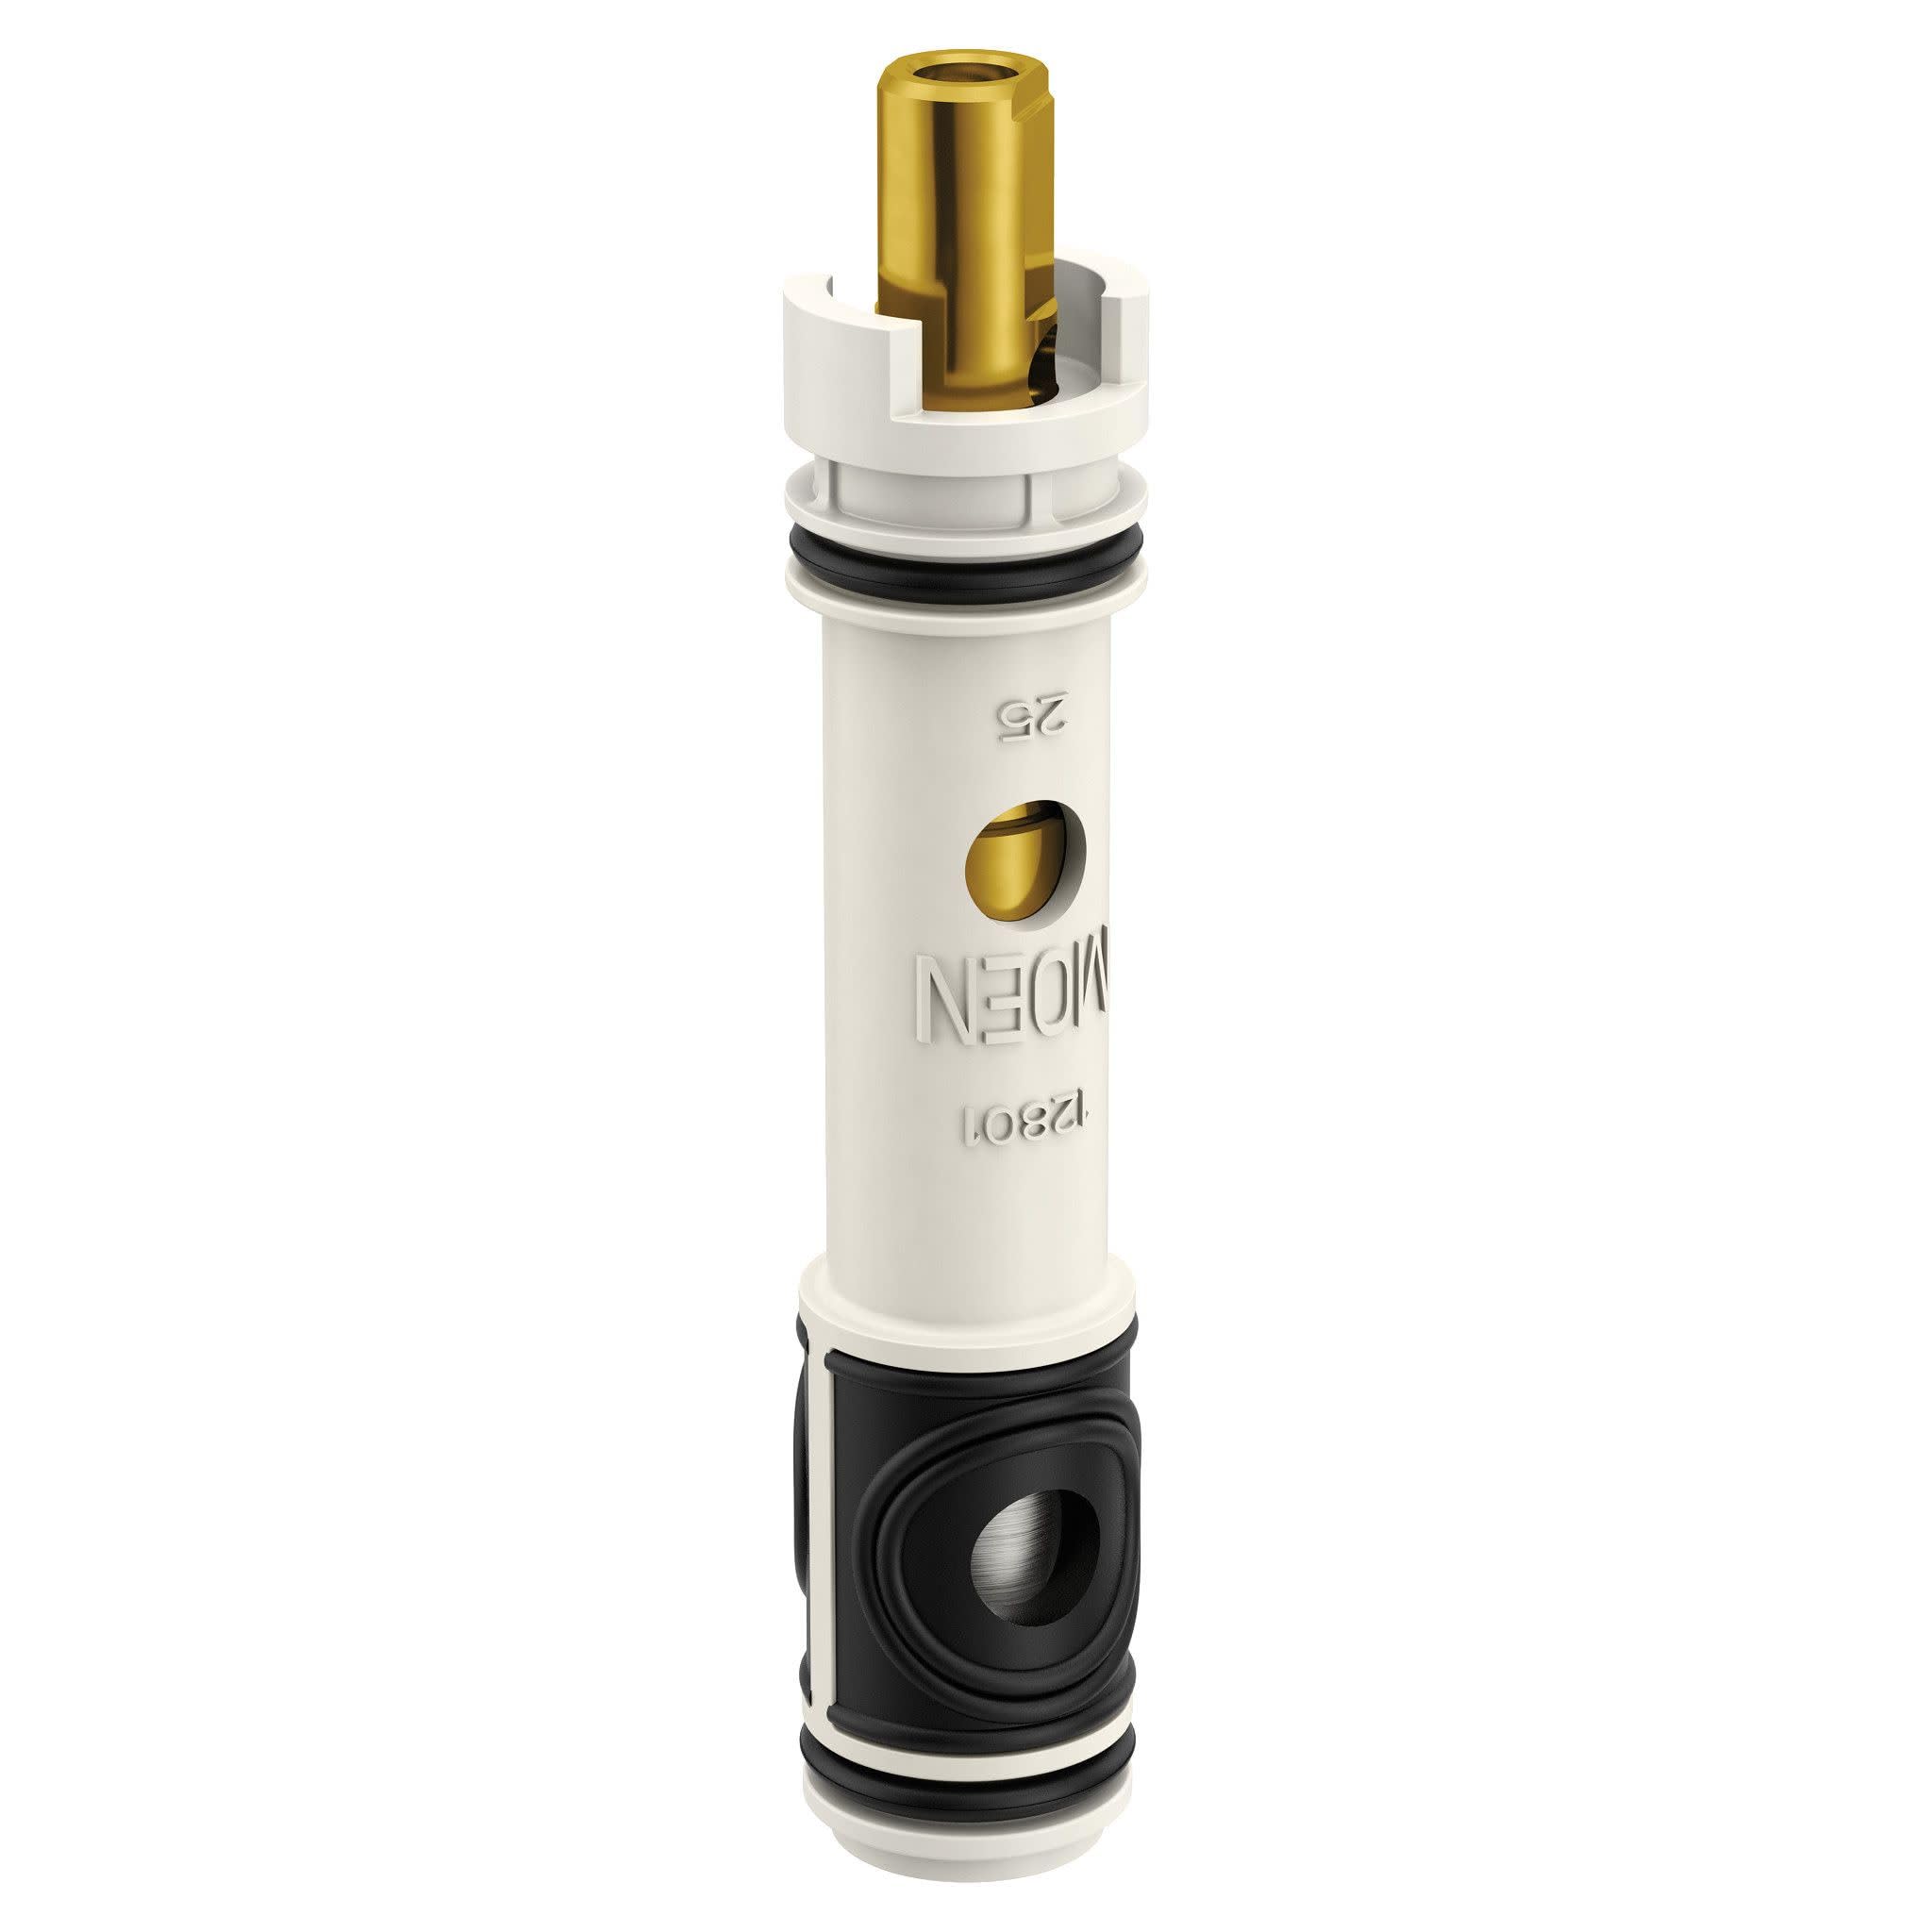
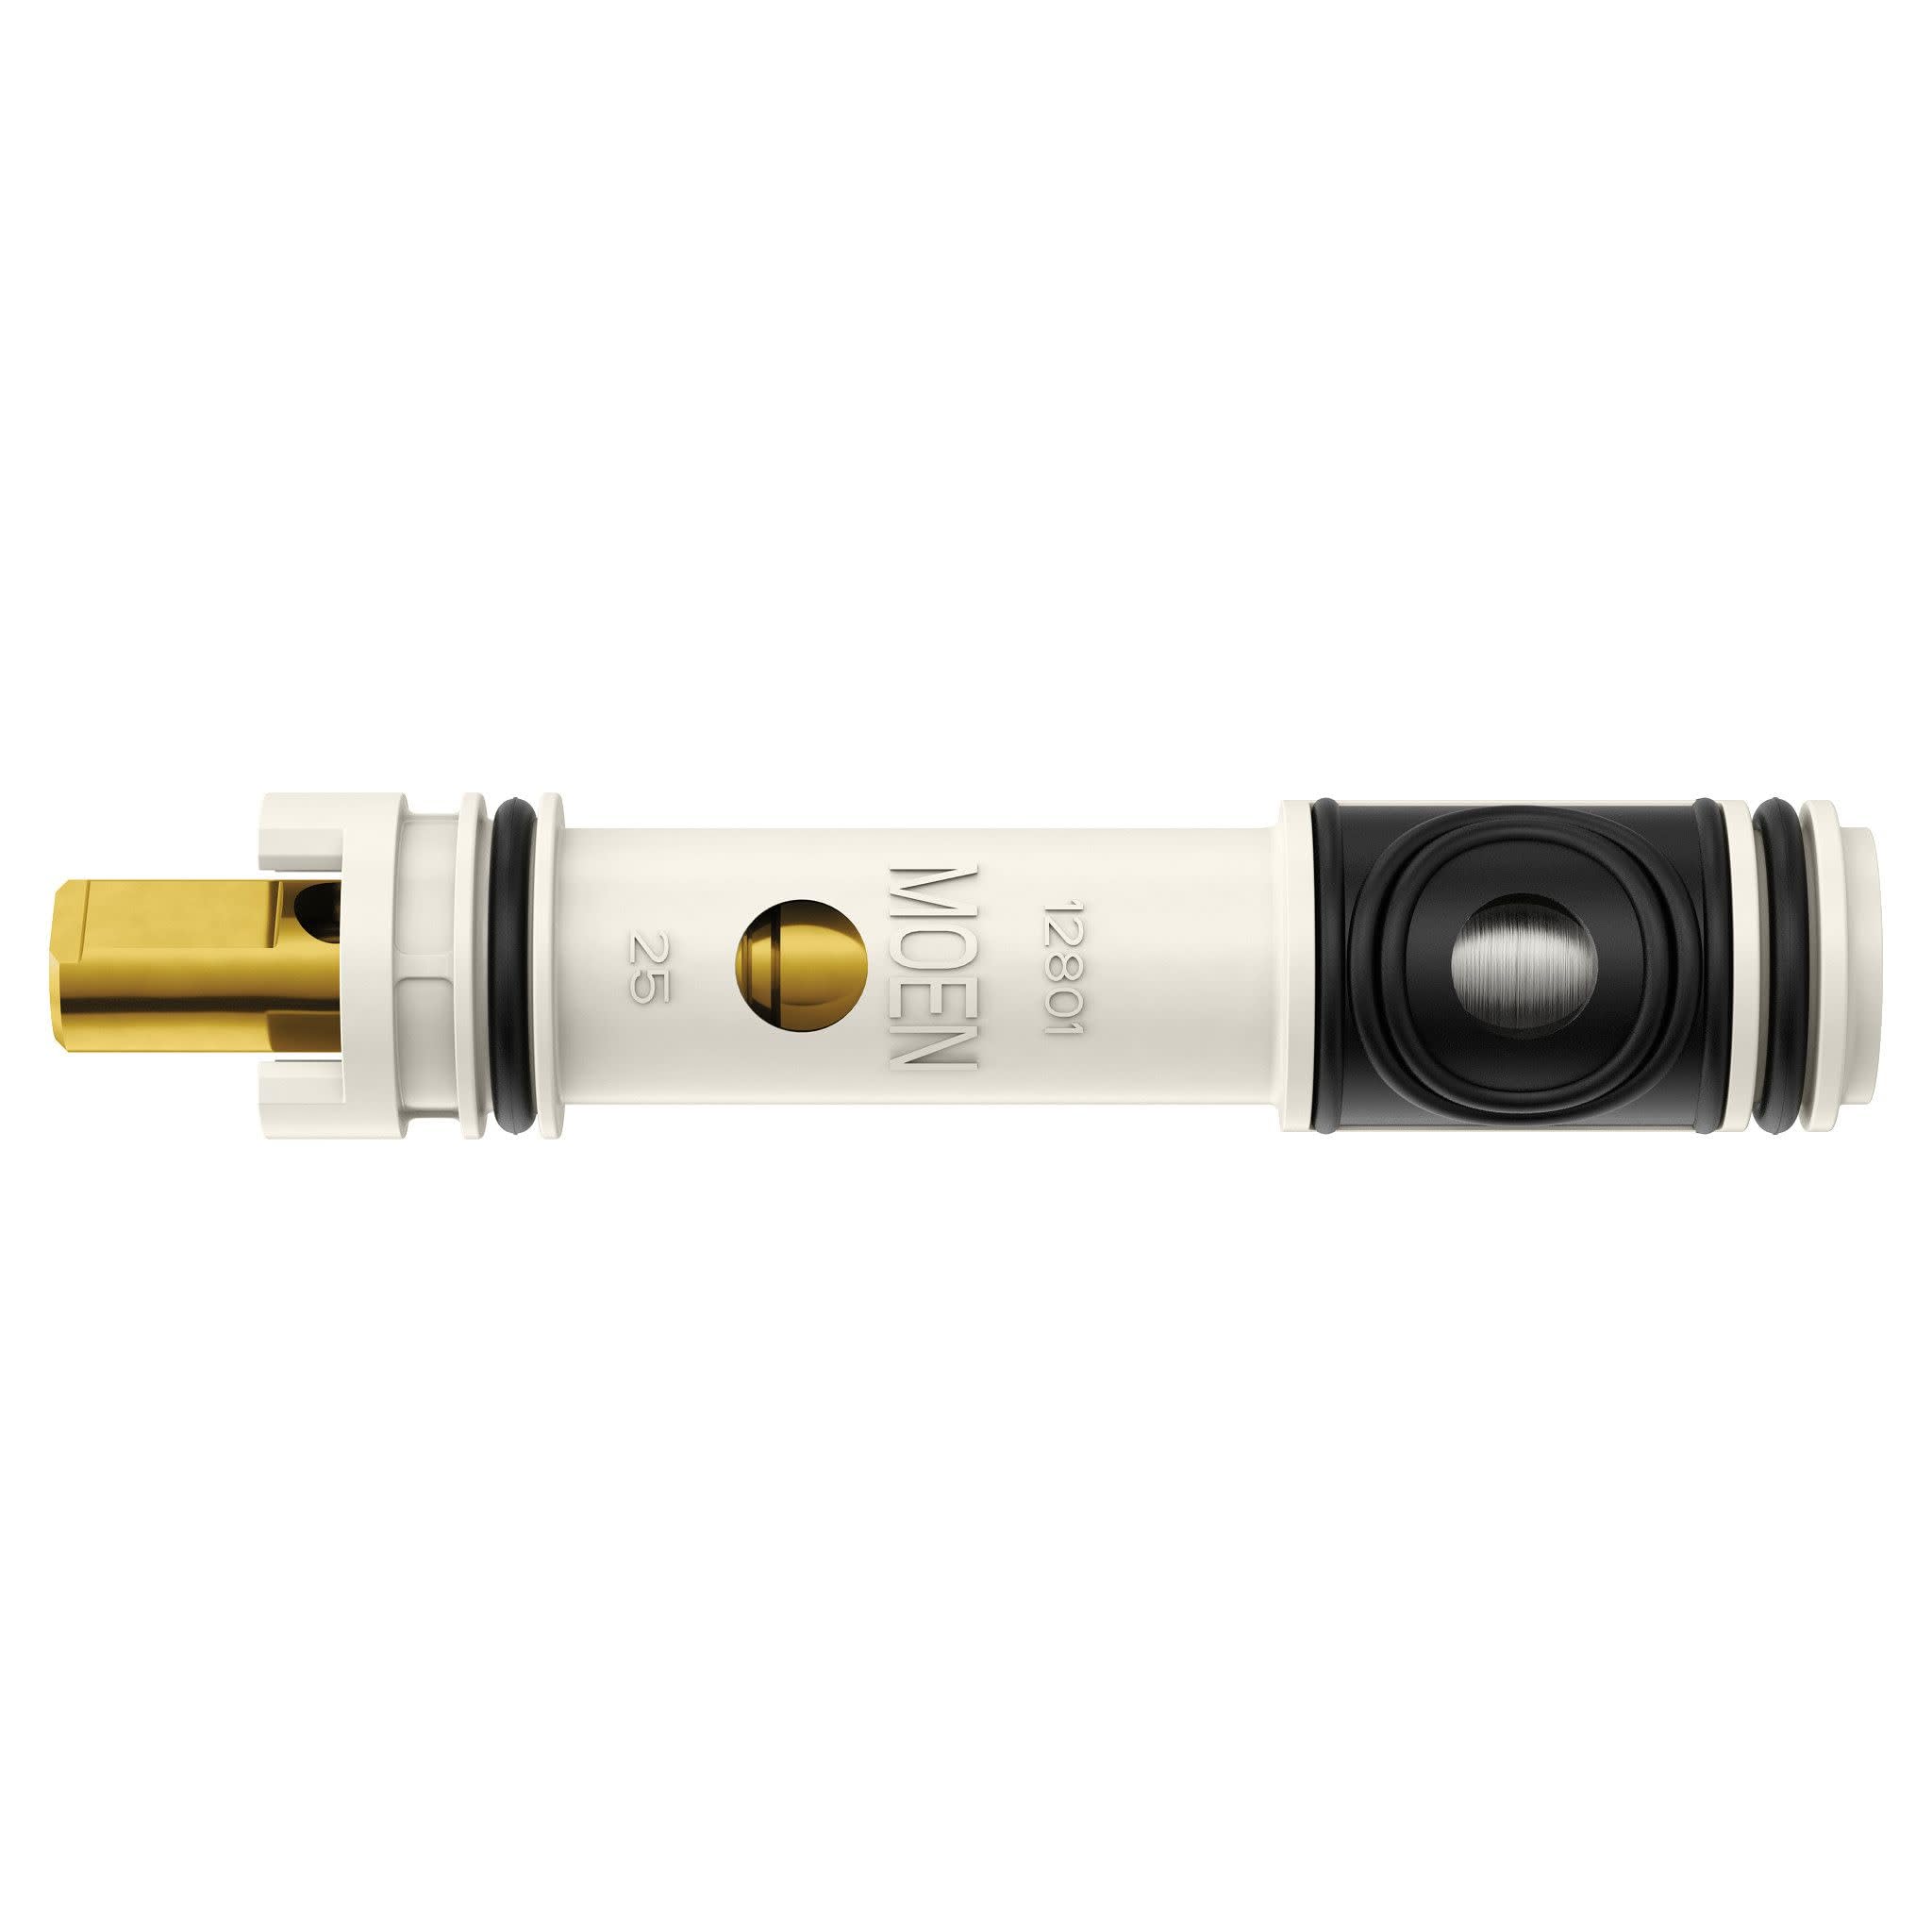
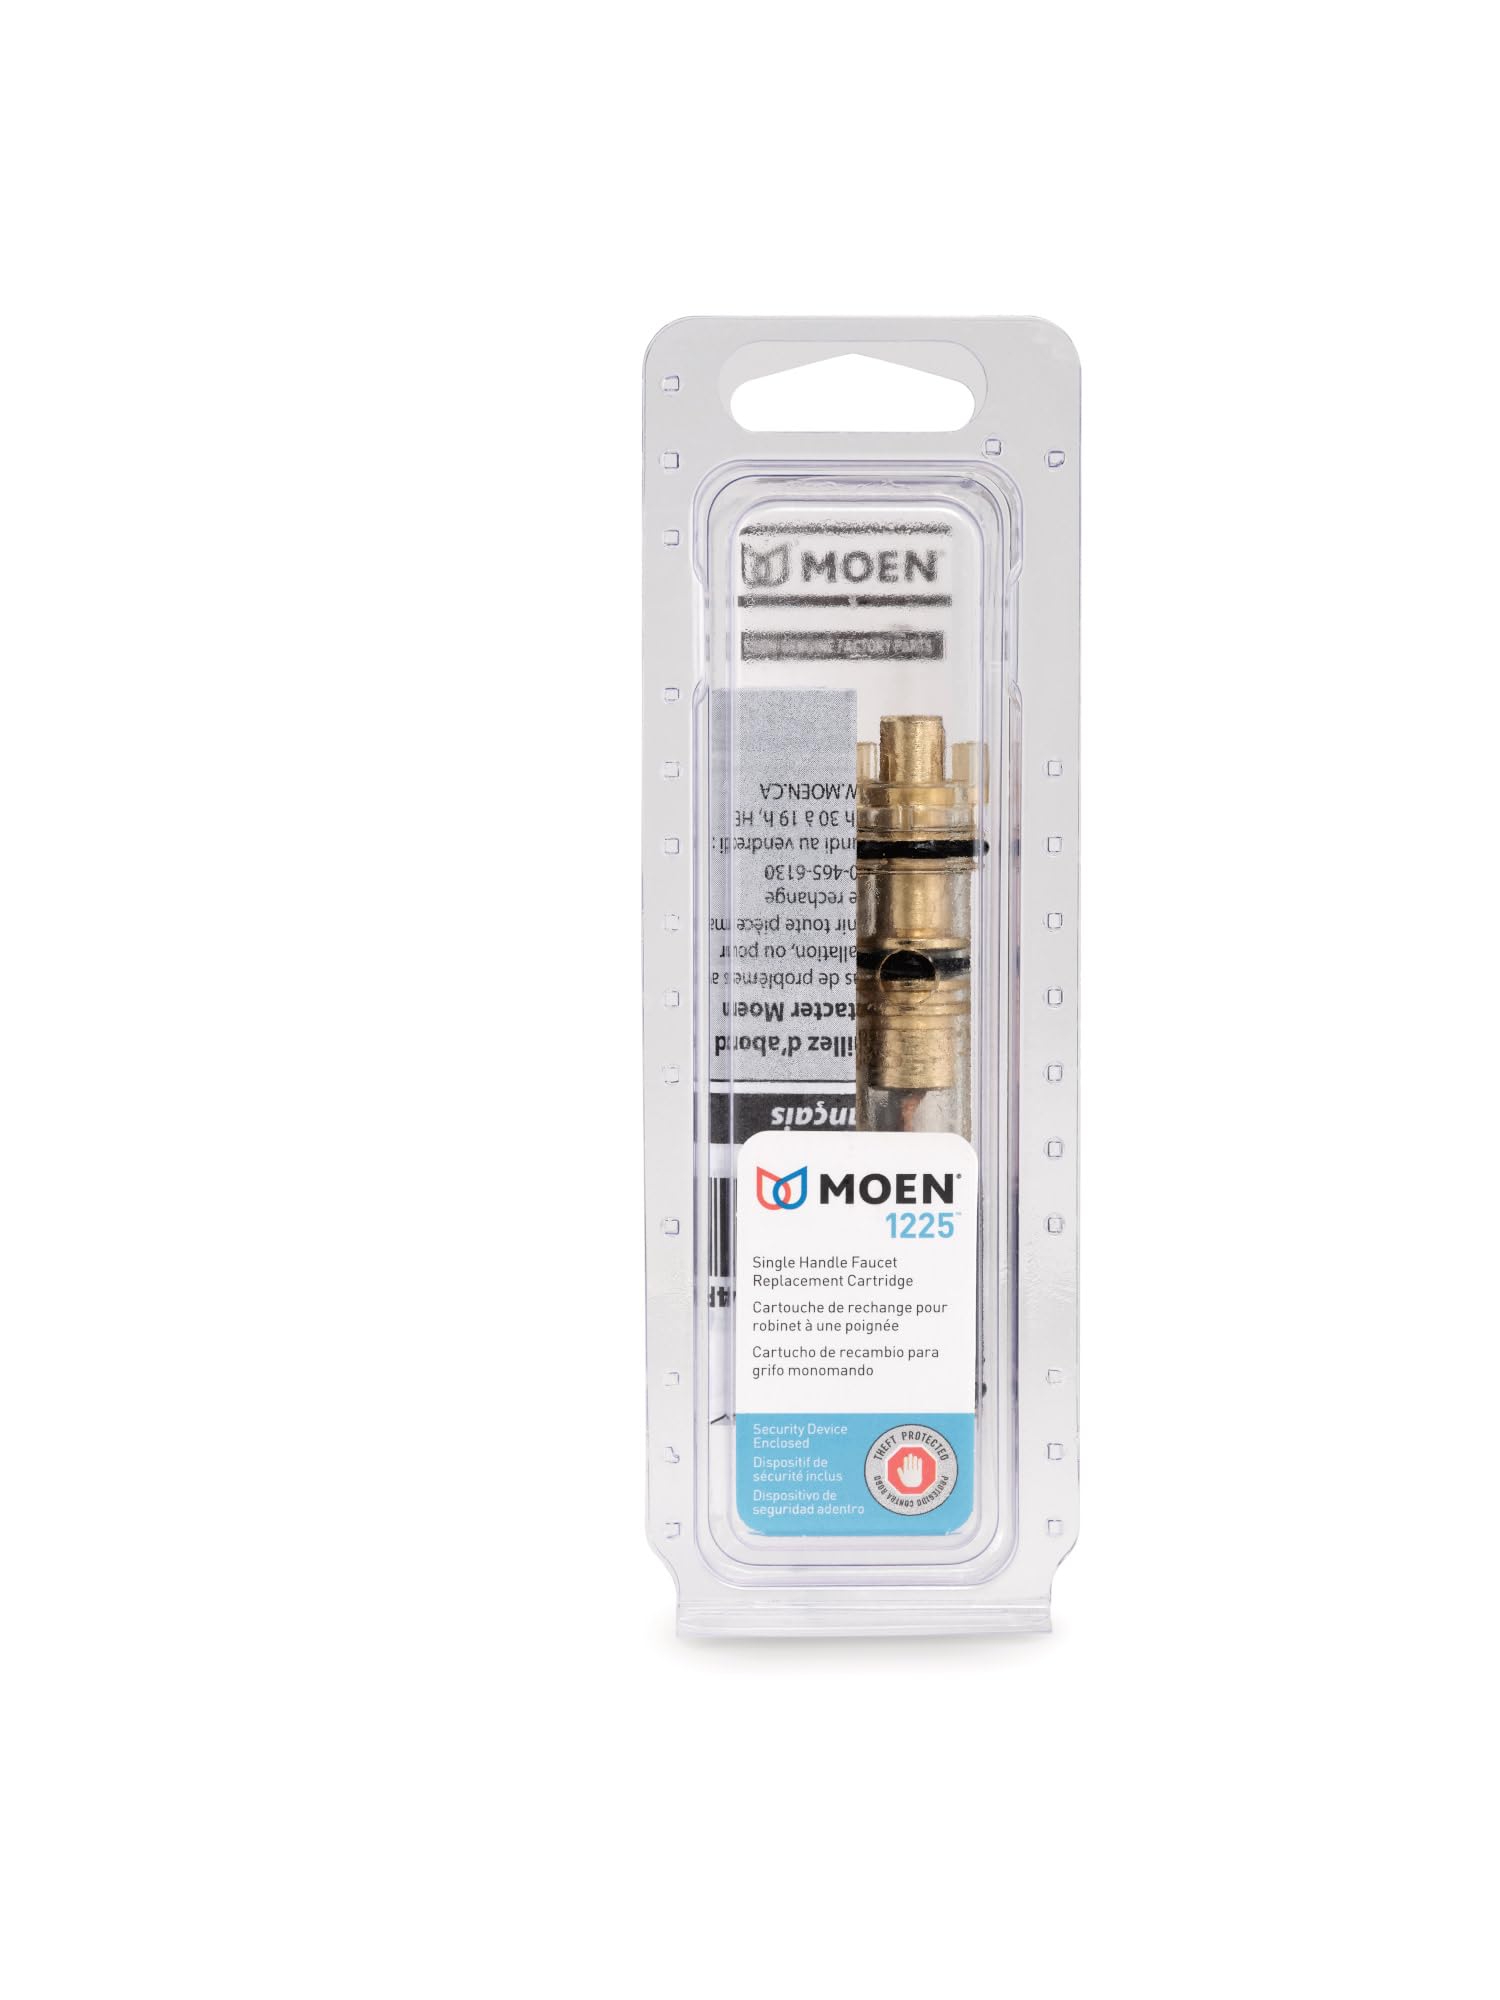
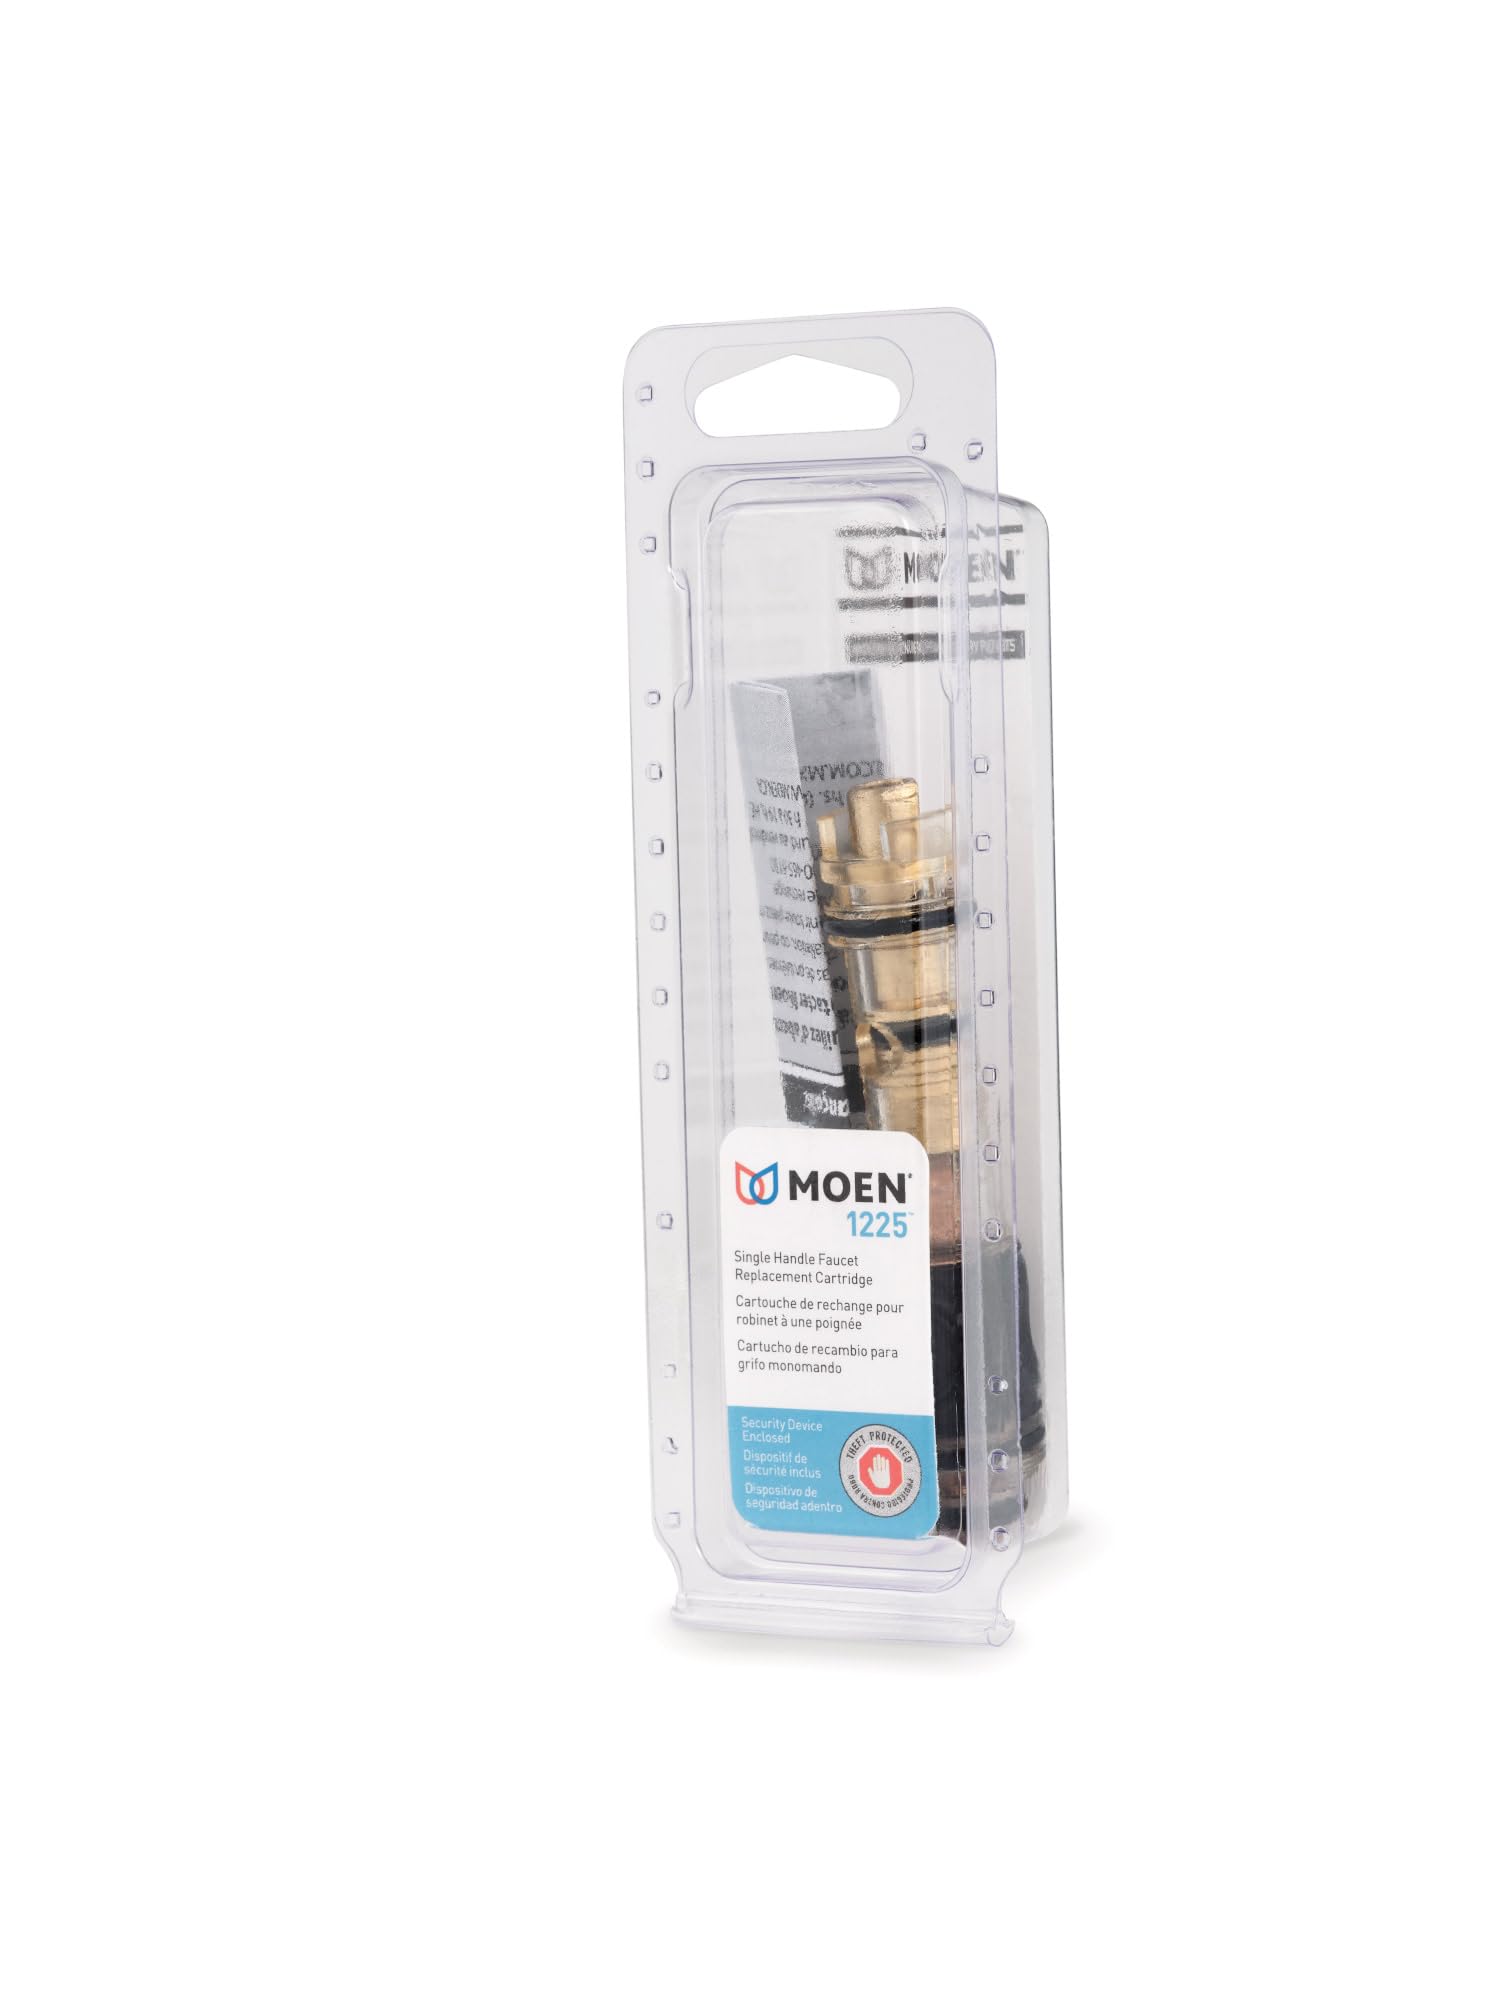
The Moen 1225 Single Handle Faucet Replacement Cartridge is a durable brass stem designed for quick and easy repair of most Moen single-handle faucets. This authentic OEM part includes tools for hassle-free installation and is backed by a 1-year limited warranty, making it the smart choice to fix leaks and restore smooth handle operation without replacing your entire fixture.


| Material | Brass, Plastic |
| Brand | Moen |
| Color | N/A or Unfinished |
| Product Dimensions | 12"L x 3"W |
| Exterior Finish | Brass |
| Special Feature | Durable, Easy to Install |
| Included Components | Replacement Parts or Service Kit |
| Item Weight | 1.6 ounces |
| Metal Type | Brass |
| Handle Material | Brass |
| Customer Package Type | 1 |
| Unit Count | 1.0 Count |
| Number of Items | 1 |
| Manufacturer | Moen Incorporated |
| Item Depth | 1.4000 |
| Handle Attachment Mechanism | Cartridge |
| UPC | 026508012253 |
| Part Number | 1225 |
| Item model number | 1225 |
| Is Discontinued By Manufacturer | Yes |
| Size | 1 Pack |
| Finish | Unfinished |
| Pattern | Cartridge |
| Item Package Quantity | 1 |
| Number Of Pieces | 1 |
| Water Consumption | 1 Gallons per Minute |
| Number of Handles | 1 |
| Special Features | Durable, Easy to Install |
| Batteries Included? | No |
| Batteries Required? | No |
| Warranty Description | 1 Year Limited |
| National Stock Number | 5136-01-431-1591 |
Trustpilot
2 days ago
3 weeks ago