Description
💦 Elevate your kitchen flow with German-engineered finesse!
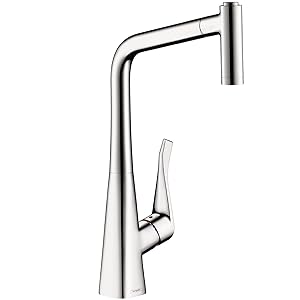
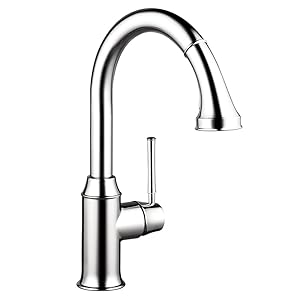
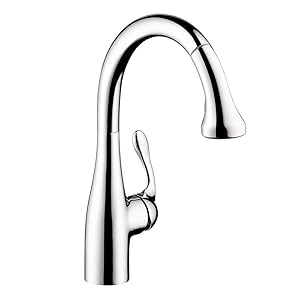
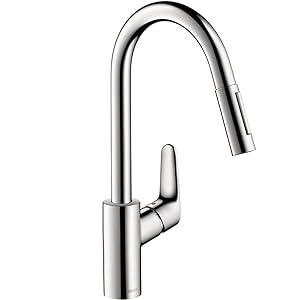
- SLEEK STURDY CHROME - Premium finish resists wear and perfectly complements modern kitchen aesthetics.
- PLUG PLAY INSTALLATION - Designed for seamless integration with Hansgrohe faucets—professional installation recommended.
- PRESSURE READY PERFORMANCE - Withstands up to 10 Bars for reliable water flow under any kitchen demand.
- ENGINEERED GERMAN PRECISION - Hansgrohe’s century-old design expertise ensures lasting durability and flawless function.
- EXTENDED REACH EFFORTLESS USE - 60-inch hose length offers flexible pull-down convenience for every sink task.
The Hansgrohe 88624000 Pull-Down Kitchen Faucet Hose is a 60-inch stainless steel hose with a durable chrome finish, engineered to handle up to 10 Bars of pressure. Designed in Germany with over a century of expertise, it offers reliable performance and seamless compatibility with Hansgrohe kitchen faucets, ensuring both style and longevity in your kitchen setup.