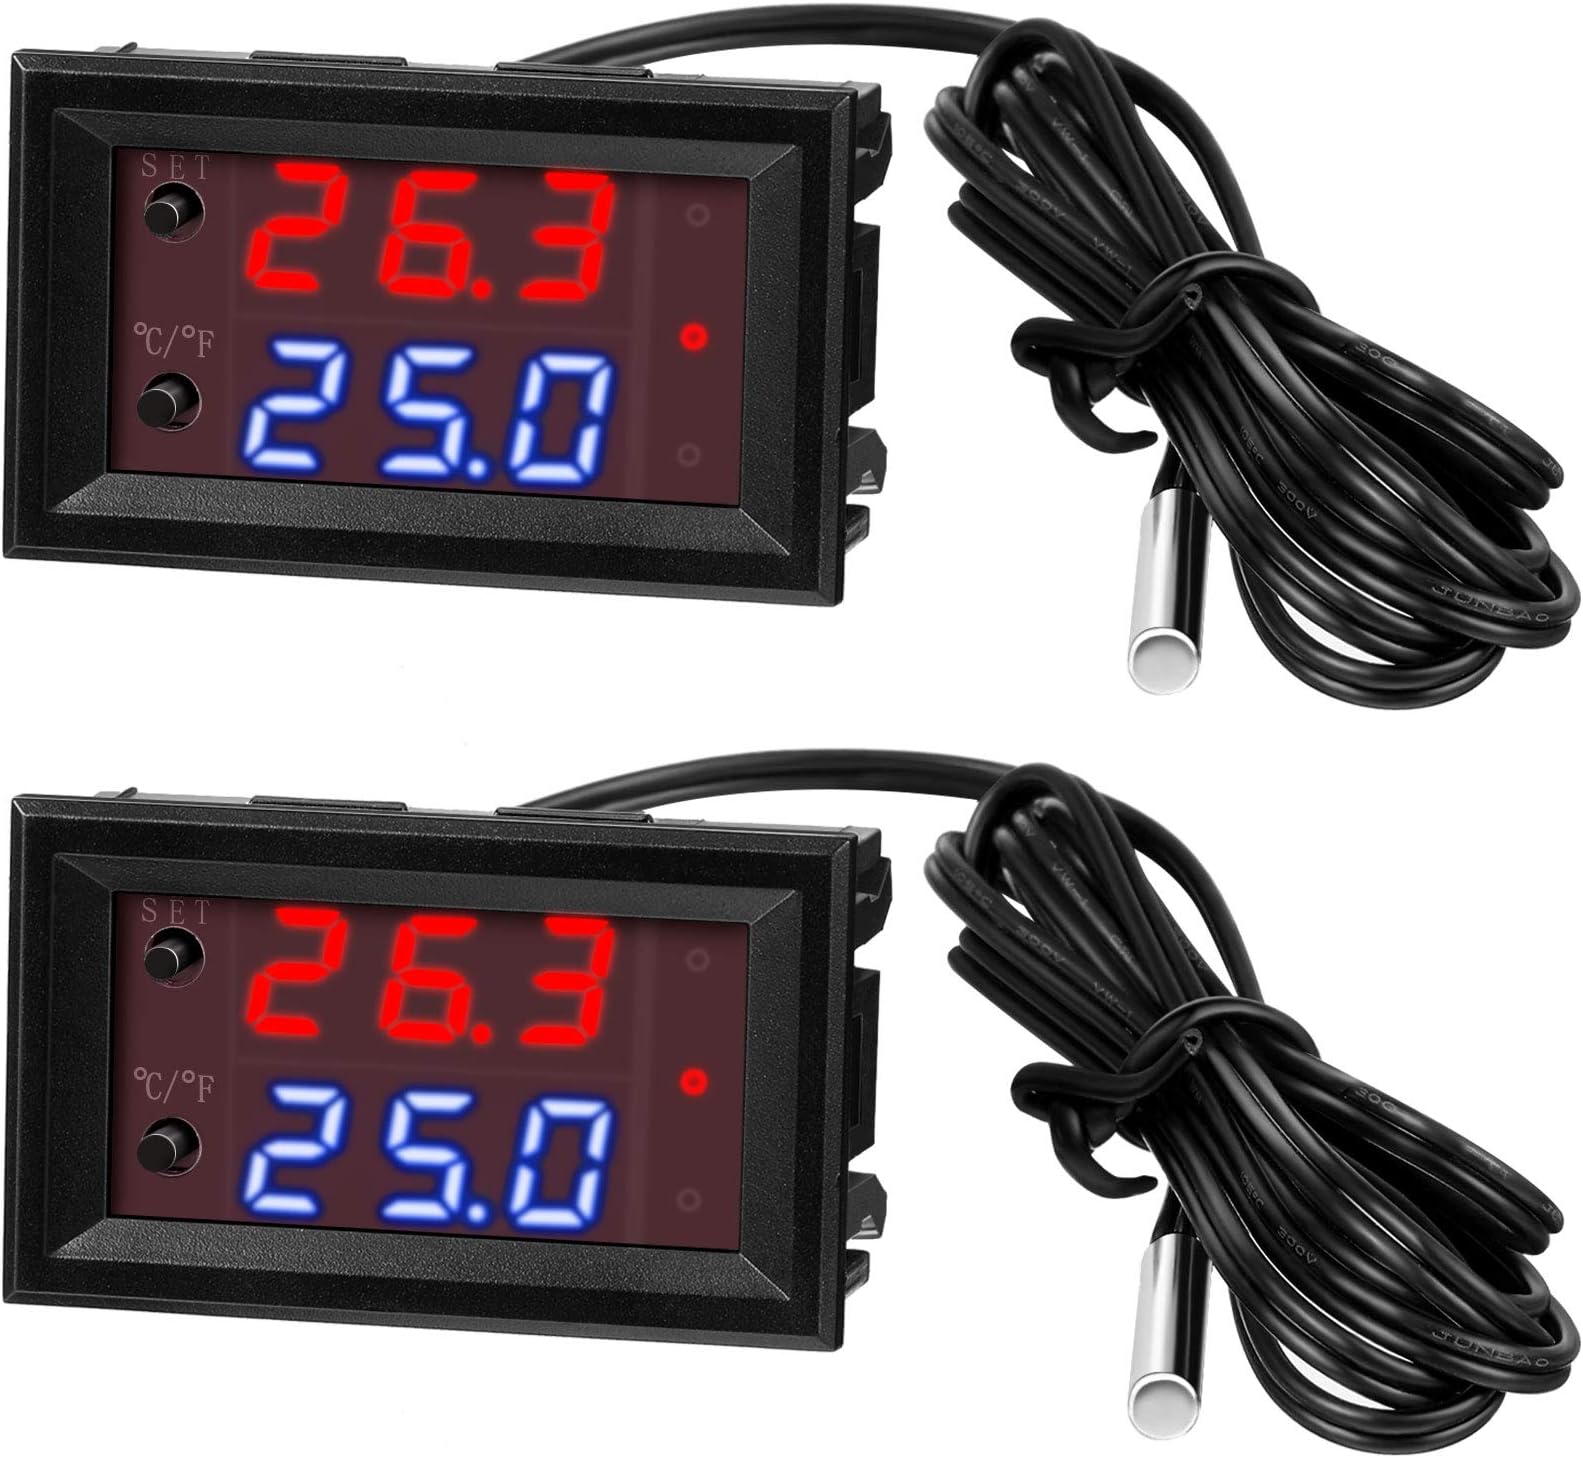

🌡️ Stay cool or heat up—control your climate like a pro!
This 2-piece 12V electronic temperature controller offers programmable heating and cooling with ultra-precise 0.1°C accuracy. Featuring a waterproof NTC sensor and dual-color LED display, it monitors and controls temperatures from -50°C to 110°C, ideal for smart homes, industrial setups, aquariums, and more. Compact and reliable, it delivers real-time feedback and versatile operation modes to keep your environment perfectly balanced.


| ASIN | B08W2BYG2L |
| Best Sellers Rank | #12,184 in Industrial & Scientific ( See Top 100 in Industrial & Scientific ) #15 in Temperature Controllers |
| Brand | Weewooday |
| Brand Name | Weewooday |
| Color | multicolored |
| Customer Reviews | 4.1 out of 5 stars 575 Reviews |
| Display Type | LED |
| Item Dimensions L x W x H | 1.89"L x 1.14"W x 1.26"H |
| Item Weight | 0.16 Pounds |
| Manufacturer | Weewooday |
| Material | Plastic |
| Material Type | Plastic |
| Operating Temperature | 110 Degrees Celsius |
| Product Dimensions | 1.89"L x 1.14"W x 1.26"H |
| Unit Count | 2.0 Count |
| Voltage | 12 Volts |
J**R
Affordable, useful thermostat
This item I have used in 2 applications. As an electronics cabinet temperature monitor/switch where it switches on fans when temperature rises above 80 ° Farenheit. It switches off at 84.8 ° F reliably. The other application is freeze protection 32 ° energizes pipe tape heaters and heat pads. The digital readout is bright and easy to read up to 10 ft away. There are several wiring options that can be found online by searching product and exact model#. I used a direct 12 V dedicated positive lead, and negative lead. Jumpered the 3rd and 4th terminals to secondary negative lead which I also incorporated a manual switch, so I can isolate it if I need to. For mounting I used sheet metal in one app, and plastic in another. Traced the outline with sharpie then carefully cut inside the line with shears and jigsaw respectively. Its an affordable useful item, been using for a month now.
A**R
I N F O ... Y O U ... M U S T ... K N O W ... B E F O R E ... B U Y I N G
I purchased the same controller from 2 different sources. On one order I received the old design and on the other order I received the new design. The one I bought from (DZS Elect) was the NEW design and included an operating manual. It worked great for 3 days; but then failed and only showed LLL in the red digital display for the current temperature. I checked the probe and the wiring. The failure was internal in the controller. The NEW design controller uses surface mount rectifiers on the pc board next to the relay. Do NOT buy the new design from (DZS Elect). I bough the other controller from (Xipshow) and the controller I received was the OLD design (which is much better than the new design). The old design uses redial lead rectifiers in the pc board next to the relay. but it does not come with the operating instructions. You can get that by going on line and looking up KETOTEK Model KTF0091. It's only one page. In almost every case you can use the factory settings for operation and only change from C° to F° if that is your choice. The important point is this ----- Buy from (Xipshow) and get the OLD design. It works great with no problems.
G**T
Good that they come in 2's
I got these to run cooling fans on a RF amplifier. The first one I hooked up only lasted about 5 minutes, in fact while I was programming set points it suddenly just went blank, was wired correctly, no shorts, no smoke, it was dead. So, I hooked up the second one exactly the same way and crossed my fingers. Yeah, this one works better. Another thing I didn't like is that you can only program one setting at a time and if you're too slow it goes out of program mode and you have to start all over. Other than that the one is still working fine after a week or so. As far as accuracy I'm not worried if it's a degree or two off, I just want it to work right to keep my amplifier at a decent temperature while operating. I ran a separate power supply, one for the controller and one for the fans. The power for the controller is from a regulated 12.2 volt power supply and the other for the fans comes from a regulated 24 volt power supply.
S**.
No-frills, no nonsense thermostat switches
I bought these to run the fans and water pumps in my chicken coops. The thermostat turns the fans on when the temperature gets high enough in the coop, and I have one that turns the pump on in the water tank when the temperature in the water gets low enough (to keep the water from freezing and breaking the pipes.) It’s not intuitive or easy to wire and program the thermostat, and the instructions are poorly written, but once it’s done, the thermostats work just fine.
D**A
Works, for a few few power supplies
I have tried four different power supplies with this thing, one worked. They worked for everything else, but I think this is either too finicky or just plain poor quality. Look elsewhere.
E**C
Works to control a cooling fan for a small terrarium.
I bought these to put into a 3D printed terrarium cover that I made to keep the lights from overheating the terrarium. They are small which I needed, and were inexpensive. The dead band can be set on them so the fan does not continously start and stop. of the 4 I purchased, there is not more than a couple of degrees difference in the readout. I would not use them for a critical temperature control, but for general use the are fine. There are no instructions with it , but they can be found online if you look up W1209 thermostats. Overall they were worth the price for me.
U**F
Here are your directions and everything else you need to know
Directions for use: Red - Measured Temperature Blue - Set Temperature Single press Set enables setting the temperature to trigger (enable relay). Press and hold the Set button for 3 seconds to enable setting the parameters, P0-P8 Once you are in Parameter mode, use the Set (top) and C/F (bottom) buttons to move up or down through the settings. When you want to change a setting, press BOTH buttons simultaneously. Then when the setting flashes, use the Set (top) and C/F (bottom) buttons to change the value. Once you have it set, press both buttons or simply wait 3 seconds and the unit will save any changes and return to normal operation. Anytime you have not pressed a button for 3 seconds, the unit will save any setting changes return to normal operation If you want to turn the unit off (no operation or display), press and hold C/F for 3 seconds. Parameters: P0: C (C or H, cooling or Heating. Default is cooling) P1: 3.6 (Hysteresis (Return difference) Degrees - difference in temperature to enable/disable the relay) P2: 230 (Upper limit degrees) P3: -58 (Lower Limit degrees) P4: 0.0 (Temperature Offset Correction (Calibration) Degrees) P5: 0 (Trigger Delay Start in minutes) P6: OFF (High Temperature Alarm Degrees) P7: FH (FH or CH) Celsius / Fahrenheit (this can also be done by pressing the C/F button) P8: OFF (Set to On to do a factory reset on all settings) My temp lead was 1 meter The unit comes with protective film on BOTH the front screen, and the inner readout screens (1 on each of the readout screens) - See picture showing all parts disassembled to see the film being described. To remove these, simply bend out GENTLY on the middle tab on either side, and start to slide out the module on that side. - See picture of side of unit Once the module is out of the slot, move to the other side and repeat this process to free that side. Once BOTH sides are out of the slot slightly, pull evenly to remove the module from the housing. You can now remove the protective film from the screens if desired. If you are not comfortable disassembling the unit, just use your fingernail (nothing hard) to scratch the protective film on the main screen, and pull it from the screen being sure to get all of the bits around the edges. You will still have the protecting film on the inside of the display, but it won't affect anything really. 3 stars because there are no directions of any sort with the product, and those in the description are insufficient at best. So far my level of frustration with this product is high. No directions, the parameters timeout in 3 seconds instead of 5 like most others. It only has 2 buttons instead of 3 like most others. All in all, I probably would not buy this product again, but would instead get an Inkbird ITC-1000 or a W1209 or similar. I bought this because I wanted something small that could be panel mounted. So far it fits the bill for that. If I discover anything else I like or dislike, I can guarantee I will update this review accordingly. Hope you found this review helpful!
I**E
Good Little on-off Temperature Controller
This unit is a good little temperature controller. Some things to know: 1. Screw contacts are not labeled. Relay terminals will measure open (infinite resistance) both polarities. Module power input measures 15 Meg ohm when red multimeter lead is on positive, infinite resistance when leads reversed (series diode protedtion). 2. Module requires minimum 8 volts to actuate the relay. 3. Relay is rated for 10 amps AC. DC rating is generally less for a relay. 4. Module default usage is for cooling. To set for heating: a. Hold top button in for 5 seconds, this gets you to P0 - P9 parameter settings. b. Use top and bottom buttons to get to P0. c. Hold the top button in, then push bottom button in for a short amount of time. Then let go of both buttons. d. When the parameter value flashes, use the top and bottom buttons to change value. 5. The temperature difference value, P1, (hysterisis) can be changed by same method above.
Trustpilot
2 days ago
1 week ago