Desertcart purchases this item on your behalf and handles shipping, customs, and support to Japan.
🚽 Upgrade your throne with smart water savings and leak-free peace of mind!
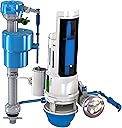
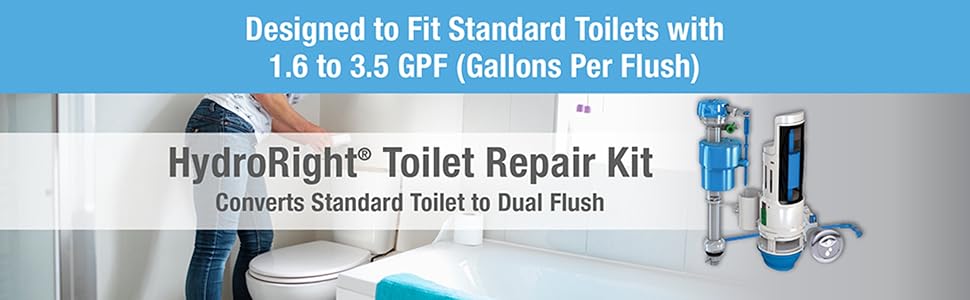
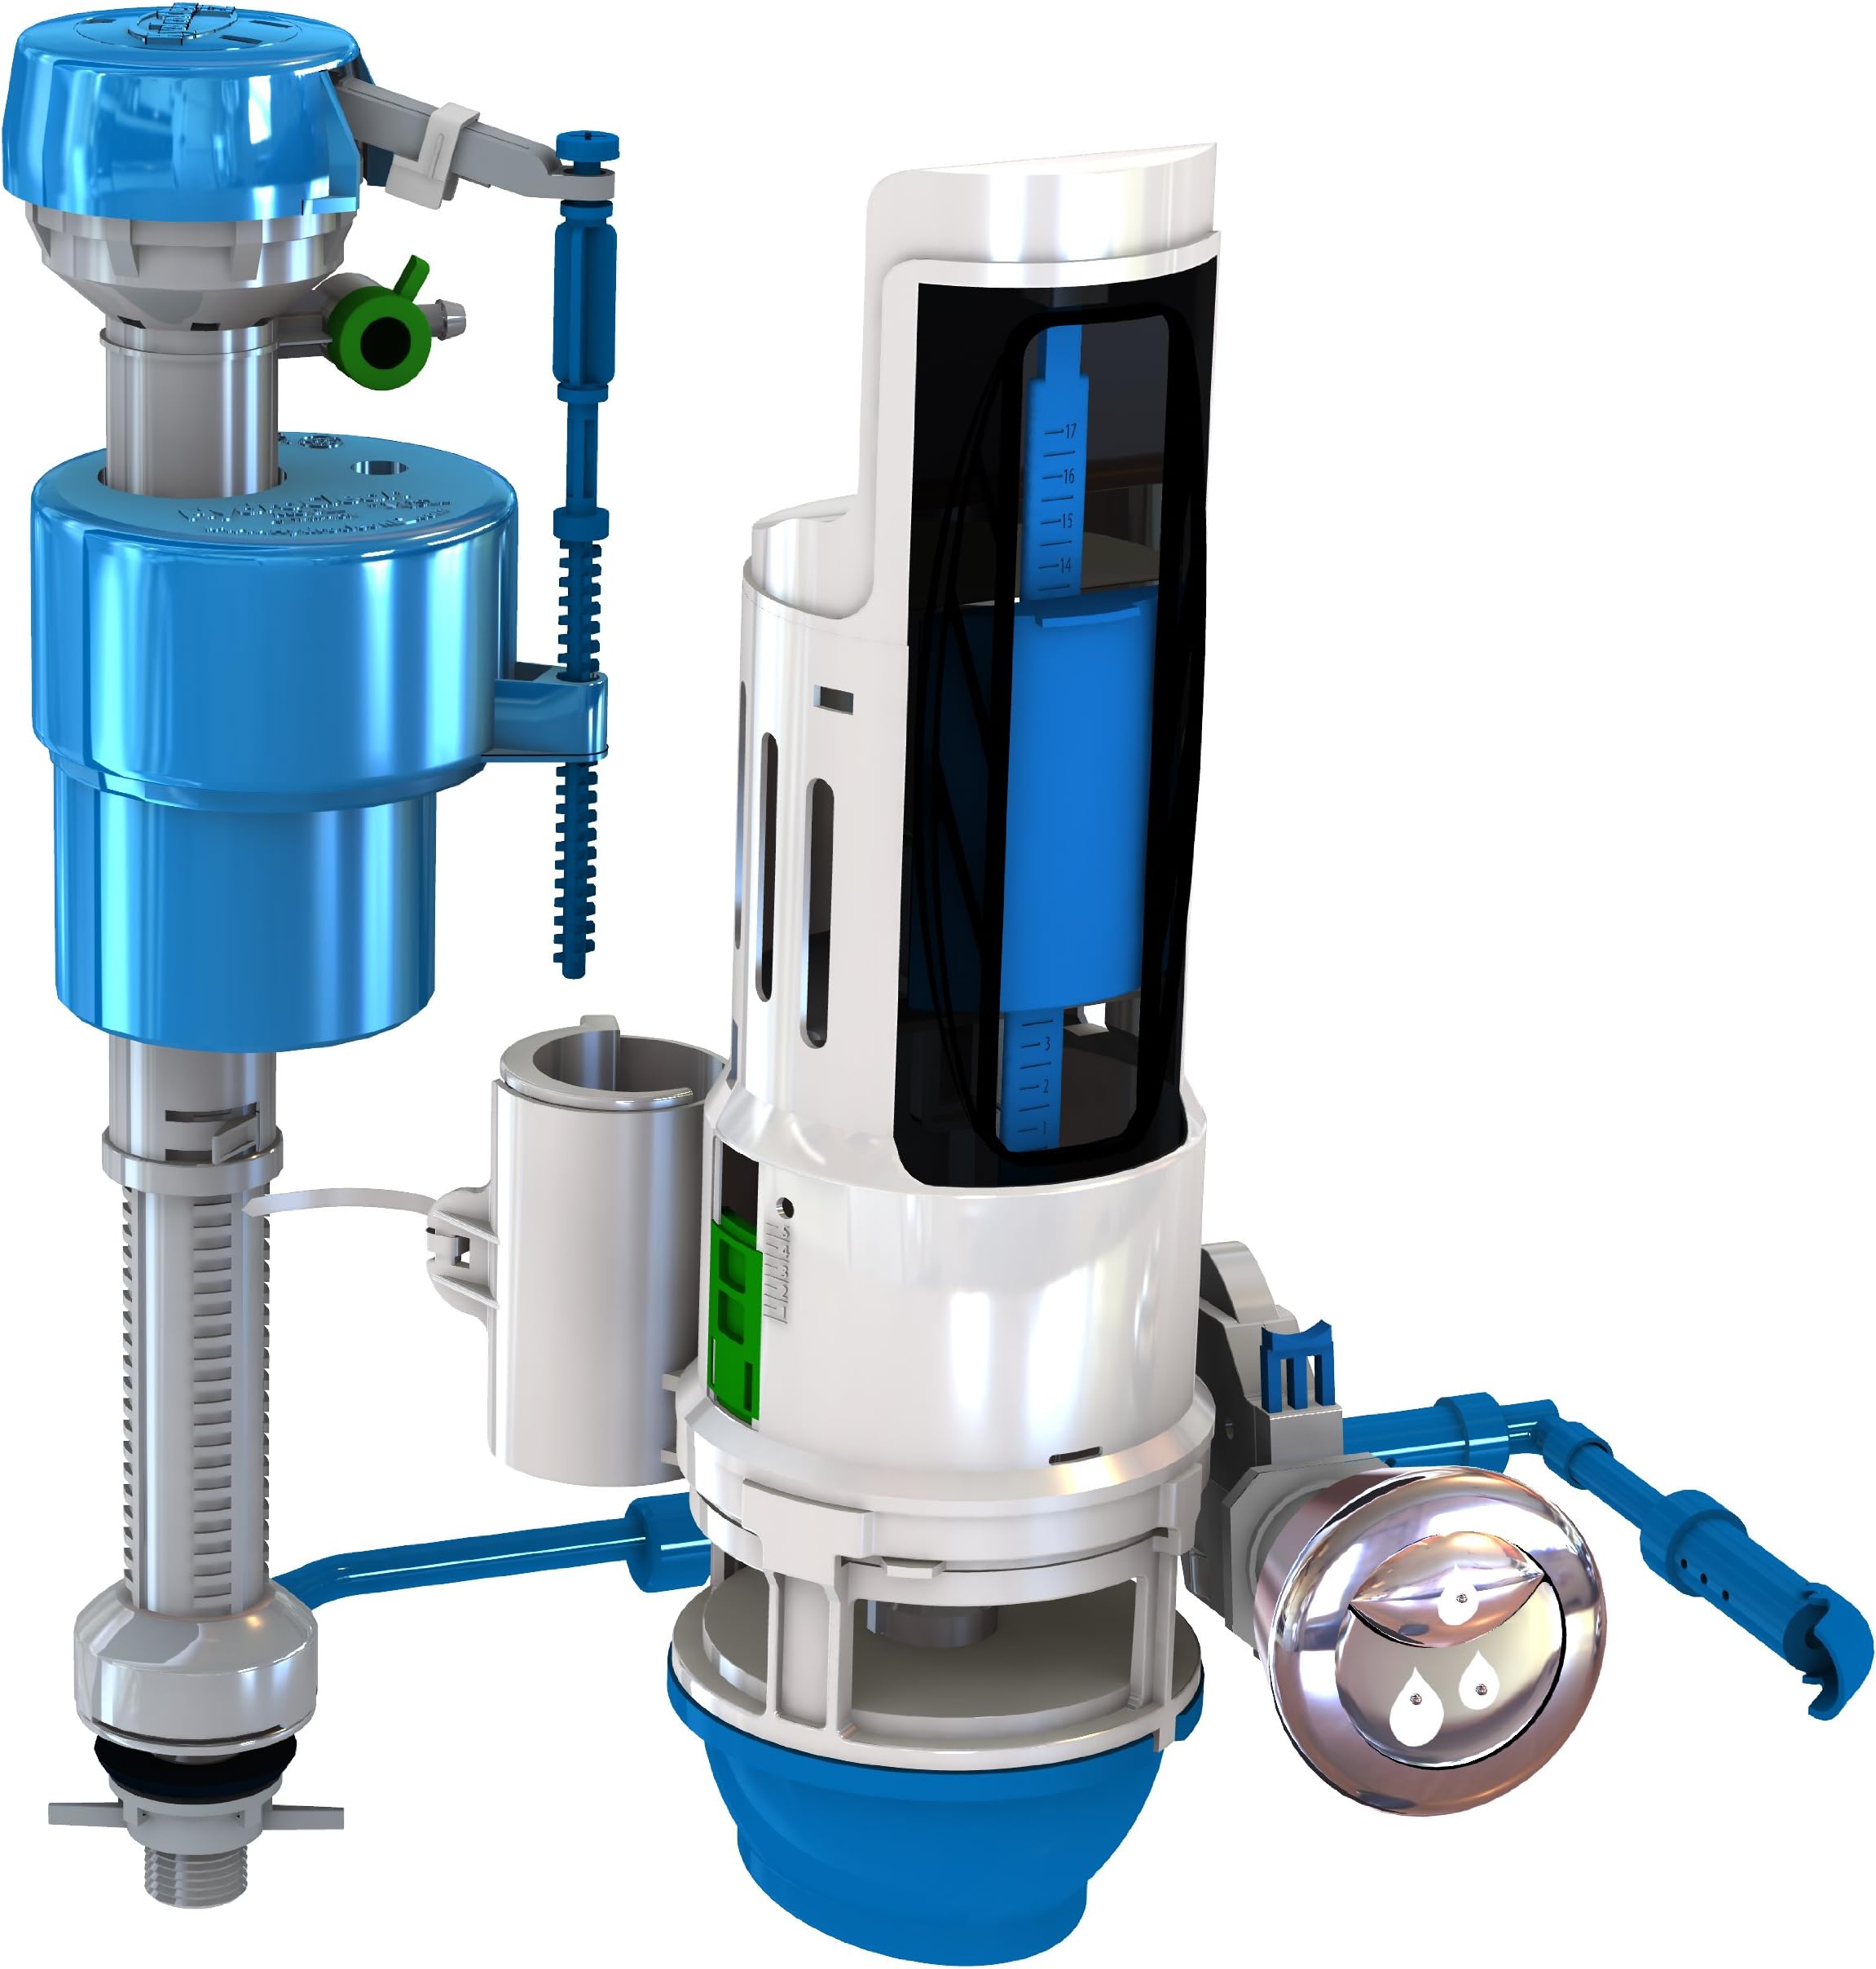
The Danco HydroRight Water-Saving Toilet Repair Kit (HYR460) converts standard toilets into efficient dual flush systems that reduce water consumption by up to 50%. Featuring a durable permafit silicone seal, tool-free installation, and a unique split-handle design, it eliminates leaks and offers customizable flush volumes. Ideal for eco-conscious DIYers seeking a modern, reliable upgrade that saves water and money.


| Brand | Danco |
| Color | White |
| Installation Method | Floor Mounted |
| Installation Type | Floor Mounted |
| Item Dimensions D x W x H | 3.75"D x 3.75"W x 14.25"H |
| Item Weight | 0.74 kg |
| Material | Plastic |
| Material Type | Plastic |
| Product Dimensions | 3.75"D x 3.75"W x 14.25"H |
| Seat Material | Plastic |
| Shape | Round |
B**T
Great System
This is my second one. The first one was installed nearly 5 years ago. When the flow valve on an upstairs toilet failed, there was no question about which one I would replace it with. We've been very satisfied. The flow valve used on the first installation has worked flawlessly. The flush valve has worked well, too. In these five years, it started to leak once. It took me less than a minute to clean and reseat. That's less maintenance than with a flapper. The flow valve itself is easy to install. You might have to make customizations for the tube that goes in the bottom of the tank. The tube works well to keep the tank clean, BTW. Just ensure you trim from the valve end, if it is necessary to shorten it. The dual flush button was a pain to get working correctly due to its proximity to the flow valve. The toilet is small, and it is a lot to pack it all in there. Adjustments here and there are necessary to make it work. Once you figure out which orientation works, the installation of the flush valve is easy. It's necessary to take time to calibrate the system to make it function properly. You might have to adjust the fill level to make it all work, but once everything works properly, it maintains the setup and works very well. The first one had the issue that the tank would fill, then at some random time, it would start again for a few seconds. It didn't seem to be leaking. Perhaps it doesn't have enough hysteresis built into the valve and the slightest vibration can set it off again. It would only do it once. For unknown reasons, it stopped doing it. It's well worth the price not to have to deal with flappers, and it saves money to boot. It's more robust than a flapper system, and I am more confident that it leaks less, if at all.
P**3
Very pleased with this replacement system
Have now had installed for 6 months in one case and 2 months in two others. Working just fine. One advantage to these systems is the white slide mechanism on the filler tube. You can slide that so that it will not refill after flushing. This is a big help if have to adjust the replacement for the flapper value but even bigger help when wanting to clean the toilet bowl. Can slide to stop flow, flush using the liquids flush button and then with the bowl nearly empty can clean the bowl thoroughly. Then release the slide and bowl refills normally. Big help vs turning the water off at the valve. Same is true if going on vacation or away for weekend and want to prevent possible toilet overflow as mentioned below. Features not mentioned in other reviews I have seen on the product but a big plus for it. This us update to earlier note. I have now installed three of these systems. The only issue I had was getting the flapper replacement installed so it did not leak. But once that problem was solved the system works great. One item I have not seen noted but important to me is that you can slide a white slide on the arm of the filler mechanism to lock it in place. Very useful if going on vacation or even away for weekend as it could prevent a toilet from overflowing as friends had happen a few years ago with major damage. Beats turning water off to the whole house as the major risk is from the toilets. System worth it just for this! Also when checking for leak you can mark level with pencil and lock the filler and then go back in a few hours and see if level has dropped. Likewise if you have to adjust the flapper replacement it is easy to do by locking the filler when water level is low and then twisting the large part off of the flapper replacement and adjusting to be sure no leak. After doing this can release to let water part way in and then lock again and mark so do not have to fill entire tank (or drain it). Thought these useful enough to pass along. I initially bought each of these separately so my review of the filler valve and the dual flush valve are under the individual parts except that I am only adding the comments above to the entire system link. I have replaced the innards of toilets numerous times over the years and found this system very easy to install. Only caution I would pass along is to read the directions and the warnings with some care before you attempt installation. I have for years used bleach tablets in the tanks and I note that they warn not to do this with their system. Each part of the installation has some simple instructions but important to read them to save yourself a lot of frustration. When I first installed the dual flush I did not follow instructions to put water over the seating valve and mark with pencil and let sit 15 minutes to be sure it was seated. As a result I had to go back and redo the installation. Once you have done an installation for one toilet doing others will be extremely easy. So far system is working very well but I plan to wait a couple of months before buying more and installing in my other toilets. If this works as well as I hope I will be using these from now on. Especially attractive to me is replacement of flapper valve and those of us with hard water tend to find build up of sediment and lime allows leaking of the flapper over time which can waste a great deal of water from a very slow leak that you may not realize is occurring. If I find problems with the units after installed a while I will come back and revise this review. As of now I can recommend this unit both for ease of installation and how well they are operating so far. Some of the problems I have seen in other reviews have yet to show up for me. If they do I will edit this review.
S**T
Easy Install and Good Seal but Refill Tube Issue
Good product for an old toilet repair. Since it provides a new seal mechanism for the tank, you don't need to remove the tank to replace the bottom flapper seal, i.e., the unit provides a self-contained gasket within the kit. The two button flush is a nice touch but the water saver button doesn't really work with an old toilet that always requires a full flush. Still nice for toilet cleaning and using less water. The fill hose is not very well designed as it is flexible and will not lay down on the bottom of the tank as envisioned. I ended up using a rock to weigh it down so it stayed in place. A good design idea, but does not work as designed. Without the rock holding the fill tube in place at the bottom of the tank, it will lift up and spray water all over. I tried bending the hose to take the kinks out but had no success. The rock work well enough and maybe the tube will become more rigid and stay in place by itself over time. I guess you could also turn the water supply line valve down to reduce pressure and increase the tank refill time.
J**K
Reap the rewards from a challenging installation
I had some reservations about purchasing this product due to the negative reviews, but after having the unit installed in a 1987 American Standard for a few months I think I can safely say that if you are careful about following the instructions (and they are a little complex), you'll be happy with this purchase. $30 beats $250 for a new dual flush toilet, and you keep a hundred pounds of ceramic out of a landfill. I do have some advice to give to future purchasers of this device: First, read the instructions through once before you install the device. It's good policy for any installation, but these instructions really are at what I'd call the high end of a layman's capability. What's more, you really can't count on the manufacturer's support -- I made two calls on two separate days, during business hours, and was shunted to voicemail both times. I never received a call back. Fortunately I was able to resolve my problem myself (see "Third," below). Second, everything about setting this unit up requires /firm/ pressure, and nearly every part that moves in this device locks into or out of place with a loud snapping sound. You're going to think you've broken something at least once during installation and calibration. Don't let it scare you. Be careful, but don't be too gentle. Third, when you install the dual-flush converter, it comes with the blue float (which sets the quantity of water to use in a light flush) set to the highest point (the smallest possible amount of water). As part of the calibration process, the instructions will tell you to test light-flush the toilet, moving the blue float downward each time until the bowl drains completely. What I discovered was that repeatedly light-flushing the toilet will cause a false positive result (a light flush will succeed when the blue float is still set too high), and then you won't get successful light flushes later, which can be frustrating (and gross). I found that test light-flushing the toilet gave me false successful light flushes only four clicks from the highest setting, but to get consistent successful flushing over a period of days, I needed to be about five clicks from the lowest setting. This is still a lot less water than is used for a full flush! What I recommend is this: 1) Install and calibrate the device according to the instructions. 2) Press firmly down on the blue float until it reaches its lowest point (the largest possible amount of water). This will make a loud ratcheting noise; again, don't worry, you haven't broken anything. 3) Use the toilet normally for a day or two. 4) Once you've determined that the toilet always light-flushes successfully at this setting, pull the blue float up three clicks. 5) Repeat steps 2-4 until you start getting failed light flushes. 6) Press the blue float down one click. 7) Use the toilet normally for a day or two. 8) If you start getting failed light flushes, repeat steps 6 and 7 until you don't. 9) Rest easy knowing that your light flush is properly calibrated. Update: bought two more for the upstairs bathrooms! May 2014 Update: I've noticed that the supplied zip-tie securing the flush meter to the fill pipe has broken in all three of my installations, the last of which I performed only last year. I believe the rubber o-ring around the fill pipe is still keeping the gasket secure, so I don't think this is a major fault, but be advised that if you are performing a first-time installation you may want to replace the supplied zip-tie with a sturdier one you buy yourself. December 2014 Update: In the interest of full disclosure, because this review gets so much attention, one of my installations failed after about 26 months. My other two are still going strong, and I suspect it was not a defect in the device. We had one of these -- Kaboom with OxiClean Scrub Free! System-1 ct -- installed, and it appeared to be leaking highly concentrated cleaning solution into the tank. I think that what happened was the cleaning solution in the tank ate an internal seal in the flush valve, which is a thing that happens. You should never put cleaning solution of any kind in your toilet tank. The failure was slight, a very slow drip, but every time it dripped it made a loud pinging that resonated throughout the downstairs of the house. I could not correct it by manipulating the valve, so It had to go. Rather than install another one of these devices we decided 25 years was a good run and installed one of these: American Standard 2989.101.020 Concealed Trapway Cadet 3 Right Height Elongated Flowise 1.28 gpf Toilet with Seat, White . December 2017 update: My two remaining installations are still working perfectly, five and a half years later.
B**B
This unit leaked into bowl.
This unit leaked into bowl. Have this flusher on other toilet. Works great on other toilet. Truly saves water. Need to follow instructiond carefully or unit will not provide savings
G**0
PUSH BUTTON VS LEVER, INTERFERENCE and OVERALL FUNCTIONALITY
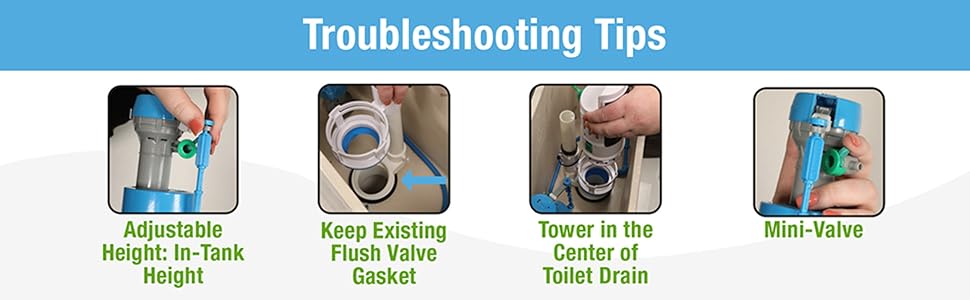
Initially I was drawn to the lever design because it's more familiar and incidentally cheaper. But the reviews are more negative (having to hold the lever down for 2 seconds, inconsistent results for the small flush etc...). The push button design is traditional elsewhere in the world. I am glad I bought this version. It's very simple to use and consistent. The round button also updates the look of my toilet. The tube at the bottom of the tank (see red arrow) sends jets out to clean the bottom. This tube does not come with the lever version. My tank lever is on a curved side resulting in insufficient clearance for the push button cartridge. The cartridge interferes with the float. I had to rotate it into a slanted position to avoid interference (see red arrow). Be warned and be prepared to make adjustments if your tank has a non-square shape. Do yourself a favor and watch a YouTube video review by Phil. He lays out the procedure much clearer than the instructions. Also avoid wasting time and get yourself a new hose going from the wall to the tank. The O-ring on mine had hardened causing a leak and, stopping the installation mid-way. It's important to understand how the green valve on top works to reduce water waste when filling the bowl (see arrow). In normal toilets you can waste more than a gallon down the fill tube. Think of the green nub as a flow indicator arrow. If it points along the fill tube, max water flows out. If it points up water is cut off. Water for the bowl flows only while the main tank is being filled so if this adjustment is made using the big flush the level will be too low for the small flush. Using the small flush adjust so the bowl is correctly filled by the time the main tank is filled. Adjustment is quick and easy once you understand the principle. When seating the blue silicone dome gasket that seals the tank, think of how the old flapper works. The flapper seals only with its weight so pushing hard on the silicone seal will distort it and cause a leak. The black rubber ring is for holding everything in the correct position so don't force it down either. As pointed out in other reviews, the zip tie is weak and will break leading to leaks. I have a Costco box of zip ties and chose the strongest that will fit through the slots. I also added another one on top for good measure. Play with the small flush blue float adjustments to familiarize yourself before installing it. The clicks are numbered by steps, 2 clicks per step. I started at 3 steps from the bottom (bottom is max water). Adjust upward if you want to reduce the small flush amount. I did not do much with the green slide big flush adjustment, just pulled it a little bit up from the max bottom. Installation and adjustment should not take more than 1/2 hour but add 1 hour for screwing up, more if you have to go buy stuff. Love the result.
A**N
Consistent leak negates any water savings
I have installed many flush valves. From fluidmaster standards to dual flush conversion kits on multiple toilets and toilet styles. I really liked the design of this flush valve, my first off brand. It felt like each mechanism was well thought out from the flush button, water filler, multiple position hoses, dual valve. I thought someone put some thought into this. I was pleased the installation was straight forward and the manual was written coherently. I was so pleased I failed to question why the dual valve assembly had to be held in place with a wide friction rubberband on the fill tube and with a backup twist tie just in case. I was so pleased that I didn't even wonder why the rubber gasket interface from valve to toilet was pitched at an almost 30 degree angle. That pitch is why this thing fails to seal well. The rubber band and twist tie are all there to help maintain that perfect angle. Lose it and your seal is lost and cool - check out the little waterfall in your toilet bowl from the tank when not in use. Yes you can adjust it and make the waterfall go away but what does it matter if the next flush takes this baby out of alignment again? Phantom flushes are from when so much water leaves the tank that the water level reengages the water filler. Back up to the top of the tank we go until the waterfall drains the tank again. You can test to see where the leak is coming from in your tank by turning off the water. The level of the water when everything stabilizes and stops leaking is the level of the leak. Guess what - that's the level of the dual flush valve gasket at the bottom of the tank. Cool story. Tried to love this thing. Tried to maintain it. Lasted maybe 16 months before I gave up and will likely replace it in all of our toilets when it inevitably goes down. Looking for a level gasket that is more likely to land a consistent seal. Don't trust this one to ever work with consistency due to its unfortunate design choice to try to be a universal kit. Sigh. --- 06/04/23 Update 2/3 of these have now failed. Replaced it with a flush valve with the same idea but with a level seal: Zone Industry ZFK22-1
J**P
Works as advertised. Save money sending 1/3 of the water down the toilet!
I ordered 2 of these to replace the flapper type valve on both my toilets. Install was very straight forward and took about 20 - 30 minutes each including calibrating the partial flush. Both my flapper type valves were leaking water into the toilet bowl and both valves showed the same type of wear which was at the other end of the hinge (the tip). I gave this 5 stars due to the following: - Innovative design and ability to save money using the partial flush. It only dispenses 1/3 of the water in the tank for the partial flush (for me that is). As for a complete flush, the unit does sit a couple of inches taller than the flapper design which in return will save water even with the full flush. - The additional water line that cleans the tank actually works! I had build up at the bottom of the holding tank which disappeared after a couple of flushes (both toilets). When I bought the house both toilets had the "cleaner" in the tank (the blue stuff) which apparently has a negative effect on the rubber of the valves. The box states to not use any cleaner in the tank since it will void the 6 year warranty. If you want that weird blue stuff, make sure to get the one that clips inside the toilet bowl. - My 3 year old son can push the buttons in. This is probably one of the most cost effective home repair upgrade! The only thing I will gripe about is they state "no tools required". No tools for installing this however taking apart the old hardware, it needed tools. Actually one of the toilets, the rod that lifts the flapper valve had corroded and snapped right off while I was trying to unscrew the bolt for the handle. One last thing to mention for those who are planning to buy this. It's common sense however the instructions never mentions to put a bucket beneath the hole of the holding tank while removing the left floating valve. I had about a couple inches of water in the bucket that I had used. Never thought I would praise hardware for a toilet or take the time to write a review for it. :)
H**O
Ahorrador y de fácil Instalación
Es un excelente producto. Funciona tal cual está indicado. En mi caso, el sapo de la descarga se atoraba y no regresaba a tapar la descarga, lo cual generaba una fuga de agua muy considerable y por lo mismo, un consumo de agua mayor (+ $$$$ pagada al servicio municipal de agua potable y alcantarillado). Se puede instalar en cualquier depósito, no se requiere que sea nuevo o que este preparado para este tipo de válvulas. Este es el 2do juego de baño que instalo. En ambos casos la instalación fue super sencilla y no requerí herramienta (solo para quitar la manguera de la tubería al deposito). En la 1er instalación me lleve aproximadamente 45 minutos. Ya en esta última fueron máximo 15 minutos. Los materiales de primera calidad y no se requiere desensamblar el tanque al inodoro pues ocupa la misma descarga. Recomiendo que lean bien las instrucciones de instalación y se familiaricen con las piezas. Si he observado una disminución del consumo de agua a raíz de la instalación y uso de este sistema. Inclusive hasta la sensación de desperdiciar agua de mas en cada descarga se ve reducida.
J**N
Easy and Works Great
Makes my ordinary toilet from 1988 like a complete new toilet dual flusher for $170 available at the hardware store now. This kit is not available in Calgary Canada hardware stores in January 2015. Maybe after a big mark-up next year. Fit great and works ░▒▓█▀▄▀ ◆ A ◆ W ◆ E ◆ S ◆ O ◆ M ◆ E ◆ ▄▀▄█▓▒░. Says no tools needed but what about the removal of the old hardware? Someone didn't think outside their box on that one. LOL Instructions show a picture of old hardware with an arrow caption that says "Remove old toilet fill valve". Just a pair of channel locks and a pair of scissors and you're all set. Make sure the inlet float valve is adjusted for the very top of your tank lid or will not operate properly. I was just half an inch too low and it bunged up. Can not adjust after you tighten it up so this is step one and the most important step. Other wise you dump more water on the floor on your second attempt. This is allowed for but don't over tighten because breaking the plastic nut auto adjustment tabs might just make the second attempt more difficult. These tabs are designed to break off if you over Solomon Grundy them. Adjustments for small flushes takes a little experimentation. All parts are made of 100% real plastic. Don't settle for less, buy authentic genuine plastic.
A**T
Buenísimo
Si lo pones bien, trabaja muy bien, si hay unas asustes y me olvidé poner una cosa pero lo poni después y trabaja mejor. Yo lo recomendó.
R**L
Works well
Leaks if you don't install it correctly but is easy enough to fix. Just spin the valve round on the exit point and press down until you get a good seal. After that, no phantom flushes or water loss. I am not a plumber and I got it installed without a problem.
U**S
Bien
Por el precio muy bien funciona bien hasta ahora
Trustpilot
2 weeks ago
2 weeks ago