

♻️🔥 Turn waste into garden gold—fast, clean, and continuous!
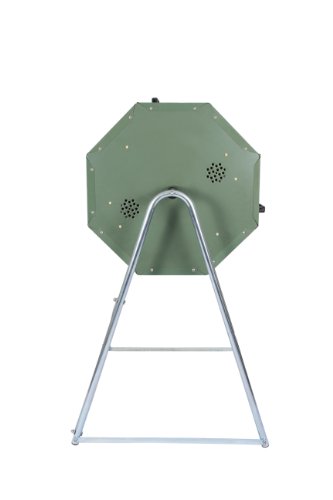
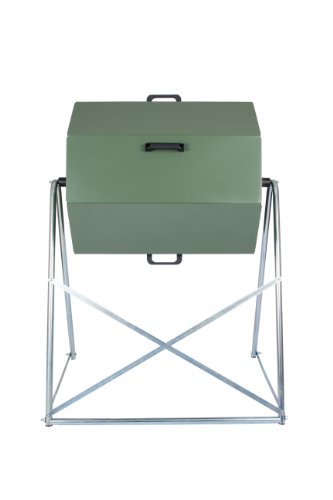
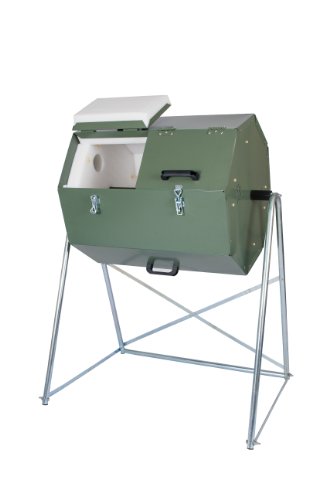
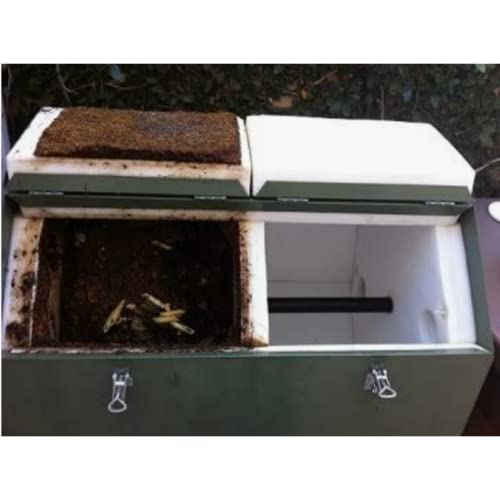
The Jora Outdoor Compost Tumbler is a robust 33-gallon dual-chamber compost bin crafted from galvanized steel with food-grade insulation. Its design enables continuous composting by allowing one chamber to mature while the other is filled. With heat retention exceeding 160°F and side vents for superior aeration, it accelerates decomposition efficiently. The tumbler’s ergonomic rotation system and durable construction make it a high-performance, low-maintenance solution for eco-conscious gardeners seeking year-round compost production.


| ASIN | B004U7ISQ2 |
| Best Sellers Rank | #184,520 in Patio, Lawn & Garden ( See Top 100 in Patio, Lawn & Garden ) #115 in Outdoor Composting Bins |
| Brand | Jora Composters |
| Capacity | 33 Gallons |
| Color | Green |
| Customer Reviews | 4.2 4.2 out of 5 stars (513) |
| Is Discontinued By Manufacturer | No |
| Item Weight | 62 pounds |
| Item model number | JK 125 |
| Manufacturer | Joraform |
| Material | Metal |
| Product Dimensions | 37"L x 28"W x 24"H |
| Shape | Cylindrical |
| UPC | 013964468588 |
V**A
Works great. Assembly was somewhat challenging
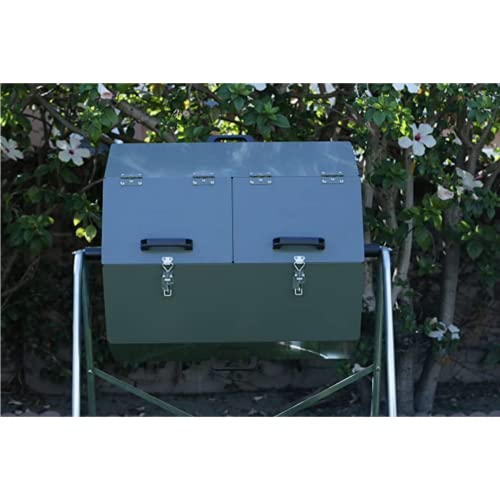
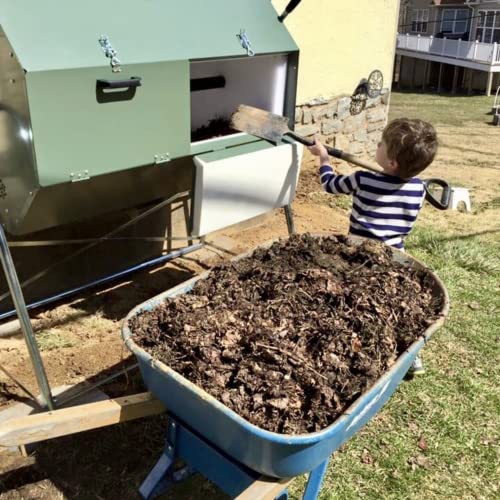
Works great. Assembly was somewhat challenging, but not too much so (make sure to watch video on YouTube first). Composts very well, minimal leaking, takes about 4-5 weeks for a chamber to ripen fully. Terrific solution for kitchen waste. We bought two, so in winter, when composting will slow down, we will not run out of space. Built well, solid and sturdy. Very, very happy with the purchase. Update after almost three years of use: Well, these composters are one of the best thing we ever bought. We live in climate zone 5a, so winters are somewhat harsh and rather snowy. Our composters work year round without fail. All kitchen scraps, food leftovers, some (but far from all) garden waste, paper towels and napkins are now turned into prime quality compost. There is minimal leakage from the bottom of the barrels, but since they are located outdoors, it is not an issue. In winter we can see steam rising from the venting holes, that is how hot it gets inside the chambers. I have been playing with different proportions of the brown/green waste. Sometimes I add peat moss, sometimes alfalfa (buy it in the farm store, where they sell it as food for rabbits), sometimes just shredded paper (checks, documents etc) from our shredder, sometimes shredded leaves. It always, always works. A couple of times felt that it would be beneficial to use compost accelerator. Just so the chambers get somewhat of a "do over". Used it, again results were great. We are now never without compost. With four separate chambers in different stages of ripening I always have some compost ready to add into the planting hole or just spread around. The paint on the composters faded a little bit in the sun, but they still look pristine. Rain washes them, wind dries them off, no other maintenance is required. Also worth mentioning. I have two old metal wheelbarrows (got one at a yard sale for $1 and another came with the house). They are beaten up, but I will never get rid of them, since they fit perfectly underneath the composters for emptying. These wheelbarrows have low profile and are entirely made out of metal. I just roll one of them underneath the chamber to be emptied (right to the cross on the back), open the chamber door and rotate the composter. Works like a charm. It sounds ridiculous, but these composters now are one of my most prized possessions.... Yeah, I know, gardeners are nuts..... Update after 7 years of use: Still using this composters and still loving them! Came to check if these were still available beacause I just recommended them to someone. Was astounded to see a negative review (with photos). I do not know who these people are, I do not know what their deal is, but their composters had to be fully submerged in acid to look like they do. Here are pictures of our composters, located outside (no protection) in zone 5, after seven years of use. I rely heavily on reviews when purchasing new items, hopefully this will help.
L**S
A Very Solid, Well-Engineered Product. Excellent Swedish Engineering -- Enough Said. Assembly Required.
This is a really solid, well-designed piece of equipment. I was concerned about the stability of the steel tubing stand, but it is rock-solid when assembled, thanks to the cross-bracing on the bottom and back side of the stand. The materials used appear to be very high quality. The bolts are stainless steel, and all the metal tubing appears to be as well. The main drum is made of galvanzied steel sheets that have been powder coated (a low-visibility sage green color). The handles are solid molded plastic, and are pre-attached to the side panels. Not all side panels have handles on them, so pay attention to which panel goes in which location while you are assembling the unit. The compost tumbler was shipped and delivered much faster than the "advertised" time -- a Fedex Ground truck showed up at the door two days after I ordered, a pleasant surprise. It comes in two large boxes, and everything is double-boxed to prevent damage during shipment. Assembly instructions are sparse, with a number of small illustrations and almost no text. The manufacturer has an online video to guide assembly. I found it unnecessary. If you pay attention to the drawings, the unit goes together well. The assembly instructions strongly advise having two persons available for the assembly job. This is good advise, although I was able to do the entire job myself, using one tool (a 3 foot pipe clamp) that is not specified in the assembly manual. Assembly is straightforward and fairly easy until the last step, which is to assemble the 8 sides onto the two end panels to make the 'barrel." The side panels are lined with stiff plastic foam (insulation to keep the compost mixture warm as it "cooks"), and that foam must be compressed with a good deal of pressure to bring the pre-drilled screw holes into alignment for each panel. (Two stainless steel M3.5-15 sheet metal screws are used to hold each end of each panel in place.) I found the assembly went much easier if I used a pipe clamp (a woodworking tool) to hold the side panel in place while inserting the screws. It's tempting to use a power drill with a Phillips-head bit to drive those sheet metal screws into their holes. Don't do it. Stainless steel is not as hard and strong as carbon steel, and it is very easy to strip the heads on the screws with a power driver. I stripped several screw heads in the process and had to buy replacements. The only other "trick" in assembly is used in attaching the two end panels to the hexagonal sheets of foam that go on the ends, and similar assembly of two sheets of solid plastic to form a "sandwich" with the foam sheet in the center partition that separates the two sides of the composter. These sub-assemblies are held together with nylon bolts. There are no holes in the foam sheets (about 1.5" thick) so you have to push each bolt through the foam. I found it easier to push the bolt part way through one direction, then remove it and push it all the way through the other side. One could use a power drill, but it is not necessary. The sparse assembly instructions assume a certain basic knowledge of mechanical systems. They do not, for example, say which size wrench to use for which bolts.The 9/16" wrench is used on the head of the six metric bolts that attach the cross-braces. The 1/2" wrench is used on other nuts. (Metric equivalent wrenches would be 14 mm and 13 mm.) The instructions also don't describe the orientation of the self-locking (aircraft type) nuts that are supplied for application to the six M8 bolts and two long steel shafts at the top and bottom rear of the unit's stand. If you are not familiar with these nuts, the plastic "rim" that is visible on one side of the nut points out toward the thread end of the bolt (away from the head). Read the assembly instructions carefully and make sure all the parts are in their correct position before bolting things together, and you'll do well wih assembly. At the time of this review, I haven't actually started composting with this product, but it certainly looks like it will do the job well. The heavy duty components and thick foam insulation should help to retain heat in the composter and speed the composting process.
D**M
I love my Jora Composter. It took a little work to assemble. Review online Youtube videos before to orientate. It robust, and rotating and aerating is a breeze. No smell. I enjoy it a lot.
D**D
We've just started using our composter. It seems to be great - I have high hopes of great easy compost for the garden. It took two grown men over 3 hours to assemble - it's fiddly and the assembly instructions aren't IKEA standard. The instructions on how to use were in Swedish (not super helpful for non-Scandis). However, I found the instructions on-line and downloaded.
M**T
Had high hopes of this product, it arrived well packaged and I and a couple of friends set about assembling it. Very disappointed to encounter problems with panels that didn't go together as expected, the insulation seemed to be proud on a number of panels and only through brute strength did we manage to get the self tapping fixings in place. Noticed that there was daylight between most of the panel joints and wasn't overly surprised when water ingress through these ill fitting panels made the proposed compost very wet. Used a silicone sealer on the ill fitting joints and things are better but I will wait and see how things develop. Perhaps I just got a 'Friday afternoon' unit or maybe it's a very good idea poorly executed ( and I speak as someone who built up an engineering manufacturing company from scratch such that I was able to sell it for many millions and retire at 56 I.e. I am not a mug punter when it comes to manufacturing and engineering) Overall I would think that caution should be exercised if you buy a Joraform, at the first sign of ill fitting parts, package it up and send it back, I should have !
Trustpilot
3 days ago
2 weeks ago