Desertcart purchases this item on your behalf and handles shipping, customs, and support to Japan.
🚪 Seal the deal on comfort and style with DGSL’s weatherproof garage door strip!
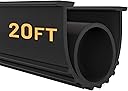
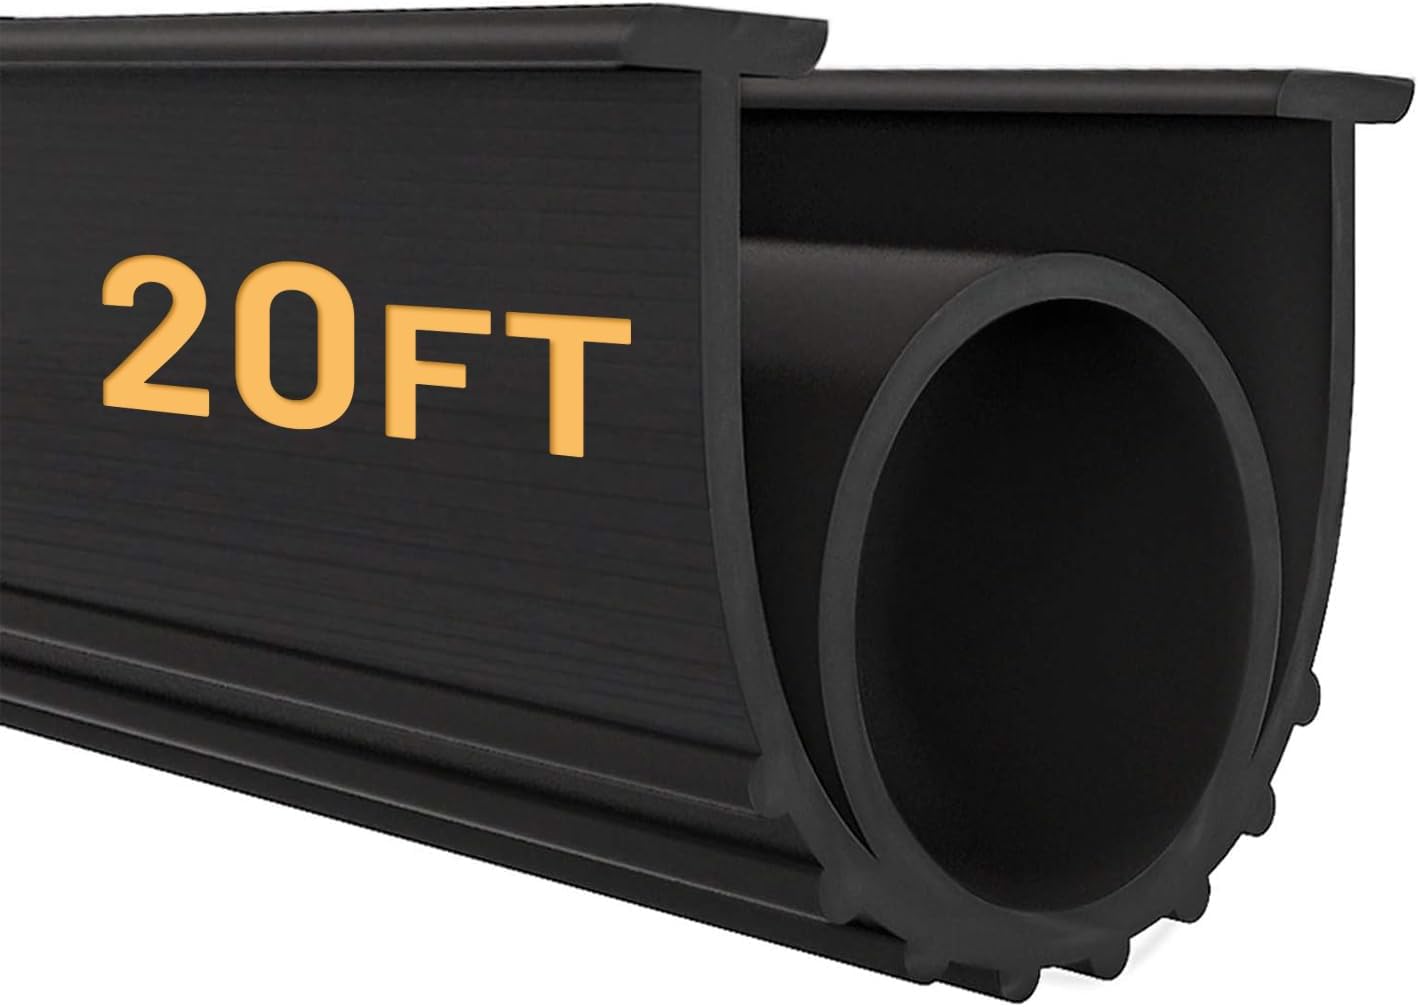
The DGSL Garage Door Seals Bottom Rubber Weather Stripping Kit offers a 20-foot, heavy-duty rubber strip featuring a unique U+O dual-seal design that provides superior airtight and watertight protection. Engineered to withstand extreme temperatures from -40°F to 140°F, it reduces noise by up to 5 times and installs easily without tools. Its flexible material allows for custom trimming, ensuring a perfect fit for any garage threshold, making it a top-rated, durable solution for weatherproofing and insulation.


| ASIN | B07TB3W48P |
| Best Sellers Rank | #1,590 in Tools & Home Improvement ( See Top 100 in Tools & Home Improvement ) #2 in Weatherproofing Garage Door Seals |
| Brand | DGSL |
| Brand Name | DGSL |
| Color | Black |
| Customer Reviews | 4.3 out of 5 stars 3,440 Reviews |
| Global Trade Identification Number | 00026458365386 |
| Included Components | Garage Threshold |
| Item Dimensions L x W | 10.51"L x 10.51"W |
| Item Highlight | U+O Garage Door Seal Strip Replacement, Weatherproof Draft & Dust Barrier for Threshold Gaps, Cut-to-Fit Design |
| Item Thickness | 3.75 inches |
| Manufacturer | DGSL |
| Manufacturer Part Number | 23 |
| Material | Rubber |
| Material Type | Rubber |
| Model Number | 23 |
| Number of Items | 1 |
| Product Dimensions | 10.51"L x 10.51"W |
| Recommended Uses For Product | Door |
| UPC | 026458365386 |
| Unit Count | 20 Feet |
D**G
Perfect replacement, works great.
Works perfect! I was able installed this by myself by lubricating the garage door tracks with all purpose synthetic grease. Slid it in the door track and kept pushing and every once in a while had to pull the end a couple of inches and then back to feeding. It slid very easily with the grease. Took me about 20 minutes to install. Works great.
C**I
High Quality with Challenging Install
You can look at the comparison photos to see the old original versus this new version. It is very sturdy. Do not underestimate the challenge to install this due to friction. I consider this a 2 person job, one feeding/guiding it in and another pulling it through. The friction of the rubber in the T-slot of the door is the enemy. The more seal in the groove the harder it becomes to pull it through. I would recommend using liquid dish soap to lightly lubricate the ENTIRE length of the T edges of the seal BEFORE installing. The old one slid right out but it was several read old so the rubber had hardened some, and a bit smaller cross-section than this new one I think. The more of this new one that fed in the harder it became to pull. I had already planned to use some dish soap to lubricate but planned to do so periodically as I was feeding it. Would have been better to pre-lube the entire length since it was a bit cumbersome to do in process. A couple of key notes: (1) It is very important to squeeze the new seal to align the width with the T-slots of the door while ALSO assuring the length you are feeding is LEVEL to above level with the bottom of the door. If the level of what you are feeding falls below the bottom of the door the rubber T- section easily pulls or of the slot. (2) Based on point 1 above the one pulling the seal can easily tear the rubber part at the T-section. (3) If you have a lot of resistance, the more you feed in, the person pulling needs to be strong while the one feeding the seal watches closely to assure the seal T-sections are feeding and not damage or get too much of the seal not in the slot of the door. (4) Related to point 3 above, I had my wife trying to pull and it was a bit too much for her the farther we got. I tried switching and that is when I learned I could pull too hard and disengage the rubber from the slot. So we ended up with me pushing while she pulled ( but not from the end of the seal, she pulled more in the middle). In reality what I was pushing in was kinking the seal in the groove because the very end of the seal wasn’t moving. So it became a process of her pulling then I would work down the length of the seal pulling the kinks out and straightening it all the way to the end essentially moving it 3-5 inches at a time. Eventually we got it! I would recommend this seal, just plan accordingly for your install
A**N
Upgrade over 1 without the inner tube - but may require adjustment to opener's "down" travel setting
I did my research, and was prepared for this issue. But I still feel the need to remind buyers that if your old seal was very flattened, this new replacement seal may cause your garage door opener to reverse and go back up every time you attempt to close the door; thus not allowing you to close the door UNTIL you re-set or re-program the down travel limit setting. For my Chamberlin opener, doing a re-set only took about 5 minutes, following the manufacturer's script by pressing three buttons (while standing on a ladder). Installing the weather seal was straightforward in my example. I cleaned the track first, applied some silicone lube in the T-track channels, and wiped down any excess lube on the outside. Next, I had a helper person pull the strip's end along the track's length, while I fed the seal (while insuring it stayed in) into the T-track. No disassemble of the door was needed. Once the seal-strip was in place, I made sure it was not under any tension that might make it shorten later; before using some medium-large scissors to cut the excess as my door is 18 foot wide.
A**N
I like it, it looks like it will last but only time will tell so I won't comment on the durability
It’s a little tricky to install but if you follow my guidelines, you will get it done and it’s a lot less expensive than having a door company do it. The installation manual for your door opener is available on the internet if you need to adjust the door closing pressure. You need to clean the groves in the track on your door completely, preferably with compressed air while using eye protection. I use a spray bottle of Dawn dish washing soap in the kitchen and elsewhere in the house for general cleaning. Spray the solution in the groves in the track then start inserting the new seal into the groves watching that the new seal doesn’t slip out as you go. Keep the groves and the seal wet with the soap solution as you go unfortunately you need the soap solution to keep the trac and seal wet and keep it moving freely but it also lets the seal slip out of the trac. My door is 16 feet long so its very important to keep the seal wet as you go otherwise it will get harder and harder to pull the seal as you insert the seal in the groves. It’s a two-person job especially on a 16-foot door one person to pull the seal and one person to make sure the seal stays in the groves and push the seal a little as you are installing the seal. I found it necessary to go along the seal and give it a little tug in a few places to keep things moving as the soap solution dries out. Use lots of the soap solution in the groves of the trac ahead of the seal you will be happy you did. Leave more than you think might be necessary sticking out each end of the trac as the rubber WILL shrink over the years then you WILL end up with a gap at each end of the door allowing water into your garage. You most likely will need to adjust the door closing pressure a little as the new seal wont collapse as easily as the old seal did, I ordered the seal with the round tube inside the seal as I thought it would seal better and it does. I hope this helps.
Z**G
SUGGESTIONS! Worth the “workout”. Good quality and results.
Good quality product. I ordered 20’ for (2) 9’ wide doors. I received exactly 20’ & allowed it to sit unrolled in direct sunlight for about 30 minutes prior to installation. I raised the door to almost eye level draped the excess over a 5’ ladder at the same height so that the additional weight wasn’t fighting my slow & steady progress. The first of (2) doors I installed dry. About 4” at a time using both hands. One to hold the shape of the extruded rubber into the aluminum track and push. The other to pull at the same time. Push, pull about 2”. Push, pull another 2”. Repeat otherwise it might bind or jump out of the track. If it does.. You’ll have to back it up and realign. The second one I sprayed a mixture of mostly water with about 4 drops of Dawn (or similar) dish soap. This cut my second installation time literally by 50%. The color is a nice dark black that shouldn’t show dirt like the original flimsy gray I replaced.
A**E
HEAVY DUTY. Tedious Install
This weather strip is heavy-duty!! The old strip was considerably thinner than this one and lasted about 1 1/2 years. Expecting this one to last hopefully 4 in the Arizona sun. It's a TWO-person job. We had a lot of trouble keeping one side of the strip in the groove of the door. When it popped out, we would have to pull it partially back out and then carefully refeed it into the door. Silicone lube didn't help the process at all and might have made it worse . It was an inch-by-inch process. What we thought would be a 15-20 minute job took us well over an hour on a 20 ft door!
X**X
Issue With Install ~ Did Not Use ...
Bought this to replace a worn out trim seal of 15 years that had shrunk n' had a few splits here n there on a nice 16x7 door. As far as this product itself - did seem of good quality - rolled out and left in 65 degree warm sun for a few hrs while i removed and cleaned up the door track. This seal thou very soft and pliable had been had been its main downfall. Track was clean and coated (soaked) with a very good spray lubricant and with help of brother I got it started and was the feed man. Once the strip got going beyond a foot or so the very thin strips with the lil T's attached would never stay in the tracks - they'd curl towards center of track every time (over a dozen frustrating tries) and as I remember this strip might have made it to about 6ft across - the tracks had NO interference. along its full length. After I'd say about 6 hours, a whole afternoon blown - we gave up and purchased another brands seal. In the meantime called a garage door installer - he came over the next day n' ck'ed it out - said yea - its too flimsy - pos !!! Told me to give em a call IF we have any issues when we get the other one. Once it arrived and un-boxed - Immediately noticed the difference in composition which was only a tad thicker but firmer where it counts - the leads to the T's stiffer - we knew it'd work AND it did n' that was without an installers help ! Door is now perfectly sealed - job completed. ((( After the outcome - wished to return this item for a refund ... COULD NOT - when I started the process a lil paragraph soon appeared stating ---> *ITEM MUST BE IN BRAND NEW UN-USED CONDITION * ))) !!! What ??? Lost $$$ as well as all the many hours of frustrating time due to this pos item !!! SO DO NOTE : U purchase this product - its your loss IF it doesn't perform as intended ! That's poor business practice where I come from ! Others have reviewed as 'no issues' - (lol) - can't see how unless they're workin' on shorter 8 or 9ft doors and thats a 50/50 without an issue.
W**S
Stiff/Rips.
I thought the extra layers in the middle might be a good idea - help slow the mice that are chewing access in my current seal. Probably should have gone regular. Arrived rolled up and unrolling did not cause the middle portion to get round. Not really rubber - some slightly stiff rubber-style plastic. I did not find installation easy and install just made the round center portion lie flat - I really doubt it's round in there. I installed it anyway to keep out the mice. The standard way to keep the seal in place is to fold in the ends. The middle portion really makes folding the ends in difficult. I carved out the middle and noticed the fold lines were getting fairly light gray. Often when plastic's color lightens up it means it's stressed and sure enough portions of the fold tore. Plus the folded portion at the end is stiffer than the rest of the seal so the door seal doesn't seal evenly along the whole floor. Plus, at least at the current temperature, the material or design isn't compliant enough to go over a small extension cord - the old bottom seal went over this cord in a more snug fashion. Cannot say it's going to keep the mice out. Sorry to say I suspect I'll be getting a regular one and replacing this.
B**A
Garage door weather strip
Does a good job and easy to install
E**E
Perfecto para mi cochera
Excelente producto quedaron muy bien
R**T
coupe froid efficace pour une porte de garage.
bon produitproduit efficace mais demande délicatesse a l'instalation, car peu se déchiré si on va trop vite pour l'incérer dans la rainure
C**N
Excelente producto a un excelente precio
Ajustó perfecto, es de muy buena calidad
A**R
Works great
Easy economy replacmennt option
Trustpilot
3 days ago
1 week ago