Desertcart purchases this item on your behalf and handles shipping, customs, and support to Japan.
🚿 Elevate your bathroom game — sleek, safe, and space-smart shower luxury!
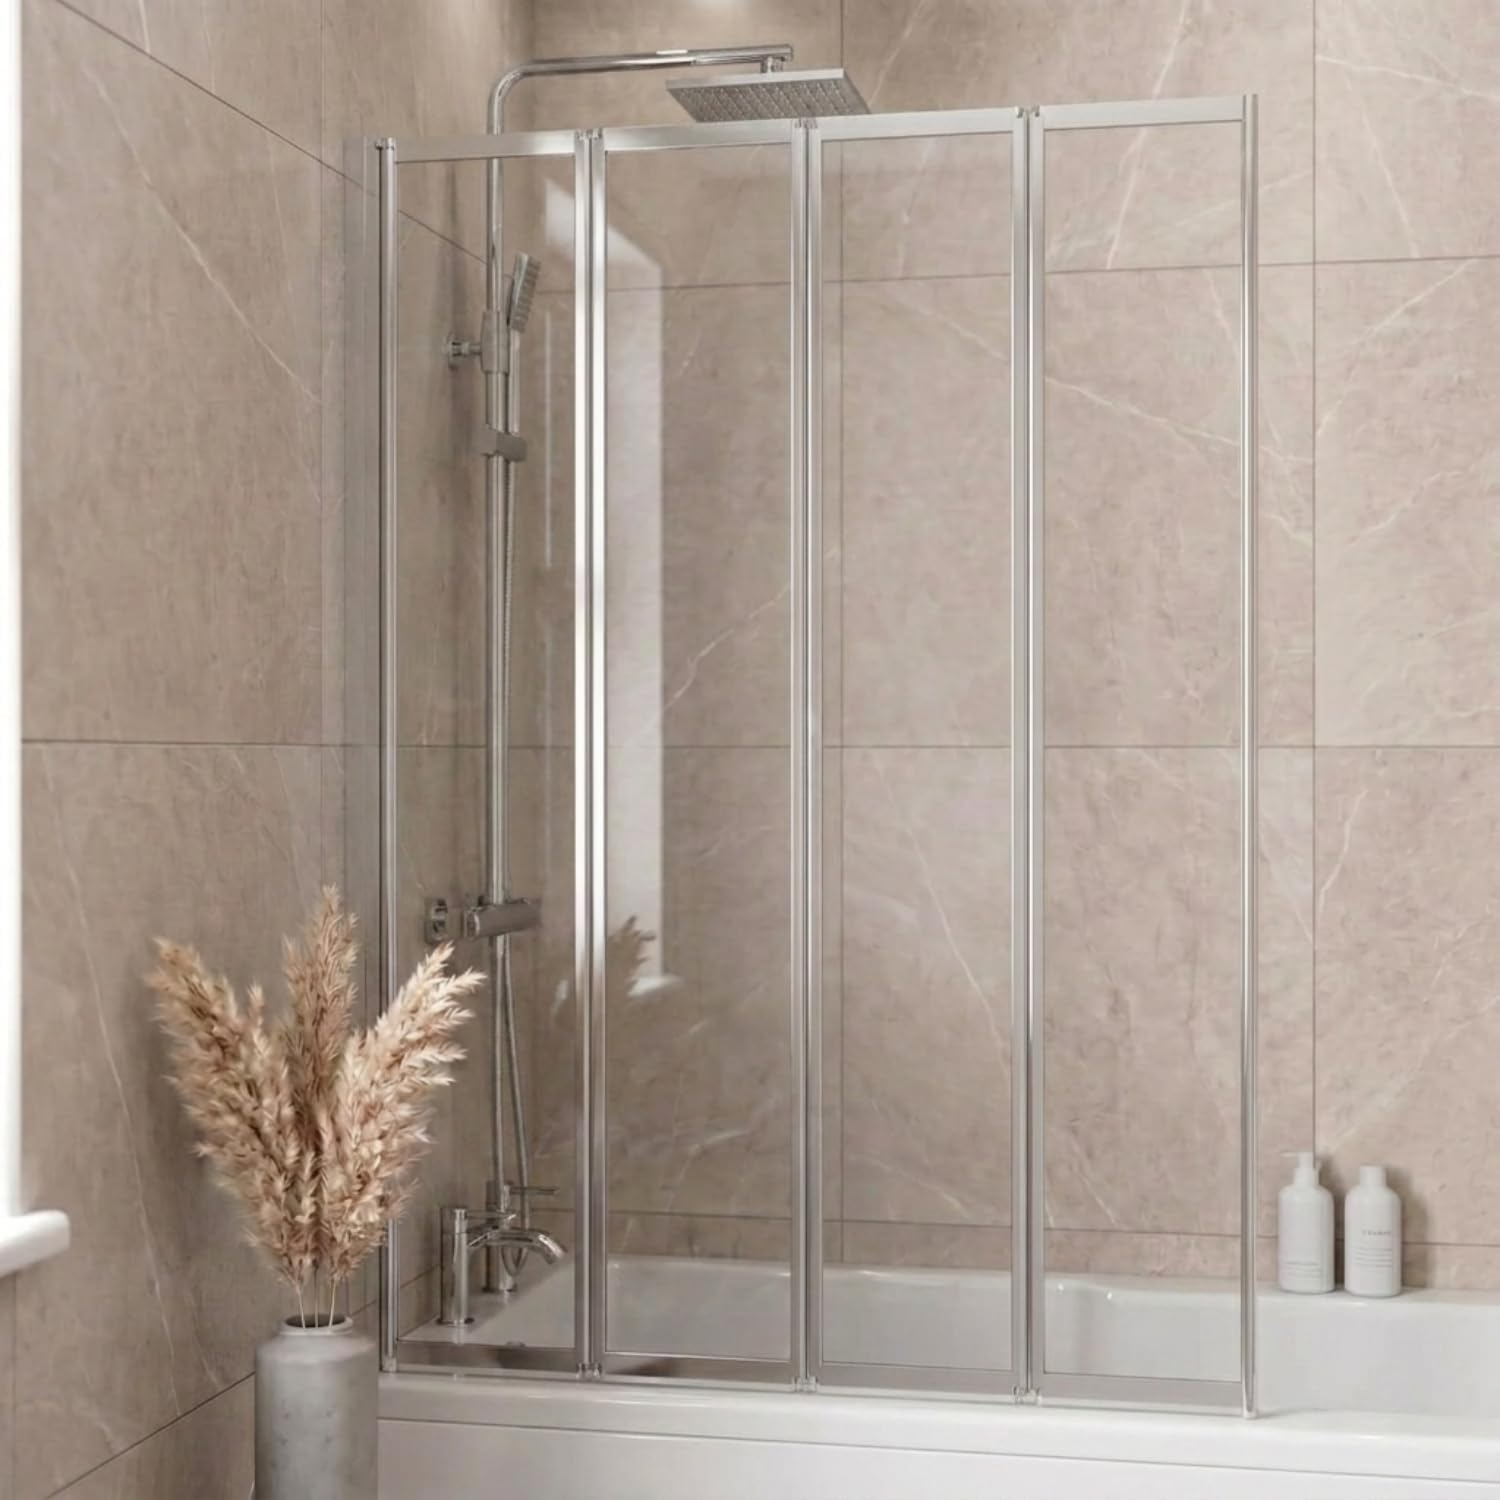
The Luxura Chrome Folding Bath Shower Screen (1000 x 1400mm) features 4mm thermally strengthened safety glass with polished chrome aluminium profiles. Its reversible 4-panel hinged design offers a 180° pivot for versatile installation on straight baths. Lightweight yet durable, it folds to a slim 60mm width, saving space while upgrading your bath to a modern shower enclosure. Certified to BS EN 14428 standards and backed by a 3-year guarantee, this screen combines style, safety, and functionality for a premium bathroom upgrade.


| ASIN | B07JZ5VP5Z |
| Assembly required | Yes |
| Best Sellers Rank | 19,347 in DIY & Tools ( See Top 100 in DIY & Tools ) 275 in Shower Enclosures & Cubicles |
| Brand | Luxura |
| Colour | Chrome |
| Customer Reviews | 4.4 out of 5 stars 575 Reviews |
| Included Components | Shower Screen |
| Is Assembly Required? | Yes |
| Item Highlight | 4mm Toughened Safety Glass, 180° Pivot Swing, Reversible, Hinged Glass Panels & Screens for Baths |
| Item Weight | 19 Kilograms |
| Item weight | 19 Kilograms |
| Manufacturer | Luxura |
| Material | Aluminium , Glass, Tempered Glass |
| Model Number | CKAMZ1525 |
| Number of Items | 1 |
| Number of Packs | 1 |
| Part Number | CKAMZ1525 |
| Style | Modern |
| Unit Count | 1.0 count |
D**L
Quality easy to fit shower screen
Lovely item and really does look good. Seems really good quality for the price compared to other ones we looked at and is certainly a nice looking upgrade to our shower curtain. Although fitting was fairly easy, we had never done one before so like many others we had to revert to youtube because the instructions are dreadful. If you've ever fitted one before you'll find this very easy. It fits well and we didn't have to adjust anything (we think). As I write this we've only just done the silicone as the finishing touch so won't know if we've done a leak proof job till Monday. It certainly looks and feels solid.
G**S
Great product
Lovely piece of kit, heavy and strong and looks great and creates a lot more room over a bath than those awful curtain's (cold n clingy) As a DIYer, this took me approx 30 mins to install and I did it all on my own, but having some extra help would be recommended. Like everyone else’s reviews the instructions are absolutely awful, hence the 4 star review. And for someone who is not especially fond of DIY then they may struggle to do this, so I will explain how to do this as simply as I can: Once out of the box turn the unit upside down to full expansion (here is where extra help would be useful so it won’t fall over on you as it is reasonably heavy) find the thin rubber strip from the box and feed the strip in from the open end all the way down to the end of the unit. The strip will be slightly longer, so once the strip is in fully and slightly slack use a Stanley blade or something similar to cut the end off. Find the 2 small clips from the little bag and insert the clips into the end of the unit to hold the strip in place. Next you want to offer the beading strip against your bath wall roughly 25mm in from the edge of the bath and spirit level it upright, marker pen your holes then use a specialised tile scriber drill bit to get through the tiles (don’t use a normal masonry drill bit or you’ll break your tiles, and also don’t use the hammer function or you could also break the tile). Once through the tile then you can use the normal 6mm masonry drill bit to make the hole into the wall behind the tile. Insert your rawl plugs (make sure the plugs go all the way through the tile and into the wall so they are deep, I often partially put the screw in the plug then give them a little hammer to force the plug deep, then remove your screw, repeat the other 2 holes then fix on your beading. You’ll find in the box some small pieces of cardboard that were in between the glass, I used 4 pieces of these. Stack 2 on top of each other then place on the edge of the bath about 14 inches from the wall, then stack another 2 and place somewhere further along the bath. These give you a nice height to place the unit on when you slide it into the beading (the unit needs to be slightly off the bath so the rubber strip can do its job). Once pushed all the way into the beading (again this is where extra help will be useful to hold the unit) from inside the bath use a 3mm metal drill bit and drill your 3 little holes, somewhere top, middle and bottom, this will hold the until onto the beading. Simply use the little washers over your screws and pinch tight, then add the screw caps to hide the screws. It is recommended to use some silicon mastic to seal off the beading top to the bottom on the inside and the outside and the jobs done. Usually wait around 24hrs for your mastic to dry and you’re good to go! Hope this helps anyone who is struggling, and enjoy your new bath screen!
M**R
Very well made and looks great. Perfect for small bathrooms in particular.
Very pleased with this screen. It's of very good quality construction, it looks stylish but unobtrusive in my small bathroom, and it works well with no leaks. Installation is quite tricky because the screen is pretty heavy, so really you need two people to offer it up for measuring and fixing. To mount the wall channel into which the screen fits I had to drill through porcelain tiles, which presents its own challenges to the inexperienced (watch youtube lessons on drilling tiles if necessary). I upgraded the screws and wall plugs to 65mm Fischer items because the supplied ones didn't seem long or strong enough. I was careful to mount it far enough from the bath tap so it could be stored folded flat against the wall. If that's not possible with your taps it still looks good stored perpendicular to the wall. I didn't need to use the supplied chromed aluminium sealing strip along the edge of the bath rim because the rubber strip on the screen forms a good seal with the bath rim itself. It may or may not be needed depending on the shape of your bath - mine's got a flat rim with a slight inward slope. Overall very happy with this product. Recommended.
W**A
Love it
Great masterpiece adding elegance touch to the bathroom
M**R
Instructions could be better and bigger as they’re very hard to see
Had to look at YouTube to be able to install bath shower as instructions were poor. No pre-drilled holes as stated and not clear how to put the seal on the bath shower apart from that so far it seems to be good quality but still trying to drill holes
D**S
Great value for money
Great value for money, easy to install and sturdy. Guard at bottom prevents all leaks and design means it won’t get discoloured or mould/water stains.
M**B
Good solid shower screen but poor instructions
It took us a couple of hours to fit. I’d say you definitely need two as the screen is heavy and needs holding into correct position while someone drills the screw holes in. We used a rubber door wedge to lift the screen slightly to give it enough room to clear the bath edge. Instructions are sparse and some steps aren’t covered at all. For example there’s screw cap covers but no explanation how to fit. Might be obvious to some but not us! Finally worked out the screws that hold the screen in the bracket needed to come out again and the collar was to be fitted around them and screwed back in then the metal covers fit over the top. Hope that helps someone as clueless as us! Attaching picture to illustrate how it should look. All in all happy with the screen, it’s quality but why not just make instructions clearer one star deducted for that otherwise would’ve been 5.
M**D
Great screen and great customer service
This screen looks great. It needs 2 people ideally to mount it on the wall. We watched a you tube video for better guidance on putting the rubber seal in and attaching to wall as the instruction booklet is very basic and the pictures small and not clear. But, that said, it was straight forward to thread the rubber seal onto screen. And luckily for us the wall bracket was the same as our old one so no new holes needed drilling in the tiles. The tricky bit was holding the screen in the wall bracket, getting ready to drill the holes to attach them together - probably easier if your walls are flat/ right angles! if you find that your wall is not flat and you cannot just push the screen fully in to the bracket from top to bottom (as it may mean the rubber seal is then not in contact fully with the bath) - my tip would be to balance a coin/coins ( or other flat thin object) on the side of the bath, under the plastic cylinder on the far end base on the screen until the rubber seal is level along the bath (whilst you are supporting the weight of the screen). That should get the right position for the screen inside the wall bracket. Then the 2nd person can drill through them. Once that is done you are all ok (just silica and screws). I have to say we put off getting a new screen for ages (the old one was grim) because we didn’t think we would be able to fit a new one - but it was really ok to do. Another note - the company are really efficient at sorting out any issues. If you need a new screen, don’t wait - get this one!
Trustpilot
4 days ago
1 day ago